
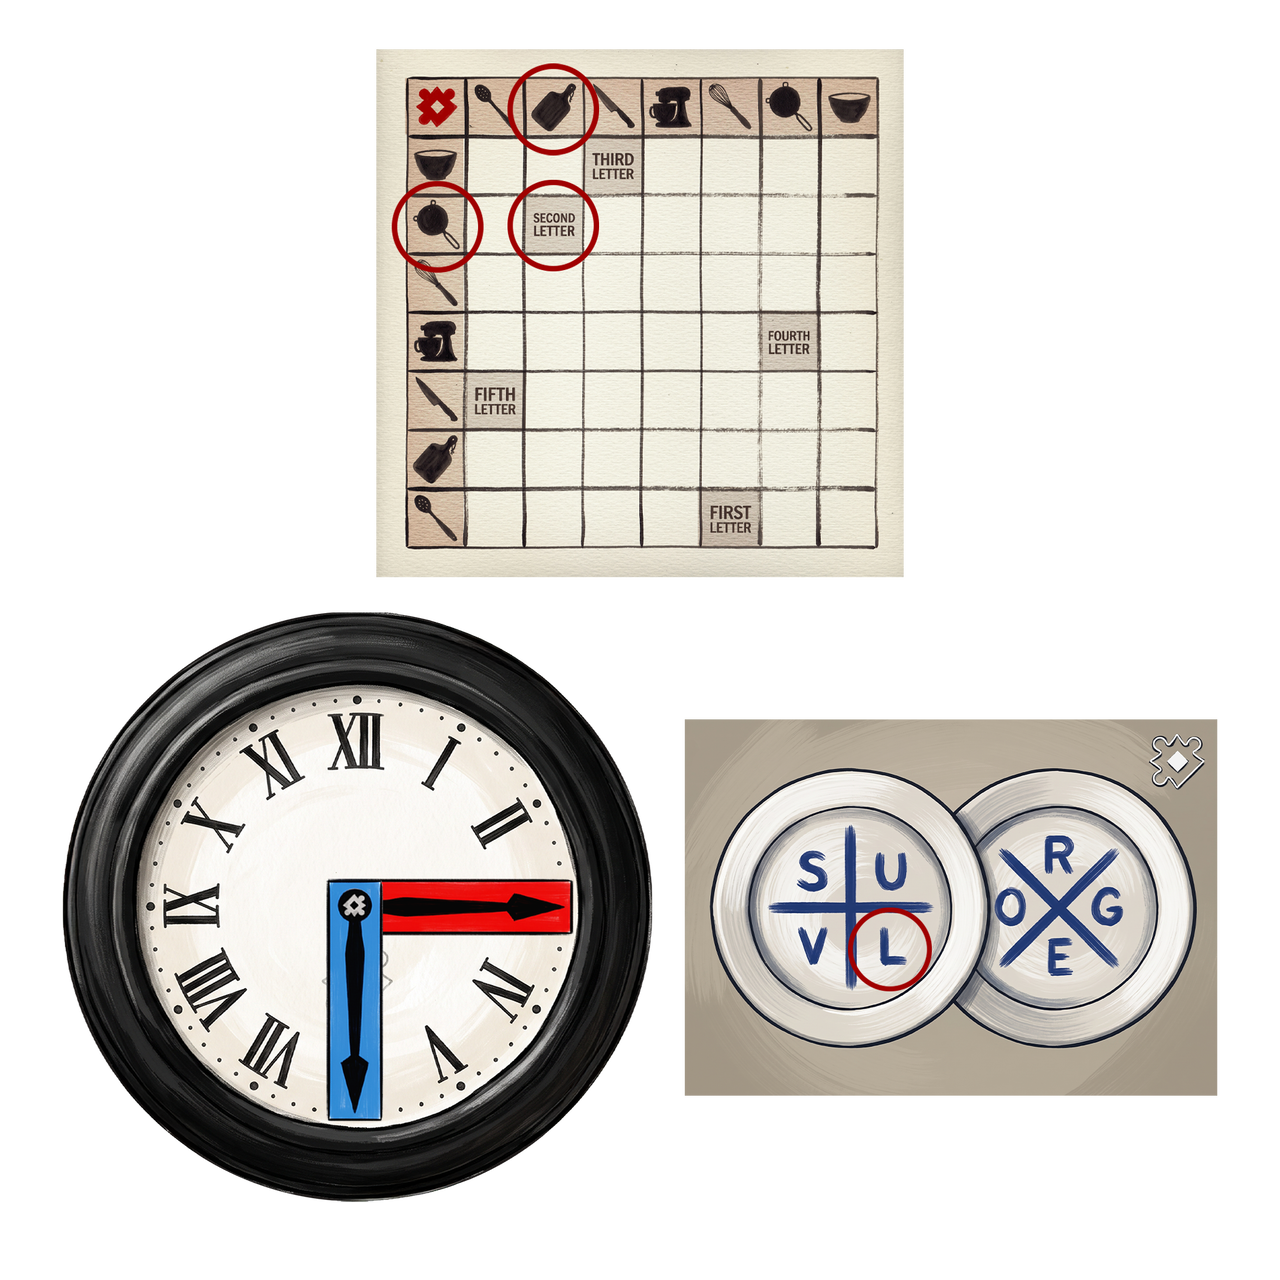
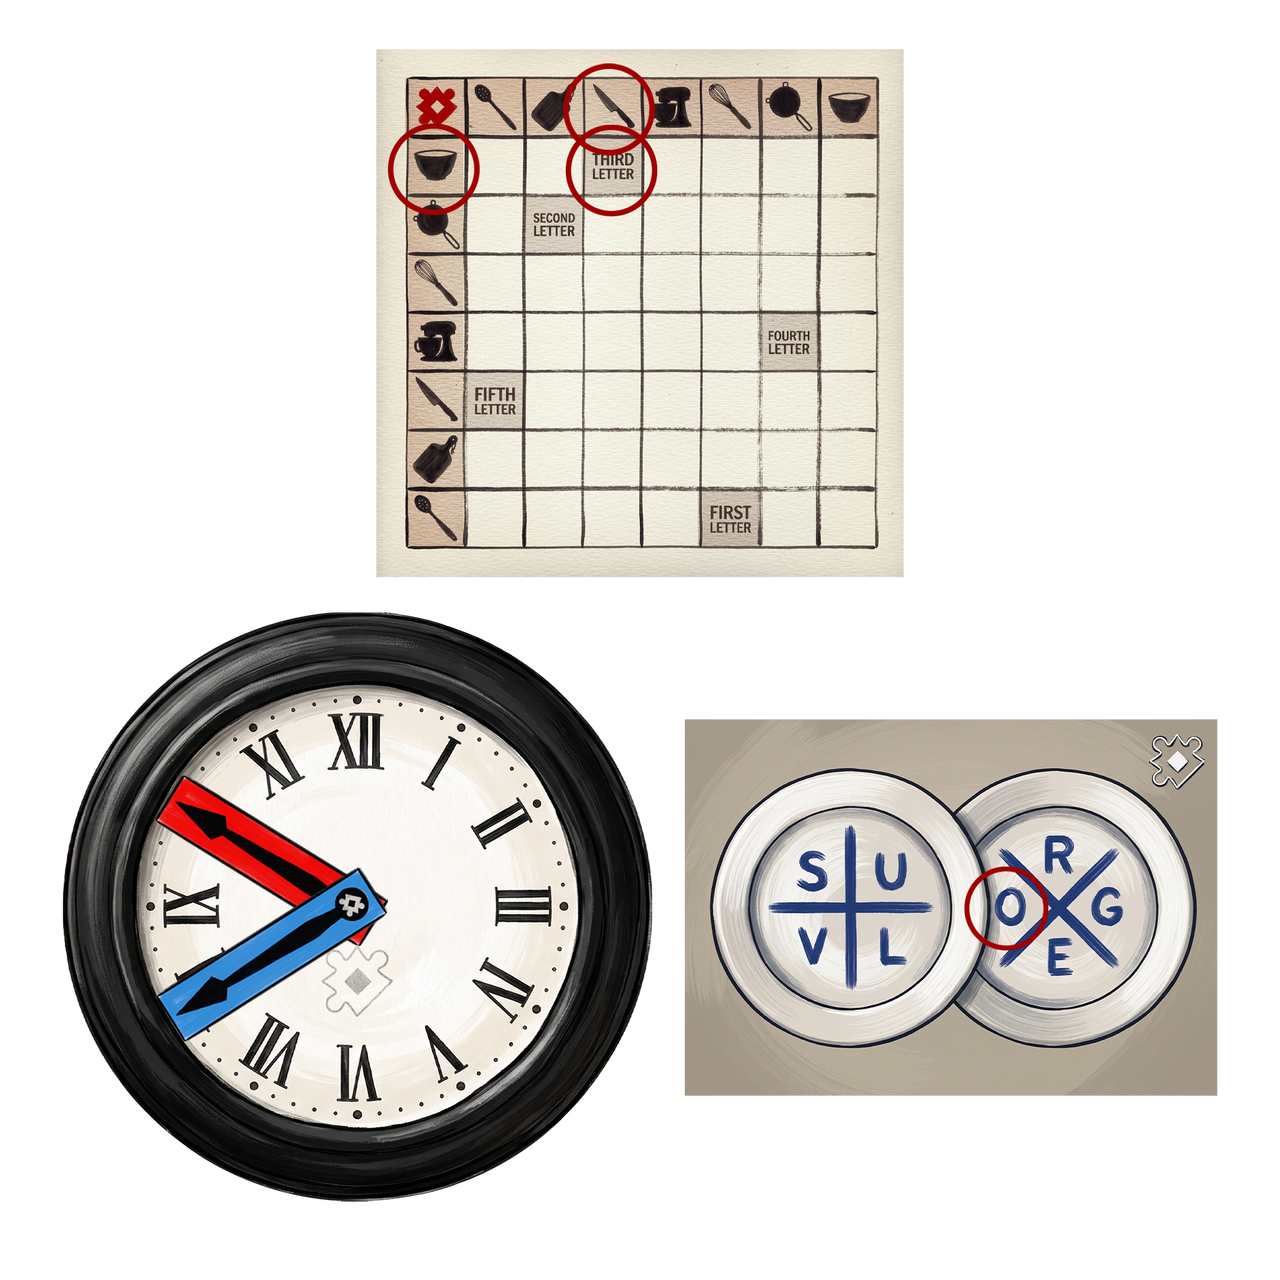
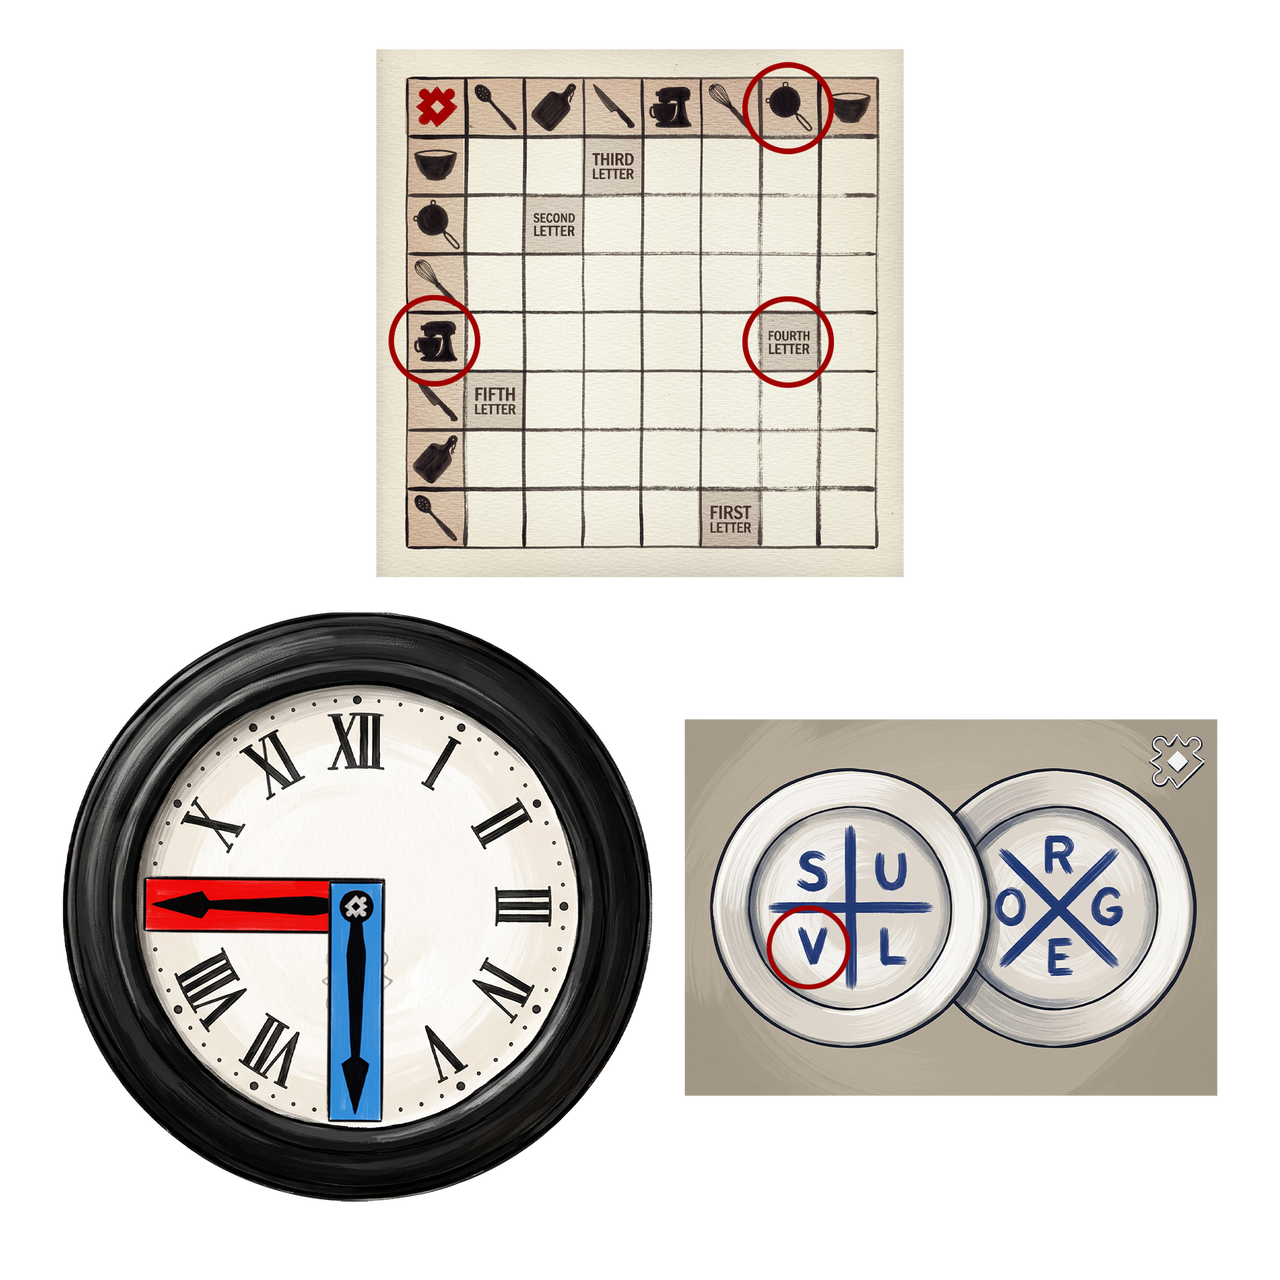
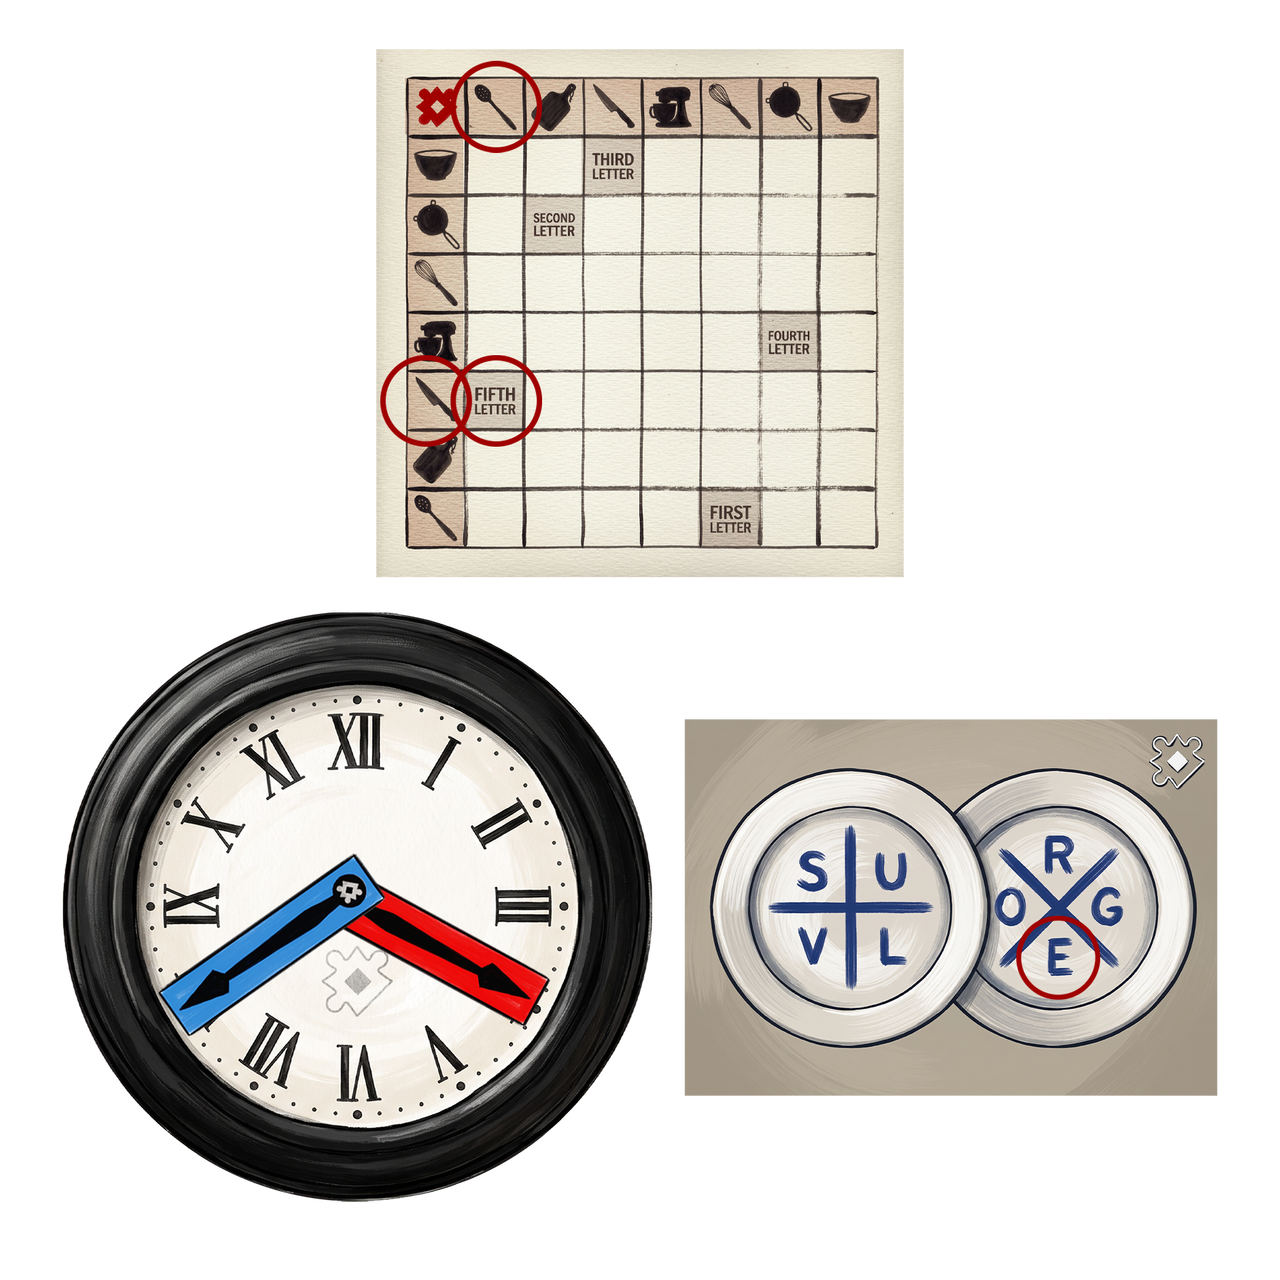



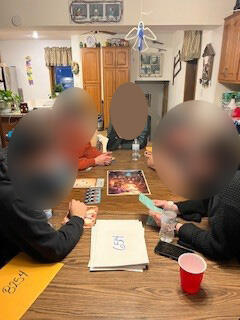
Explains the set up perfectly, the puzzles themselves were very good :) We played with four of us initially as one team but ended up competitively racing to work everything out boys v girls (girls won😉) - worked well both ways! Was a really fun night, will most likely buy from this shop again 🫶🏼
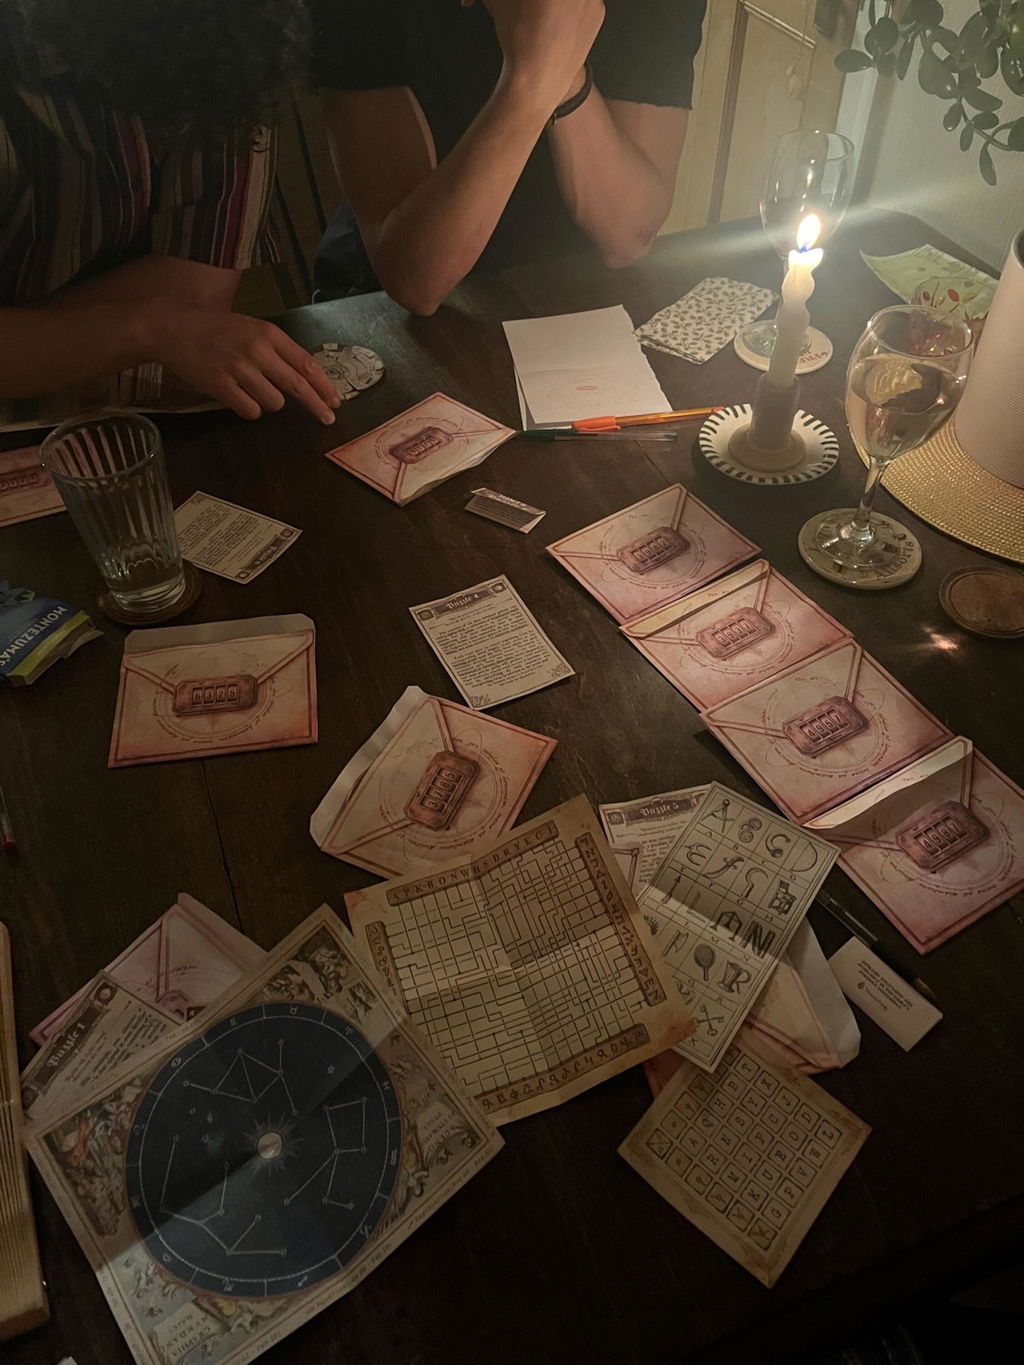
We played this as a family of four (2 parents and 2 adult kids) at our son's birthday weekend getaway. We all had an amazing time exploring, learning and (eventually) escaping! The website element was so well done and truly set the stage for the entire event! Well done!
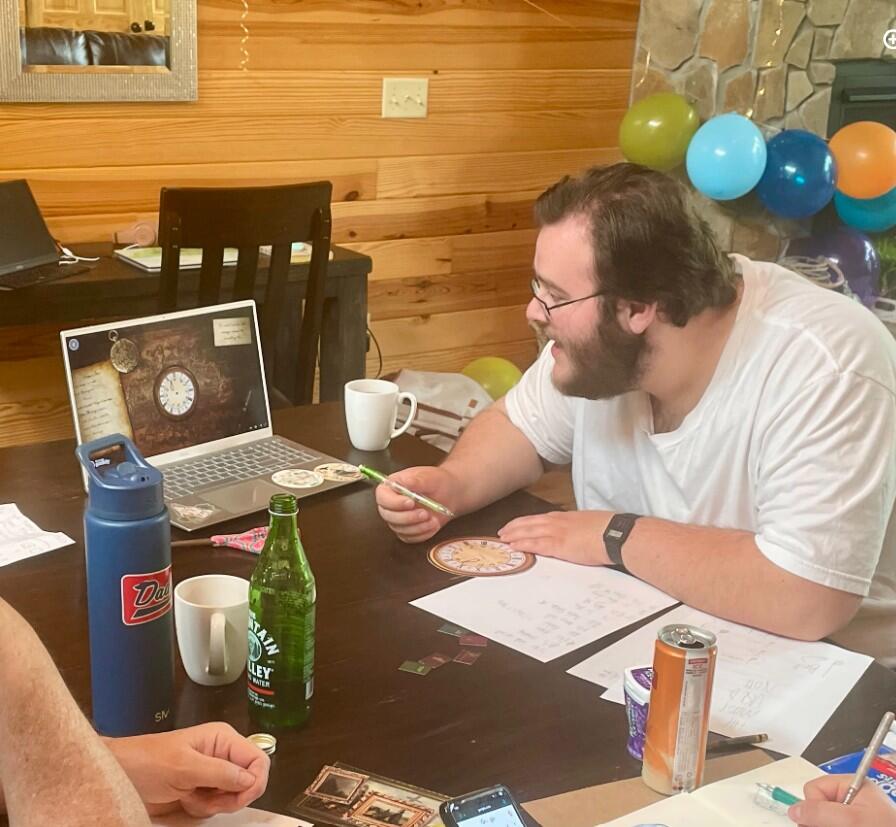
This was lots of fun! We did this as a group of 3 and it took about 90 minutes. Easy to set up, and next time I'll try adding boxes and locks to add to the atmosphere.
The kids enjoyed this Easter escape and only needed a few clues on certain ones. Aged 9 and 12. I loved the way all the clues and pieces were in envelopes and kept together. It made it look very nice and organized.
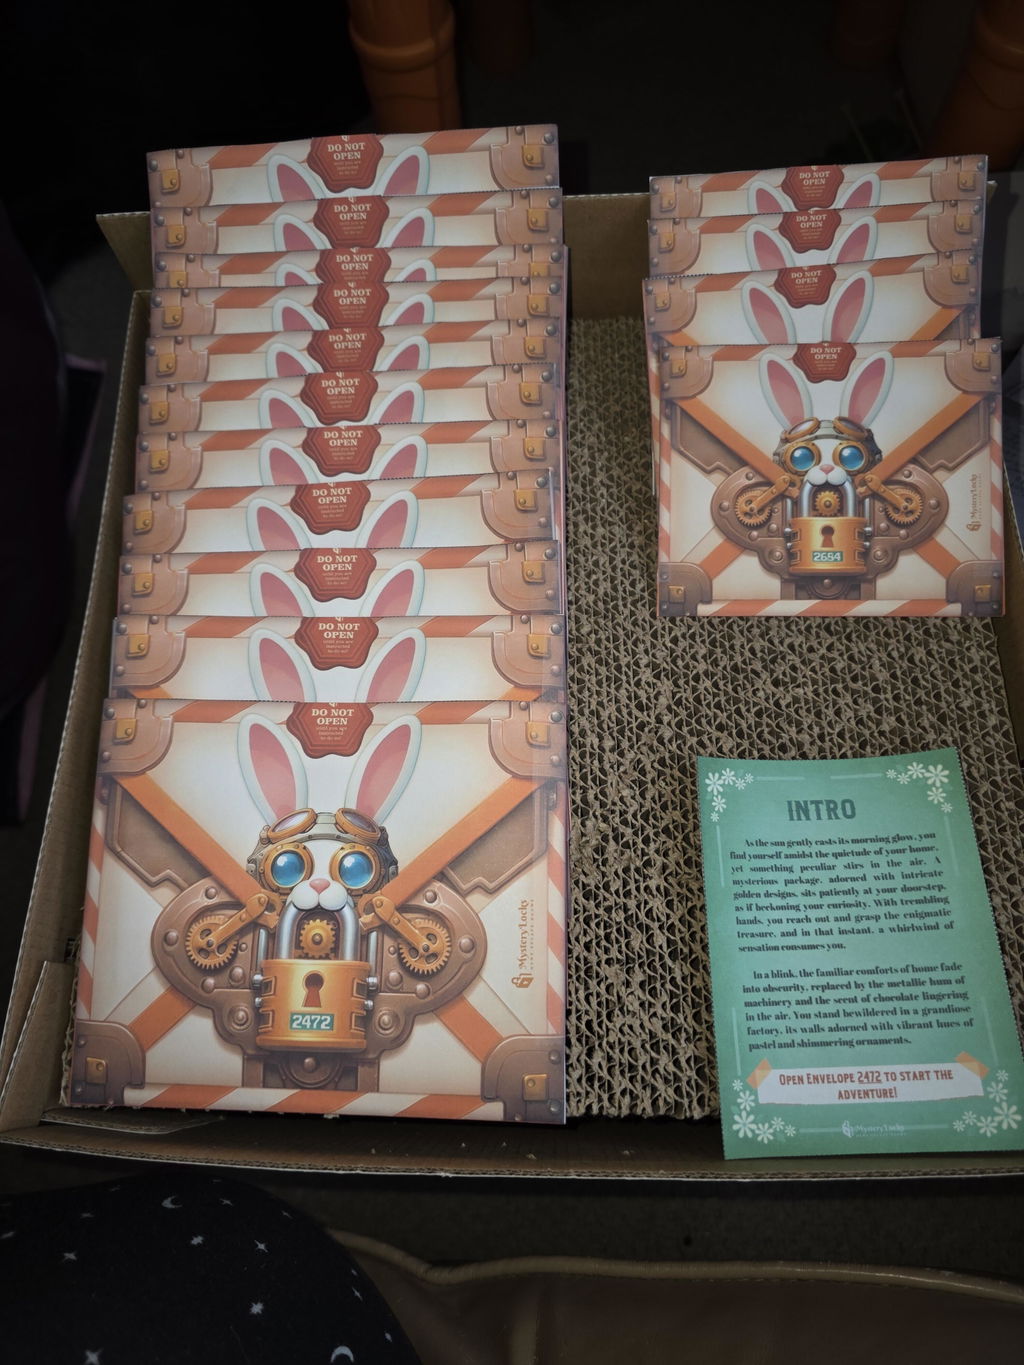
What a wonderful experience! We loved playing this for my son's 24th birthday! The online portion was so well done and we worked together to get all the puzzles solved (used the hints too!). Thank you so much!
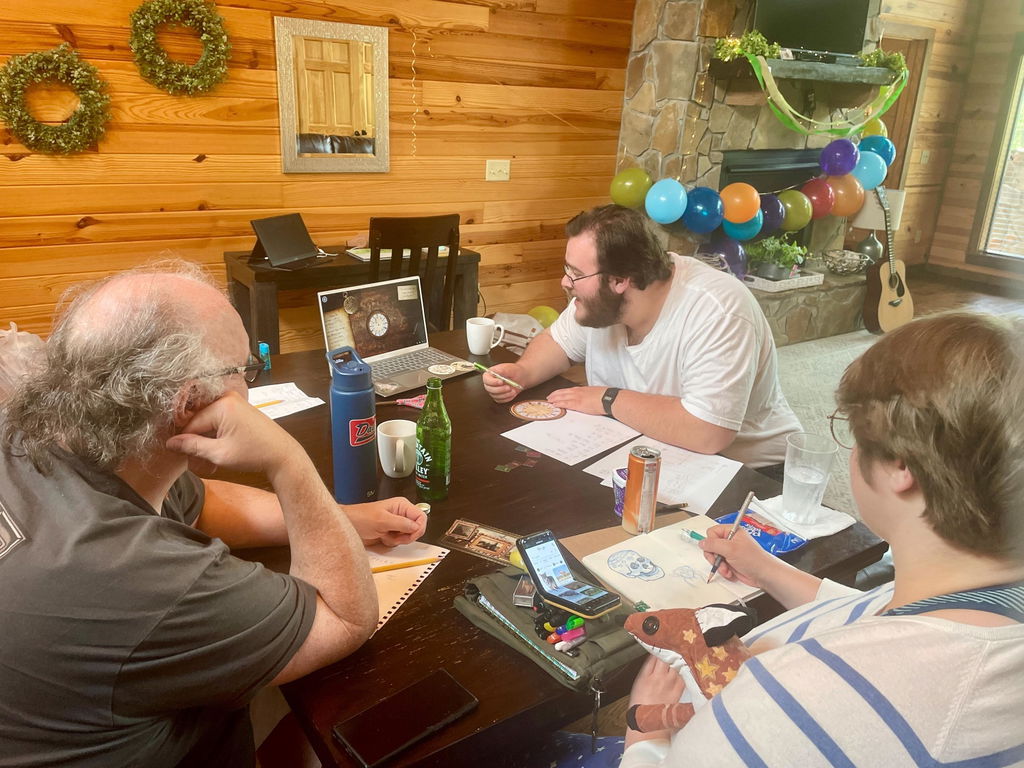
We had so much fun!!!🤩🤩🤩 I will say, it was on the hard side for us which made it an absolute great evening!!!!
I printed it twice and had 3 on 1 team and 4 on the other (1 didn't show up🫣) . That was the perfect amount to work on this game. I did use some envelopes to put some of the items in so I didn't have to fold them as much. I just wrote inside the door to open the coinciding envelope when the room was opened.
We did have to use some clues to get through. The website was awesome with guiding you throughout the game.
We look forward to our next game night doing one of these puzzles.🤩
(I didn't get a picture of everyone☹️ but one group did take a picture. 🥰)
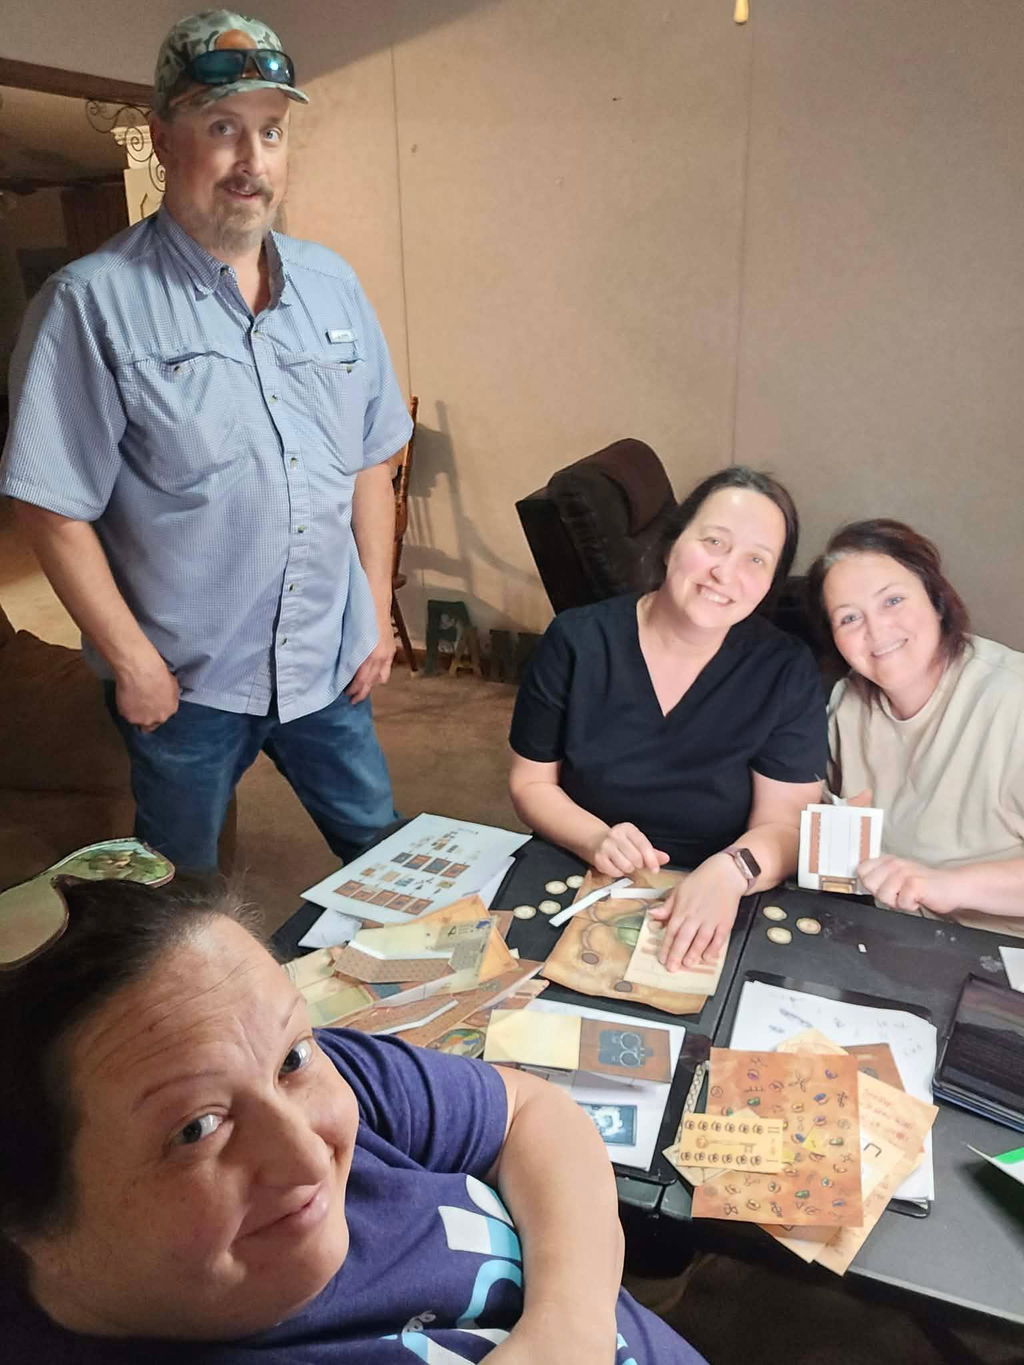
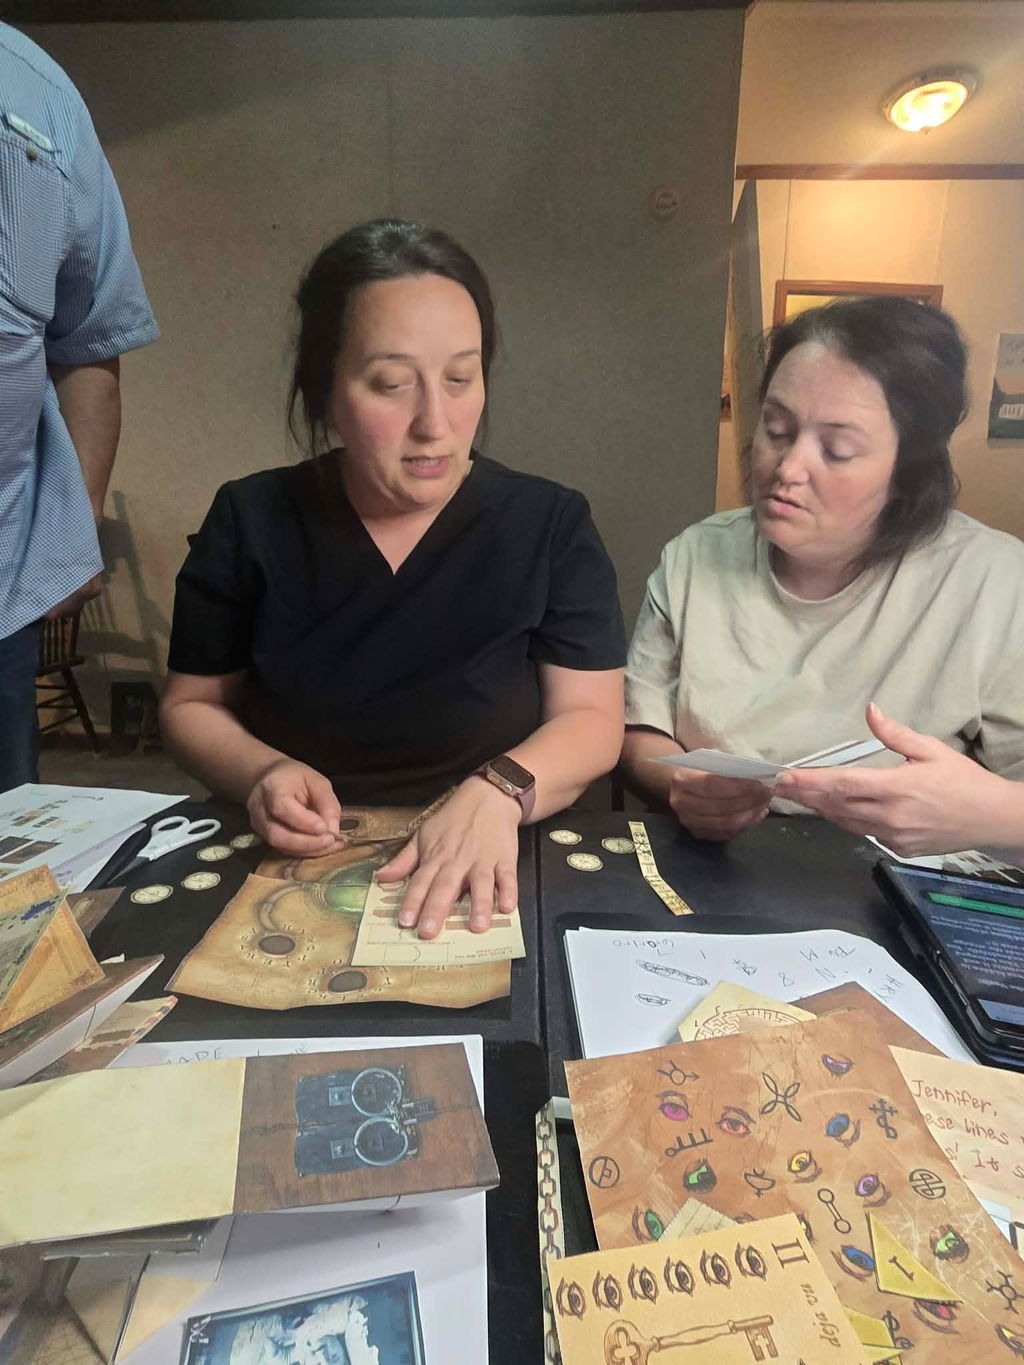
hatte Potenzial mit etwas Bastelarbeit ein cooler escape rooms zum Anfassen zu werden
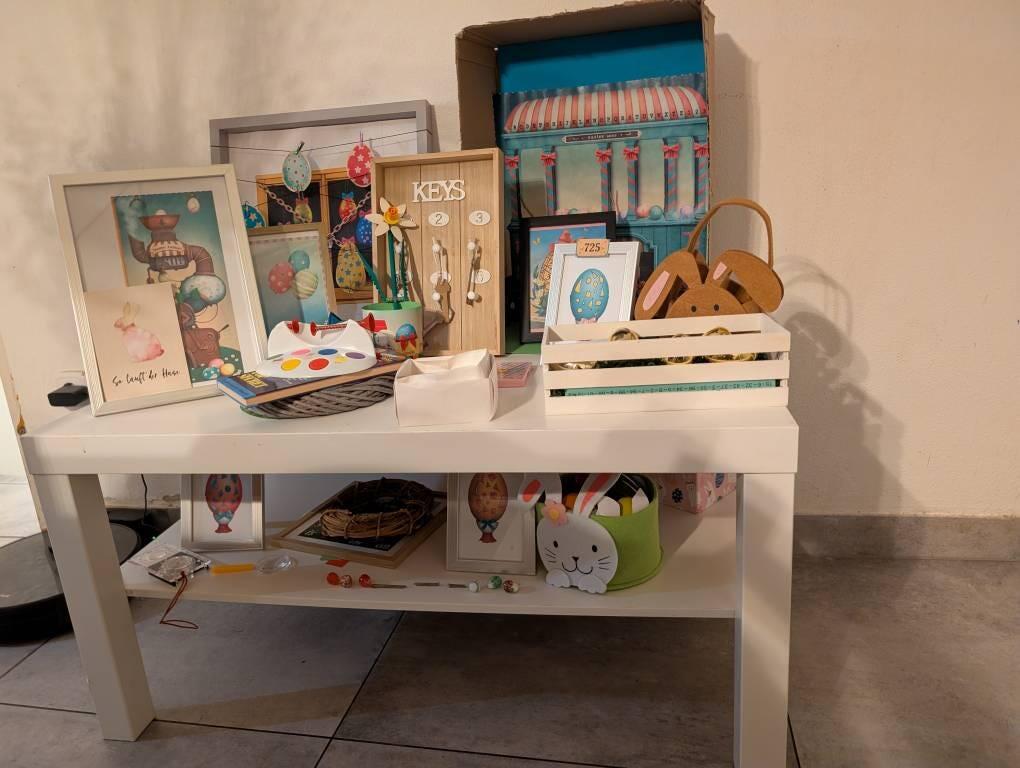
We had a 14th birthday party with seven boys, at least four of whom were used to escape rooms. Everything went very smoothly and the materials were high quality. The kids definitely had fun. It took them a little longer than an hour to do it, but they weren’t trying to rush. Even though they were all one team, I printed two copies of everything so there wouldn’t be seven people all huddled around one piece of paper. In retrospect, I would have printed at least four copies so everyone could truly see and remain engaged. I would have also printed the room and the chest a lot bigger, just to make it a bit more immersive. I swapped out the envelopes for boxes with 4-digit locks, to make finding the code more satisfying. I would say the 3.5 difficulty was just right for the experienced players and a little too hard for those who had never done an escape room before. We will definitely buy more kits for future parties.
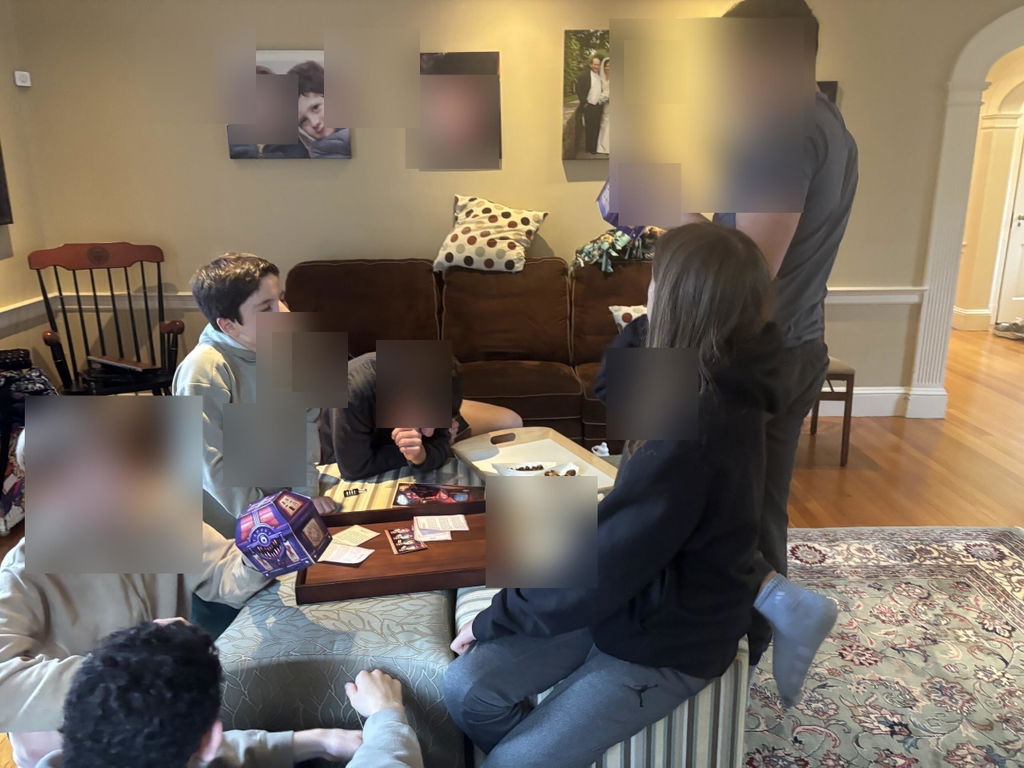
Oh my gosh! This was so much fun Easter Morning. I set the game up for my husband and two grown children. What a riot watching them figure out the clues so the could get the next clue.
I highly recommend!!
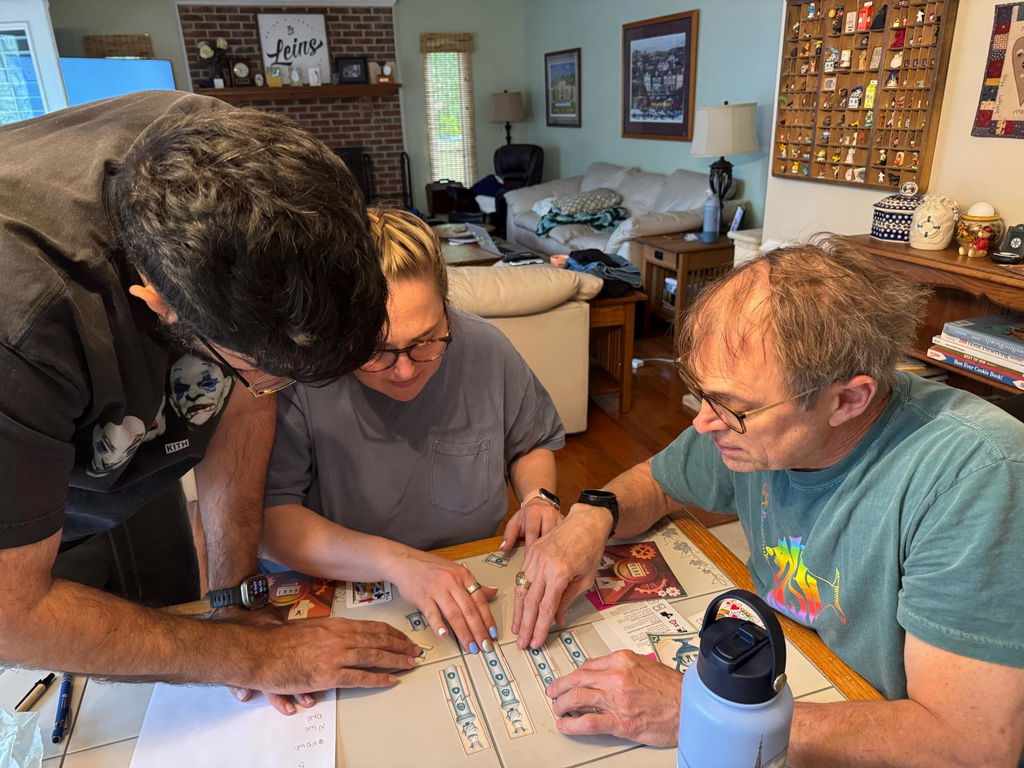
It was a great experience for the whole family, my 18, and 20 year olds were intrigued and dedicated to solving the puzzles. Everyone had a wonderful time while using our brains, lol.
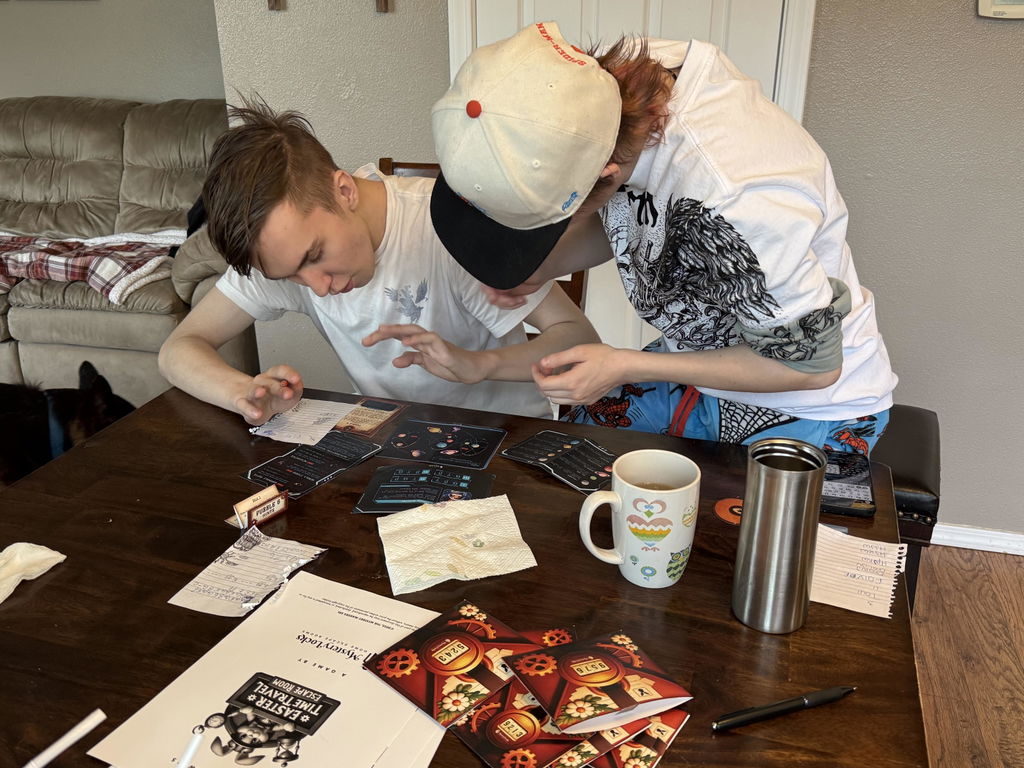
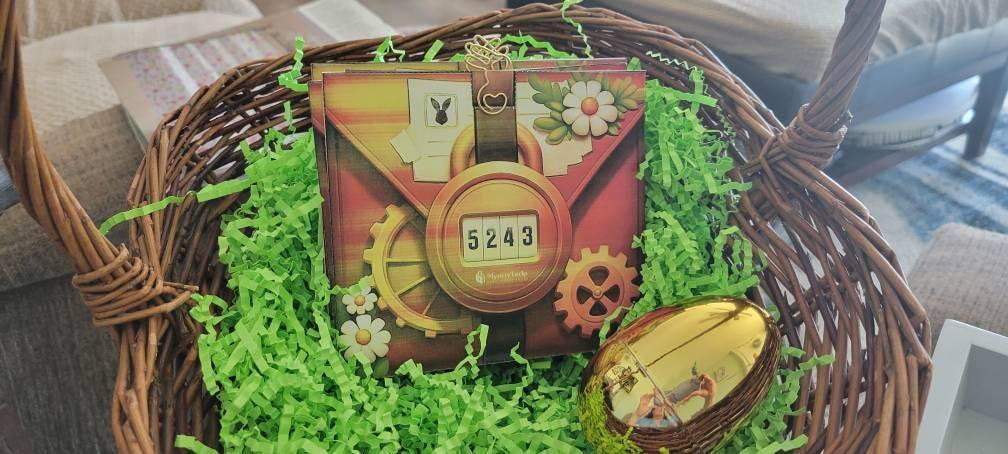
Really great puzzles, lovely story, easy to follow and if not, the clues are there! Great way to take our Easter Egg hunt to the next level!
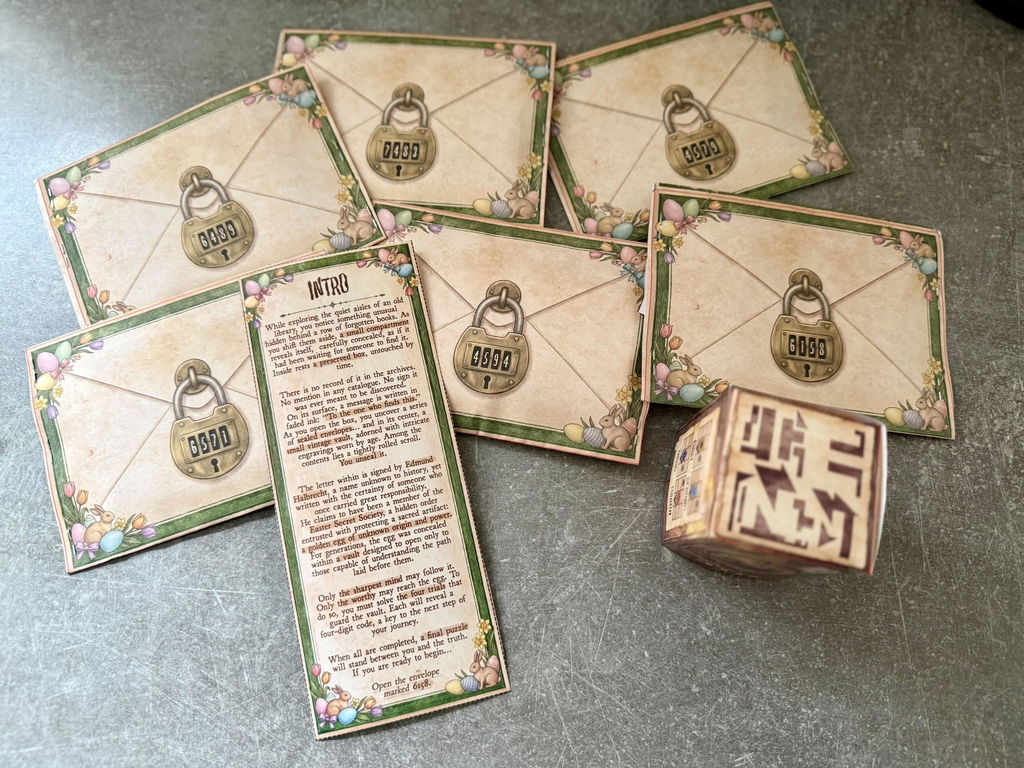
We did this as a family of four and really enjoyed it! I went full immersive. Loved the details of the box and the envelopes
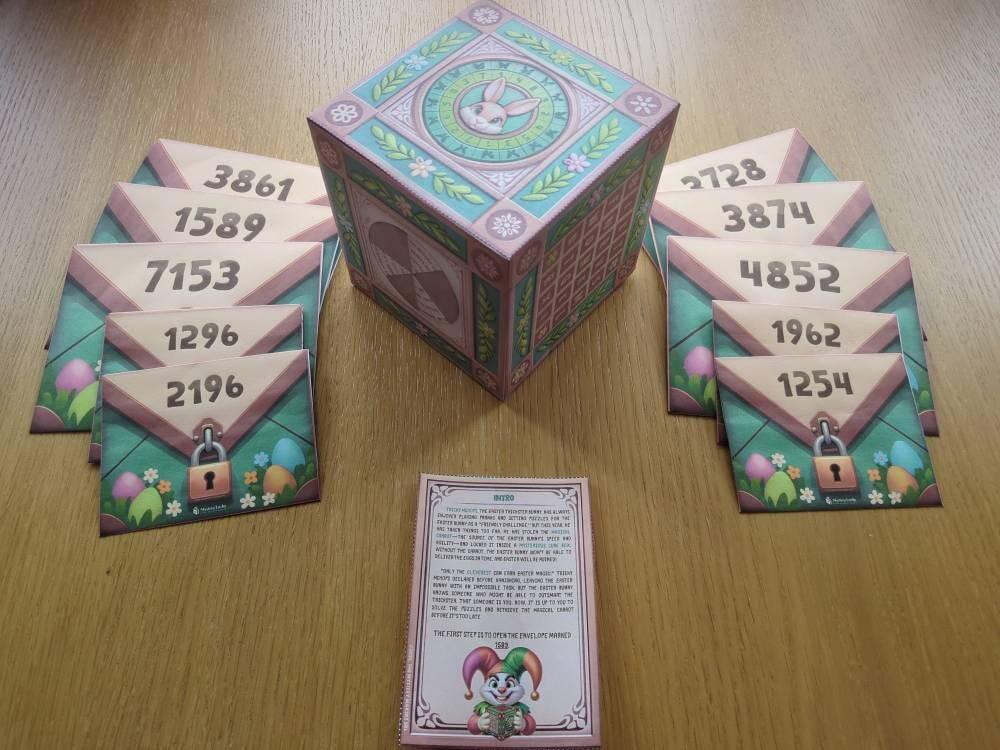
The Easter Escape Room was fun. My 15 and 13 year olds (who are skilled escape roomers) took about 25 minutes to complete it, along with searching the house for the 11 envelopes they needed. The directions and clues were clear.
This one was a bit on the easy side for our family (18-26 years old). But we did enjoy it and will try another one in the future. The next one, we will split up into teams and compete against each other to add a little more excitement.
Couple of suggestions, the font on the cards is hard to read and some of the words were above our pay grade. And honestly, most of the puzzles were solved before our narrator was done reading the card. But overall, it was a great game.
Great game. Whole family enjoyed and difficulty-level was pitched right for my 12 and 13 year old. My only critique would be to improve the contrast of the text on the base layer of puzzle two, as when printed out, the blue text on blue background was a little difficult to read.
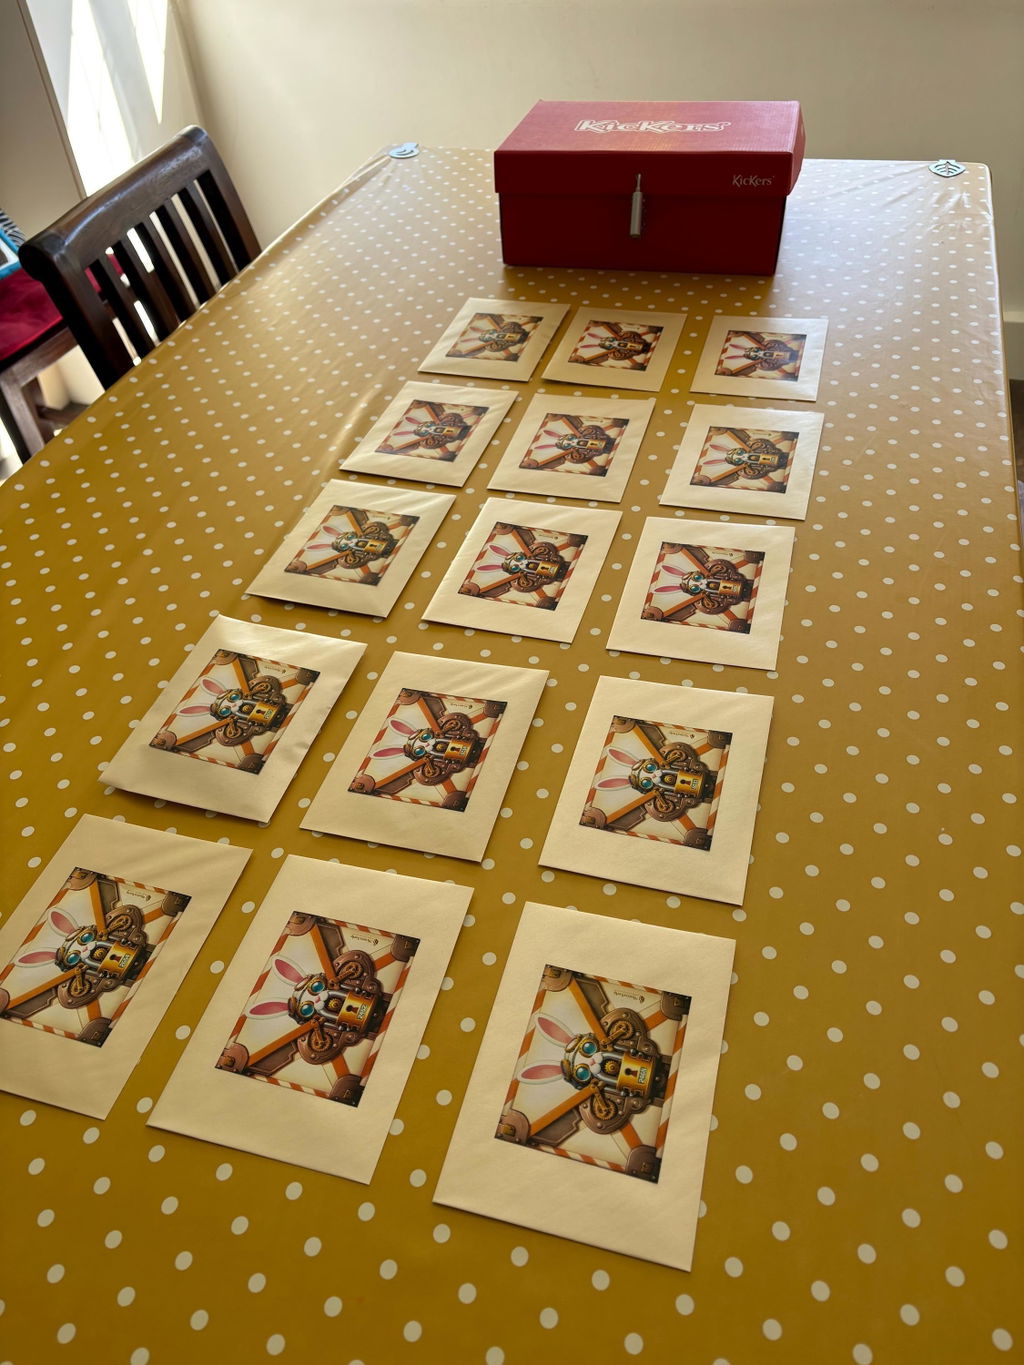
So cute and fun, great graphics!
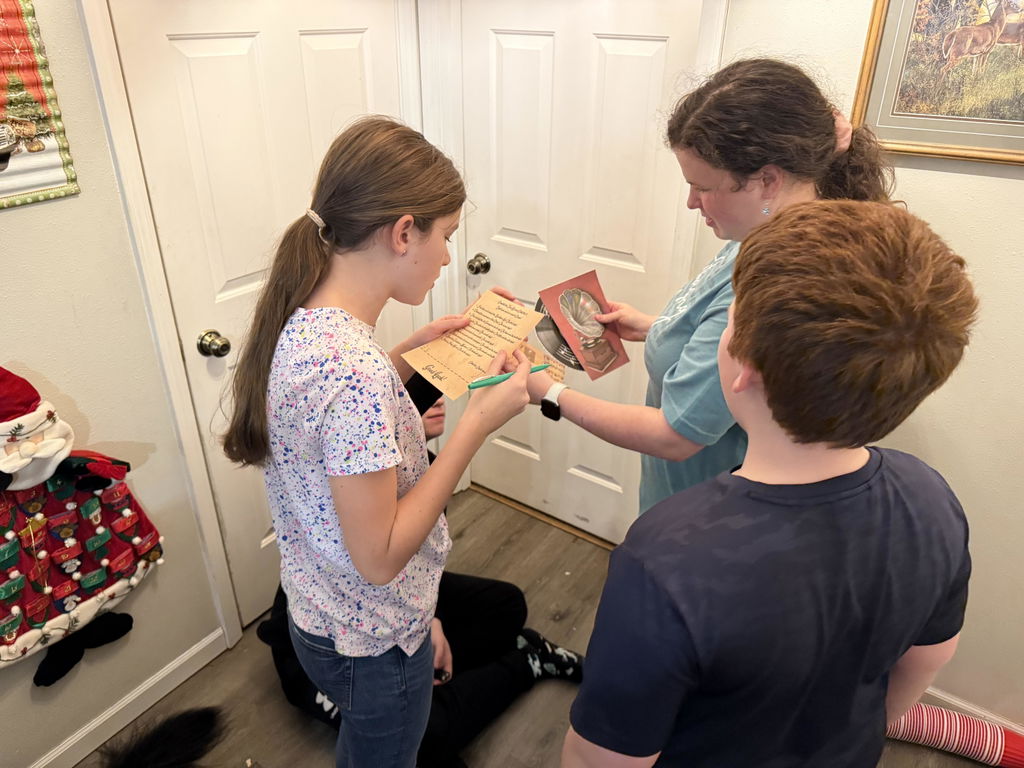
Super fun escape room! Easy to print, cut and set up. I printed 4 sets and split our large family into groups to solve. Everyone had a great time!
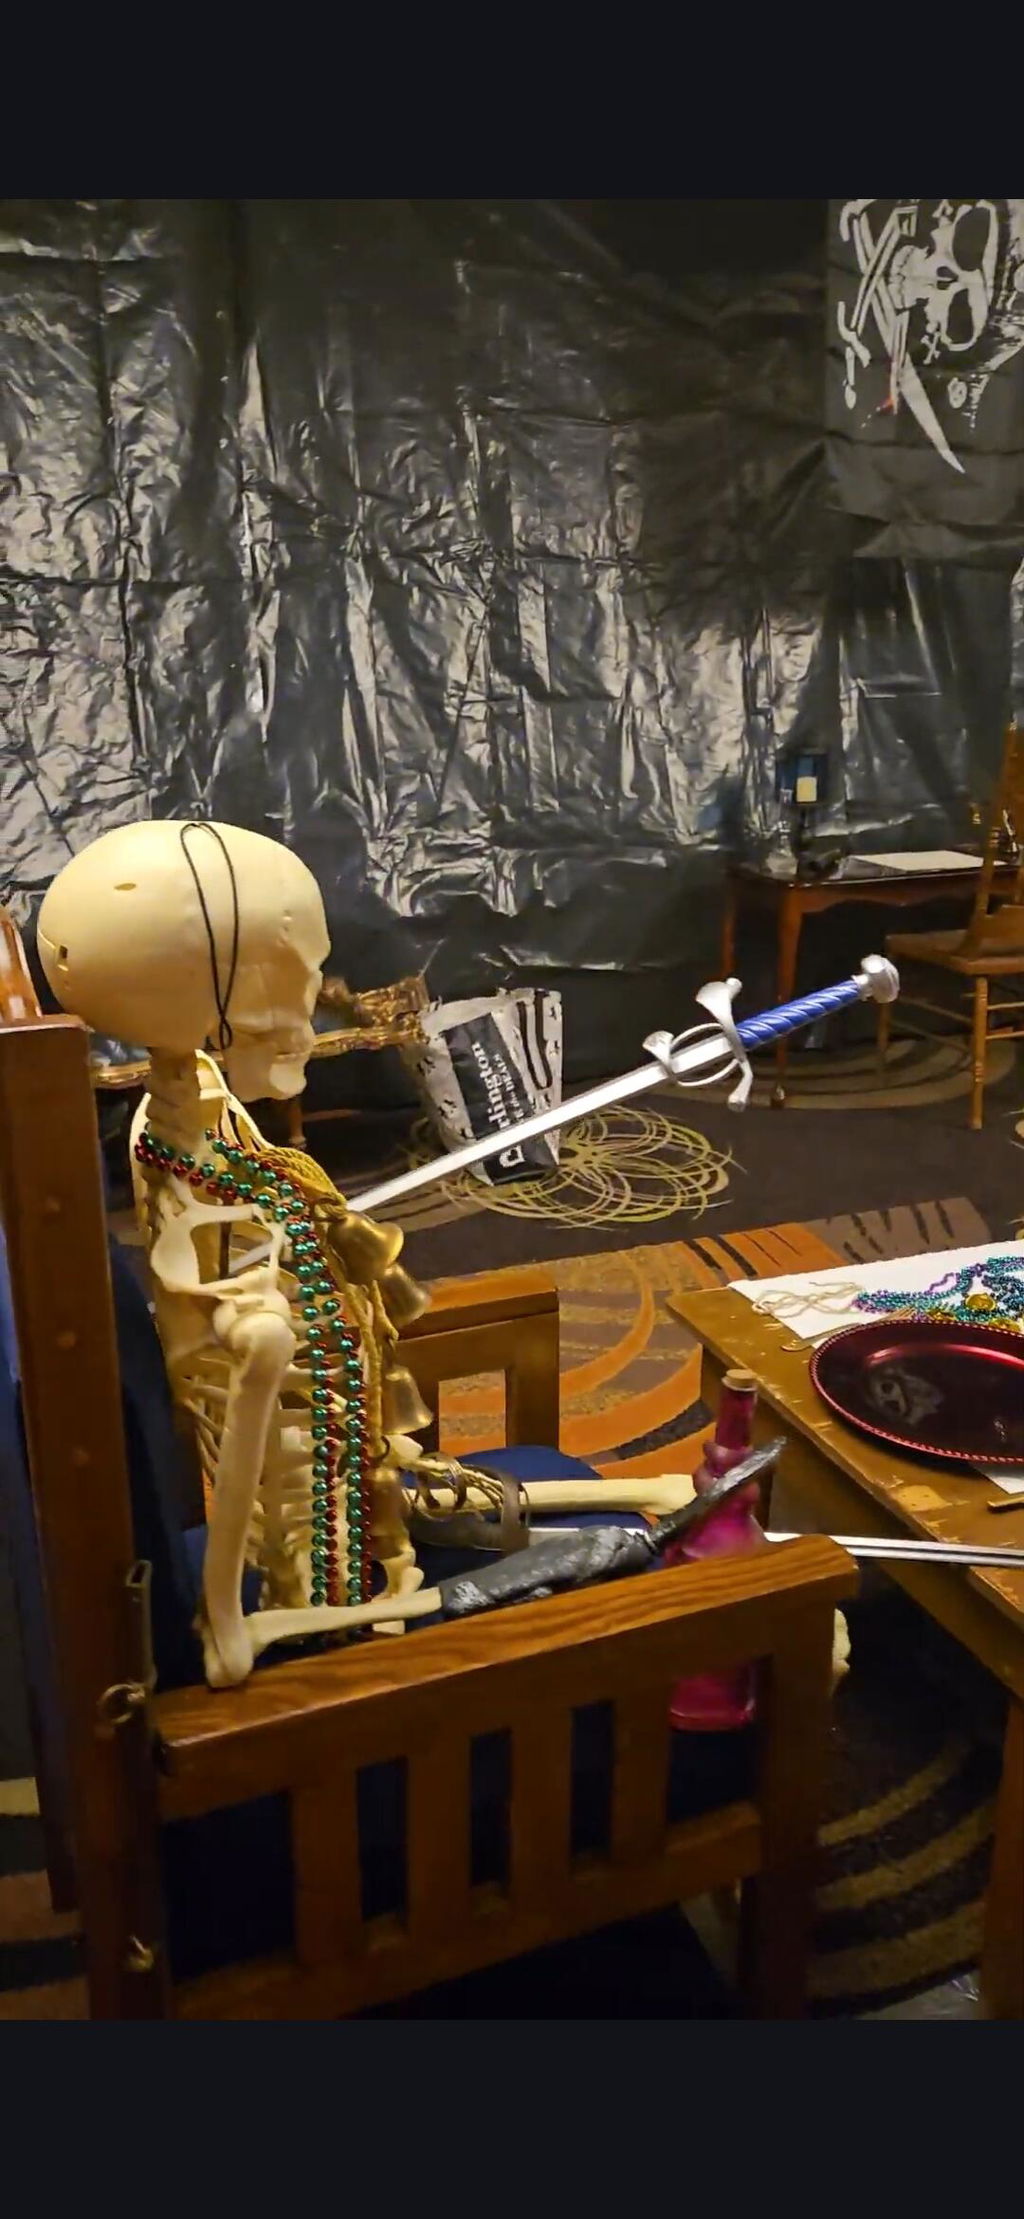
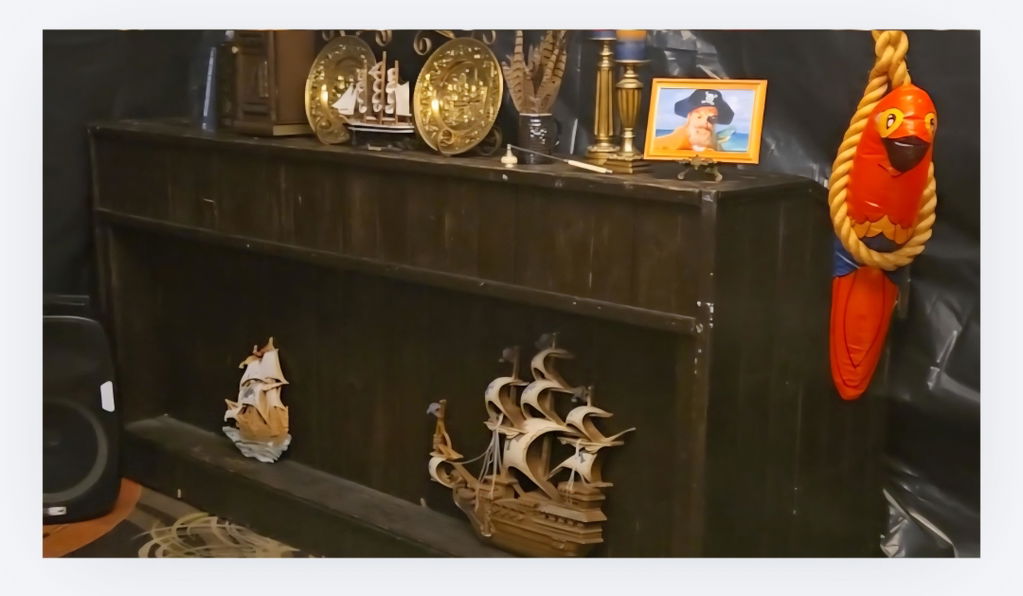
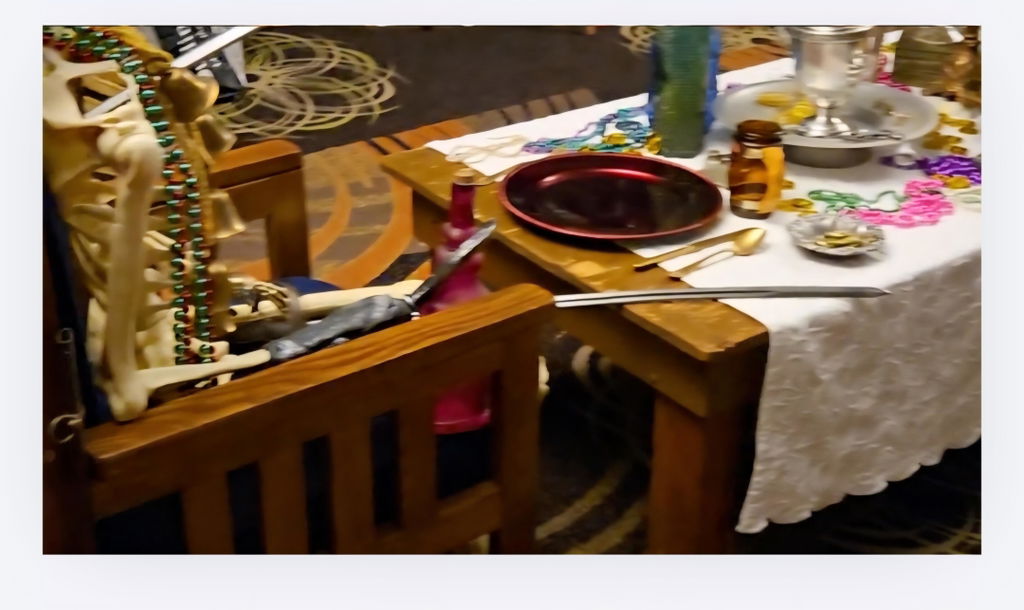
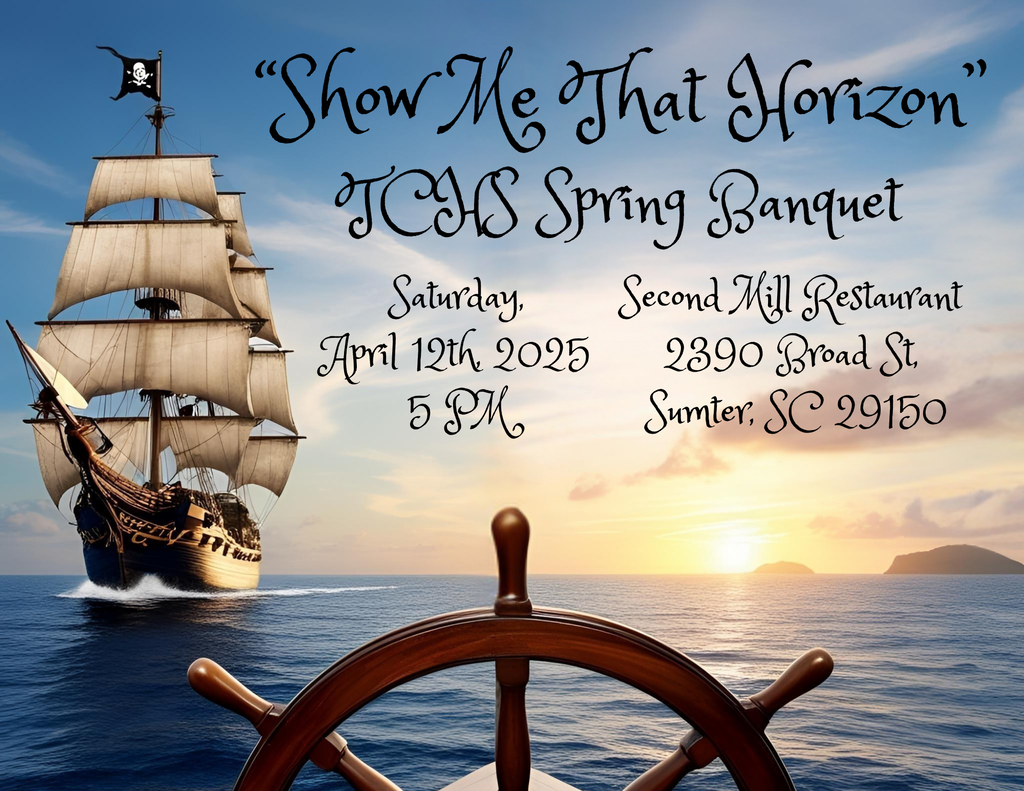
Last year, we bought "The Pirate Box" Escape Room from Mystery Locks to use for our high school's Spring Banquet. We tweaked the story a little and gave it a "Goonies" intro, inviting the students to free "One-Eyed Willie!" We went all out, building a room that modeled the inside of a Pirate ship, complete with skeletons and treasure! The students had a blast! We are looking forward to this year's banquet as we tackle "The Venice Heist!" Thank you, Mystery Locks!
If you would like to see our Escape Room, here is a public link to a silent video through Canva! Thank you!
https://www.canva.com/design/DAHATVV-CZM/FVu4iH8Jmmu6sL8cTWH_Cw/watch?utm_content=DAHATVV-CZM&utm_campaign=designshare&utm_medium=link2&utm_source=uniquelinks&utlId=hda909b91de

The hunt went really well! My kids are 7, 9, and 12, and the level was just about perfect for them with the exception of a couple *really* easy ones. We gave the super easies to my 7 year old, and she was fine with it but one of them was truly too easy, maybe more appropriate for a child just learning to read (to solve the clue you just had to be able to read in a spiral). Otherwise, it was fun and good quality!
Looking forward to trying some of the higher level games and playing with adults!