
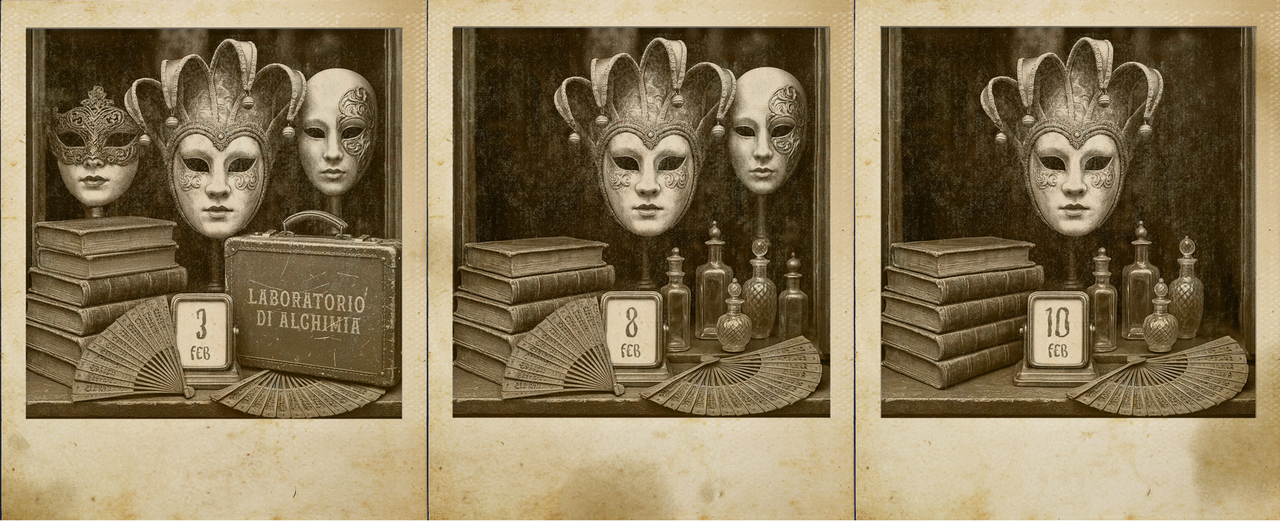
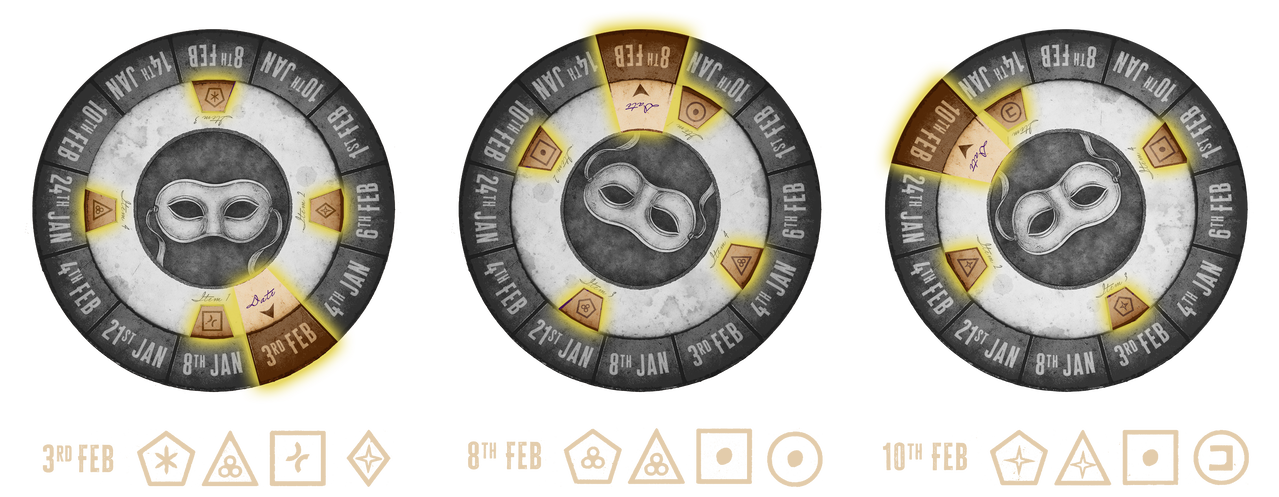
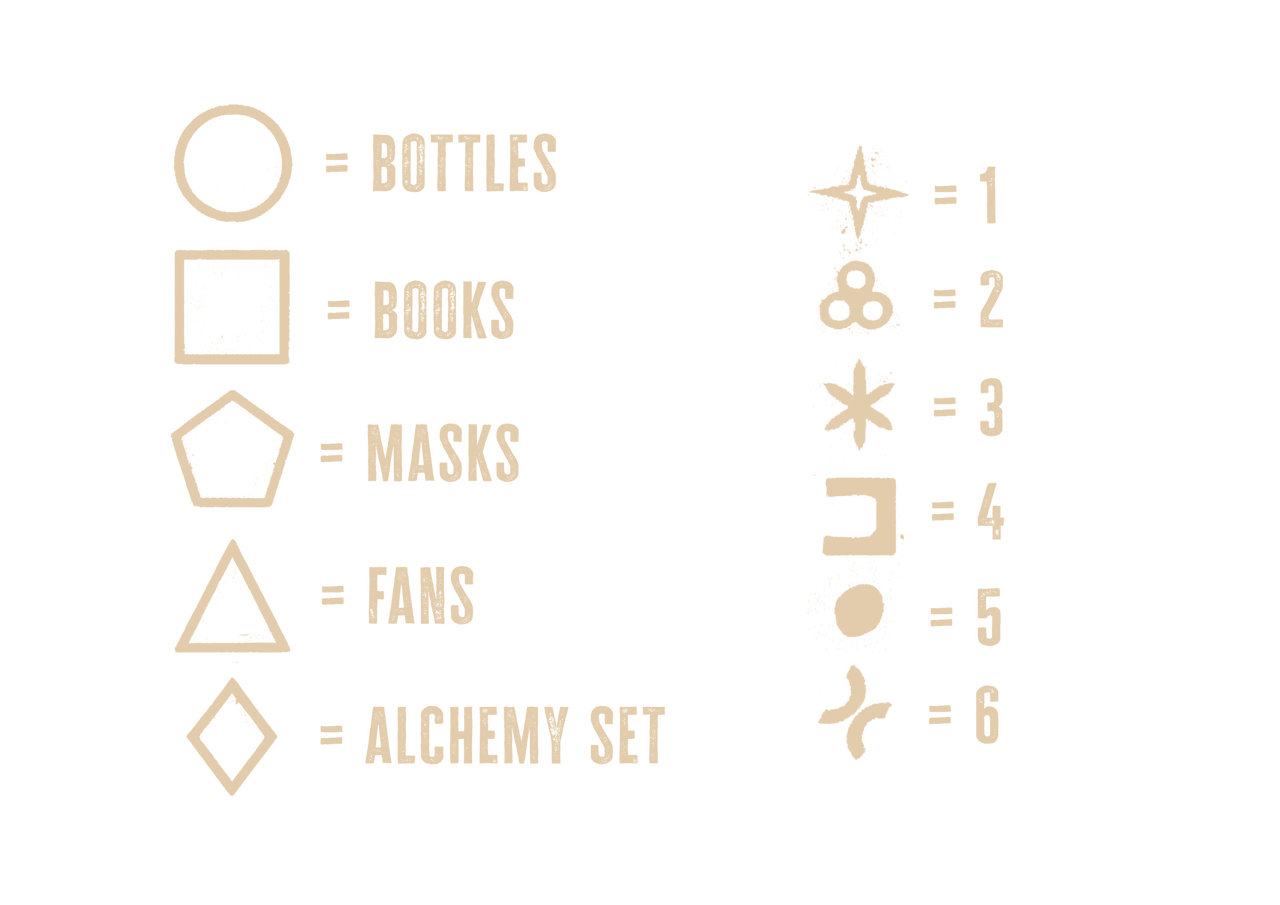
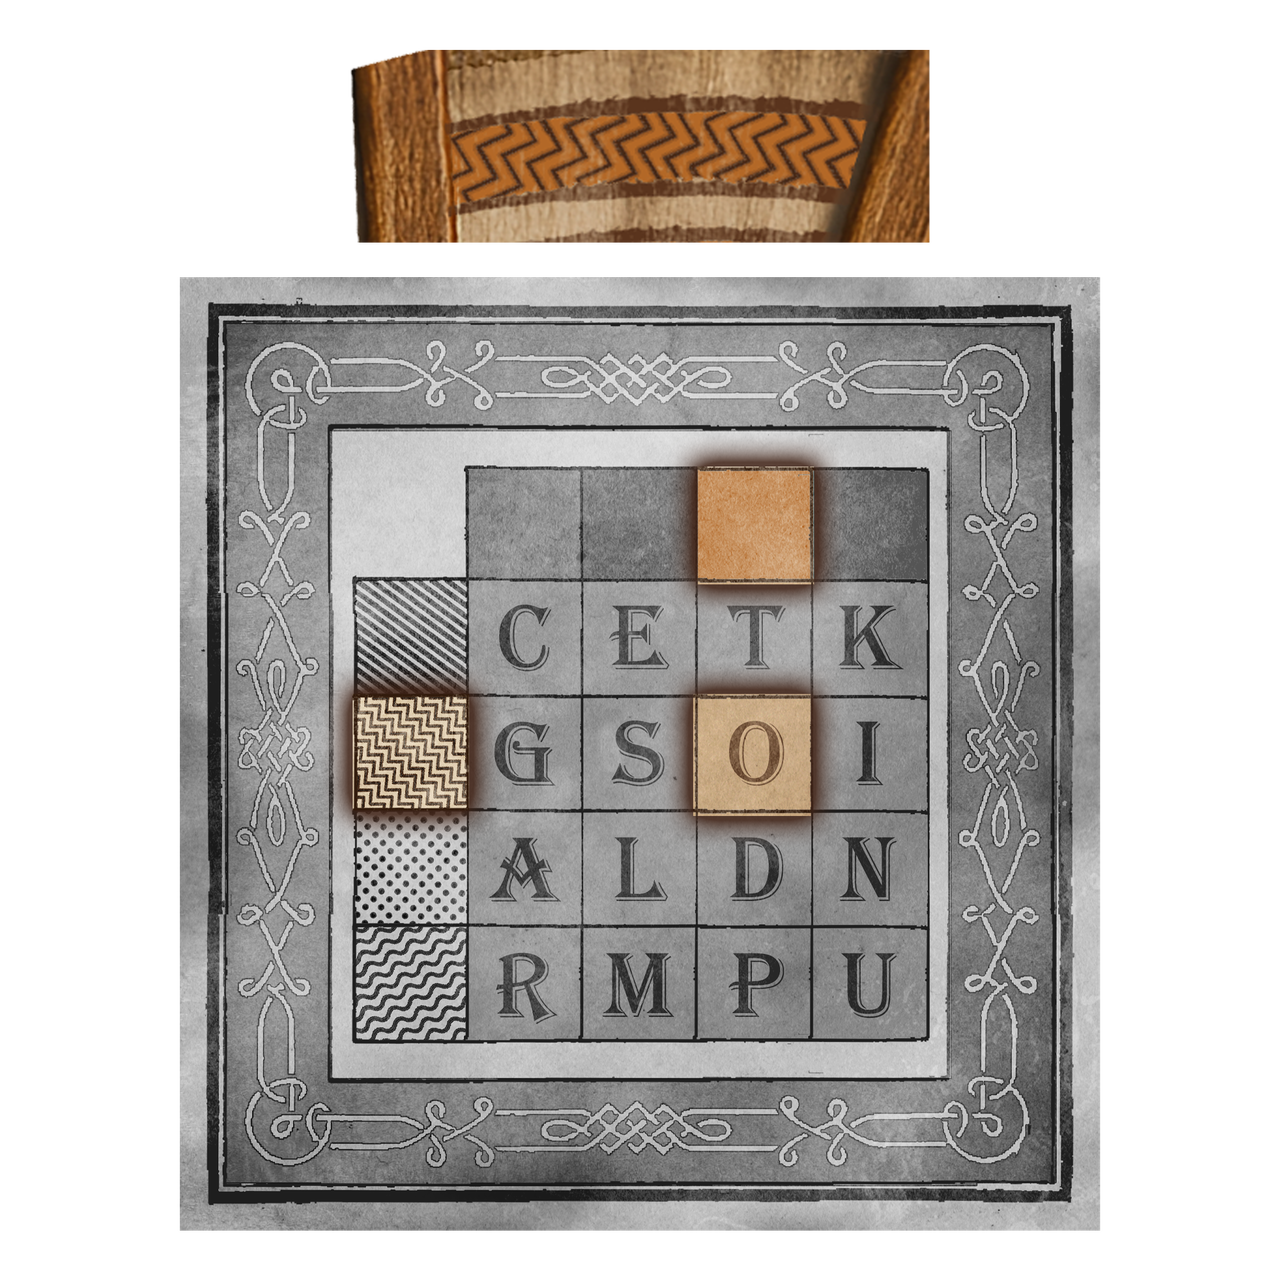



key

GAME SUPPORT & COMPANION

Your Game Companion

Stuck on a clue? Need the mood music? Everything you need to solve MysteryLocks is right here — hints, the atmosphere playlist, answers, tips, and support.

Click to reach the desired section:

key

PROGRESSIVE HINTS

Need a Nudge?

Progressive hints for each stage — start gentle, go bigger if you're really stuck.

Puzzle 1

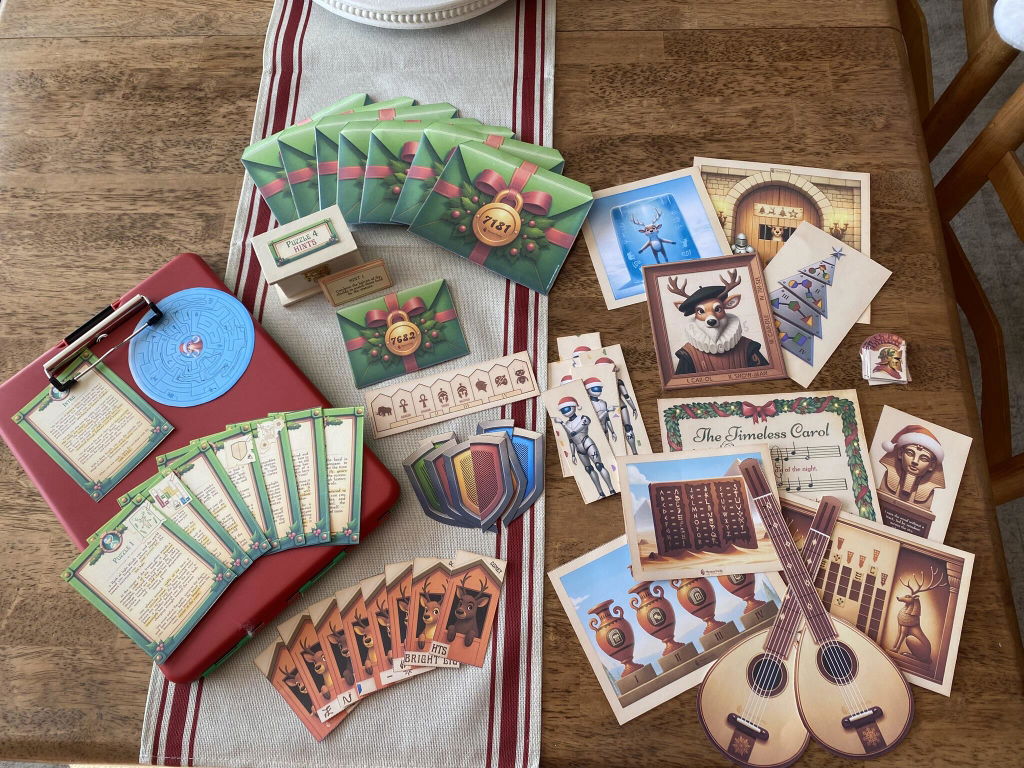
Envelope 6715 contains: Puzzle 1 Story Card, 5 photographs.

Hint 1: Look closely at objects that seem purely decorative. Something on the desk is doing double duty.

Hint 2: The framed portrait's date isn't just decoration — those four numbers matter more than the painting.

Hint 3: Enter the year 1897 into the drawer's brass combination lock, reading it left to right.

Hint 1: The wheel has two rings. You only need to align them once you know the shift.

Hint 2: The note signed "–3" is telling you exactly how far to turn the outer ring.

Hint 3: Shift every letter back by 3 (a Caesar cipher). The scrambled word decodes to RAVEN.

Hint 1: The map looks blank, but it wasn't drawn with ordinary ink. What reveals invisible things?

Hint 2: Hold the parchment up to a warm light source (or the candle) and the routes will appear.

Hint 3: The revealed trail leads to the marked X — the third floorboard beneath the window.

Hint 1: Everything you've unlocked so far has given you a piece. This lock needs all of them combined.

Hint 2: Order matters. Arrange the four symbols the way they appeared across the stages, not alphabetically.

Hint 3: Set the dials to Raven, Key, Moon, Crown — then turn the brass handle clockwise.

Hint 1: The final clue isn't hidden in the room — it's been in your hand since the beginning.

Hint 2: Flip over the very first card you drew. The back holds a phrase you skipped past.

Hint 3: Speak the phrase "The key was trust" aloud to your host — that's your final answer.

Puzzle 2

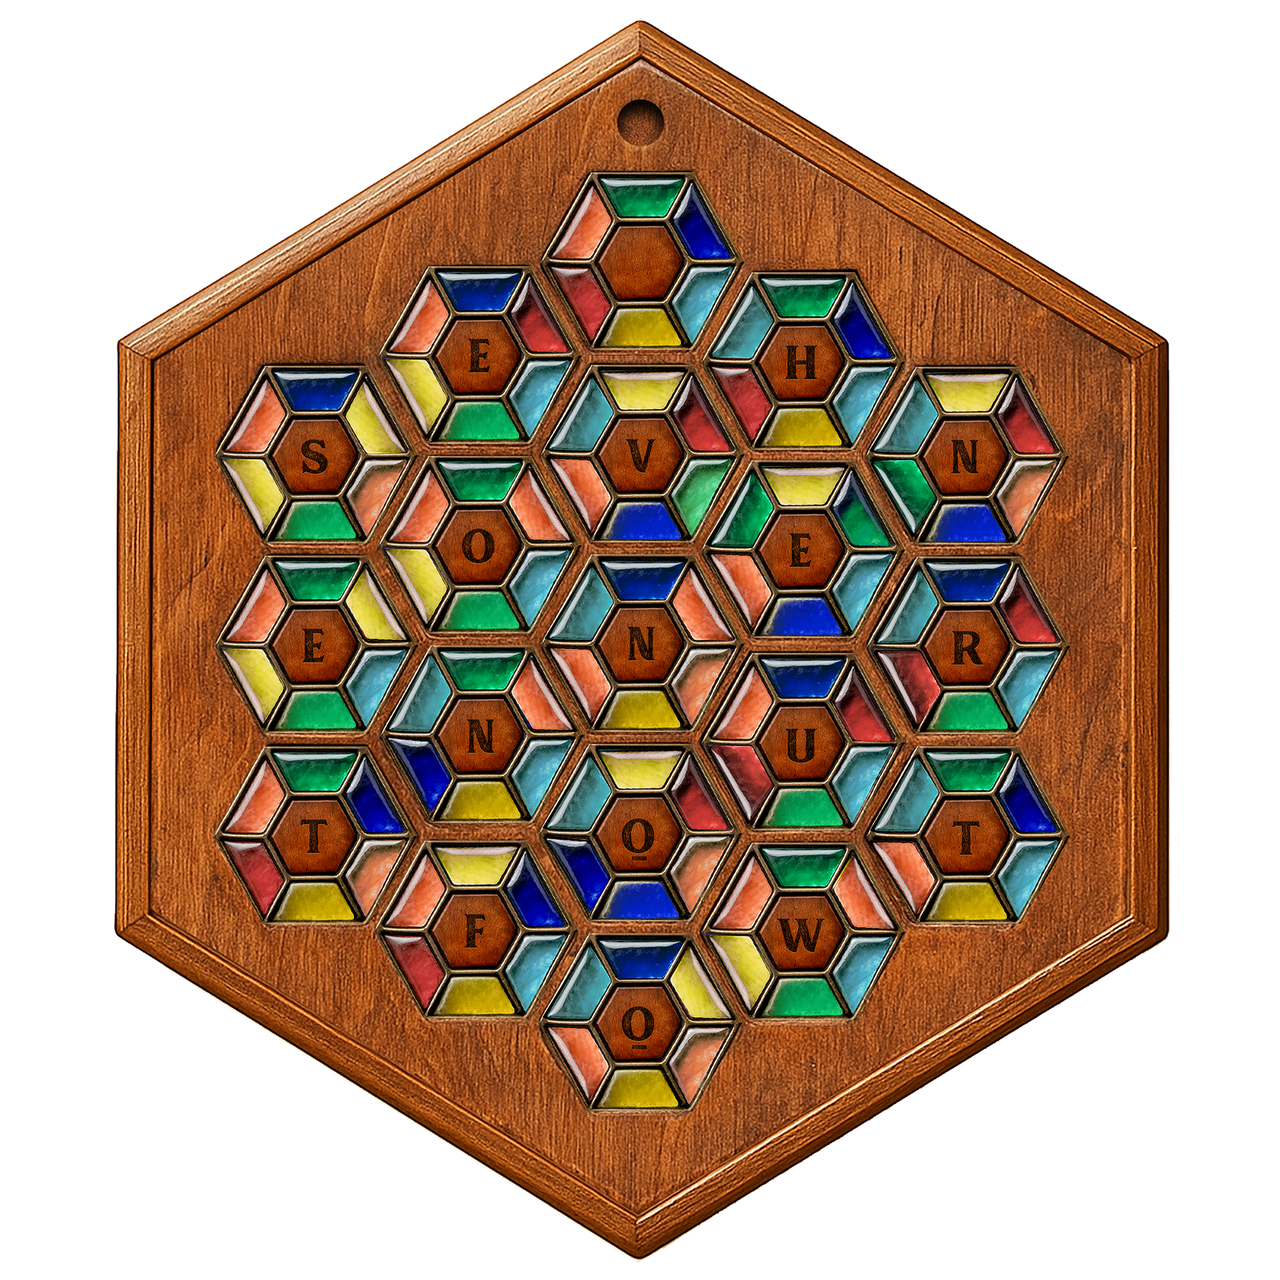
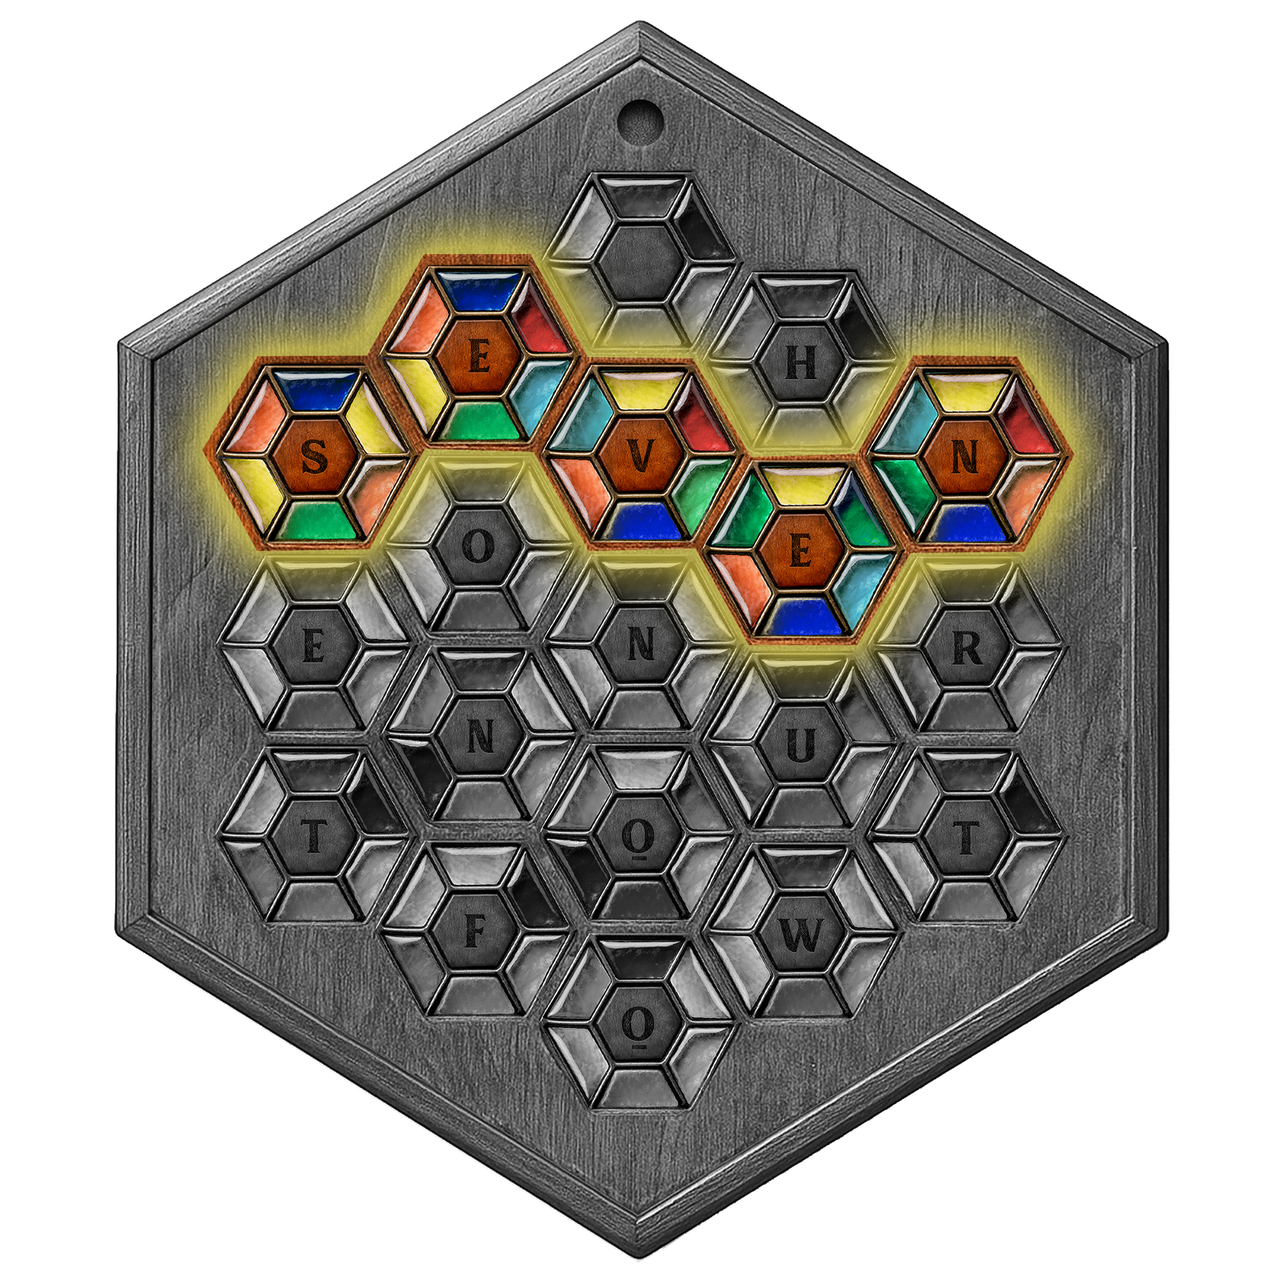
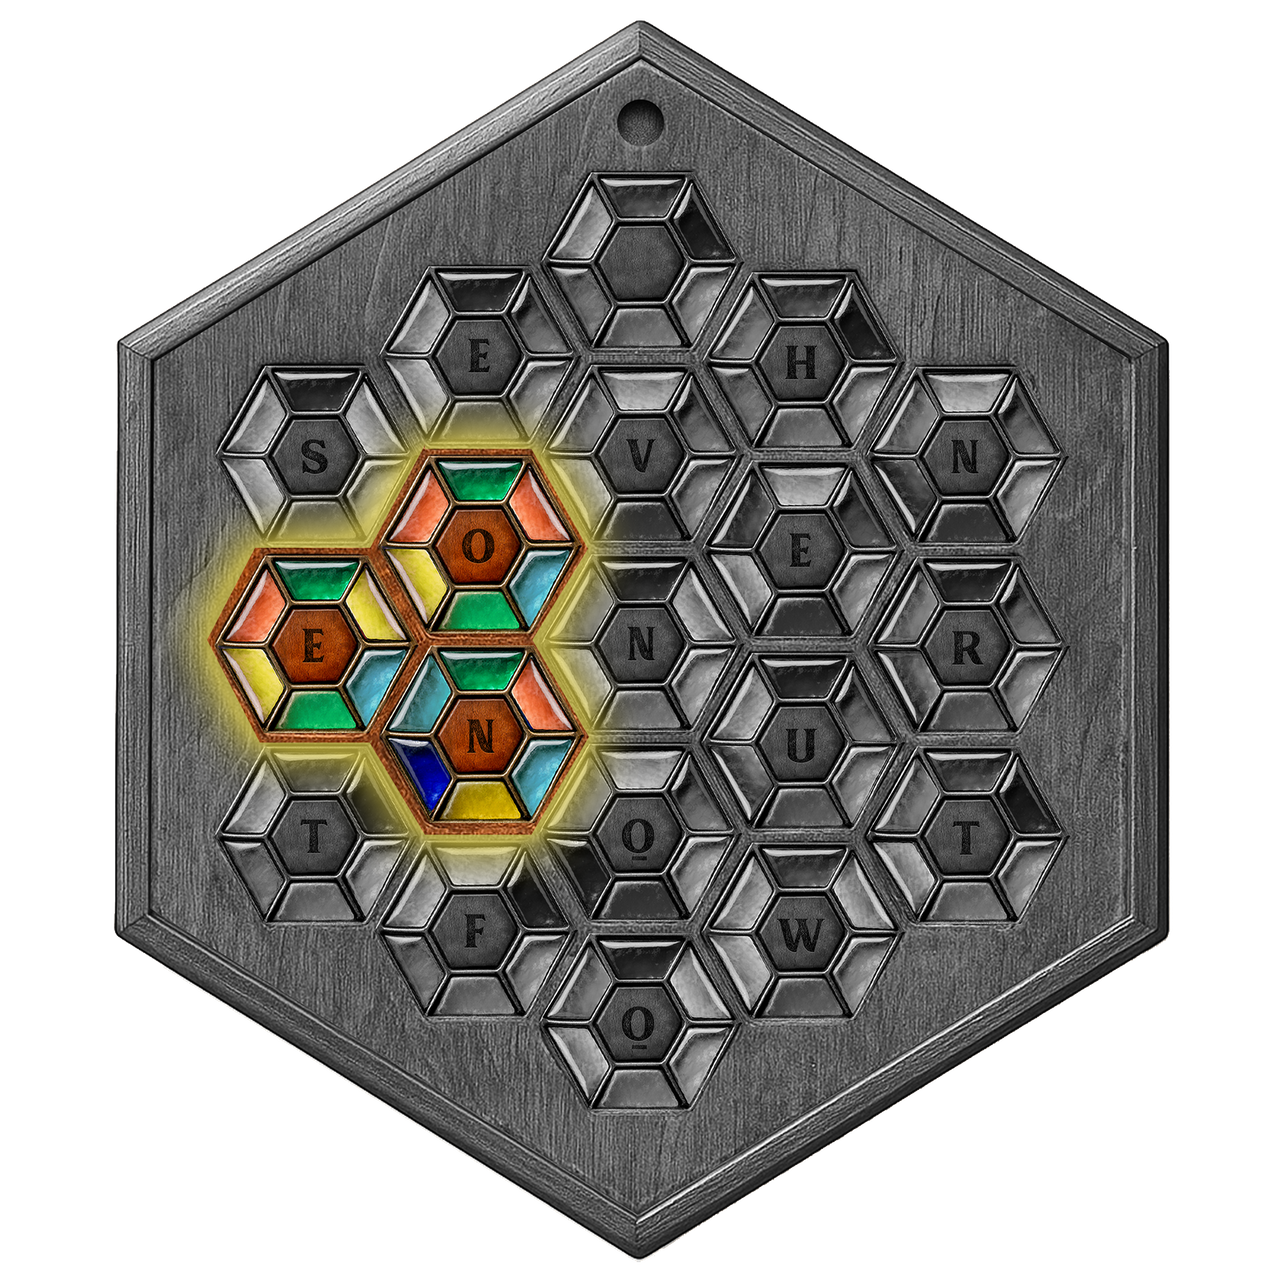
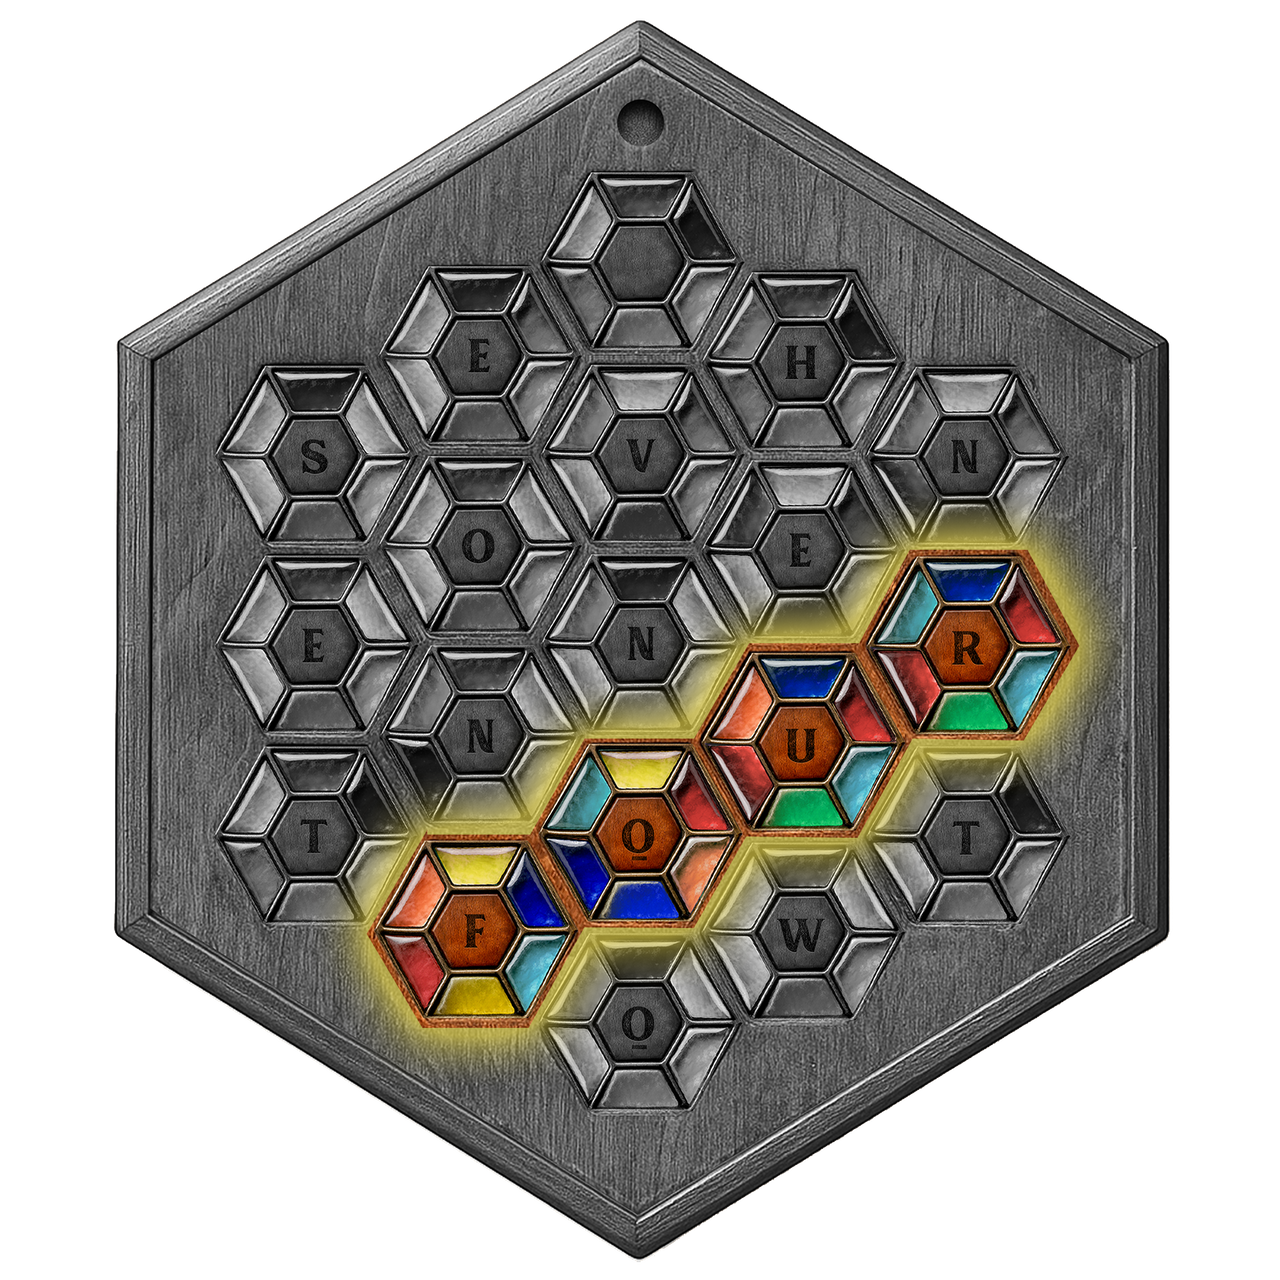
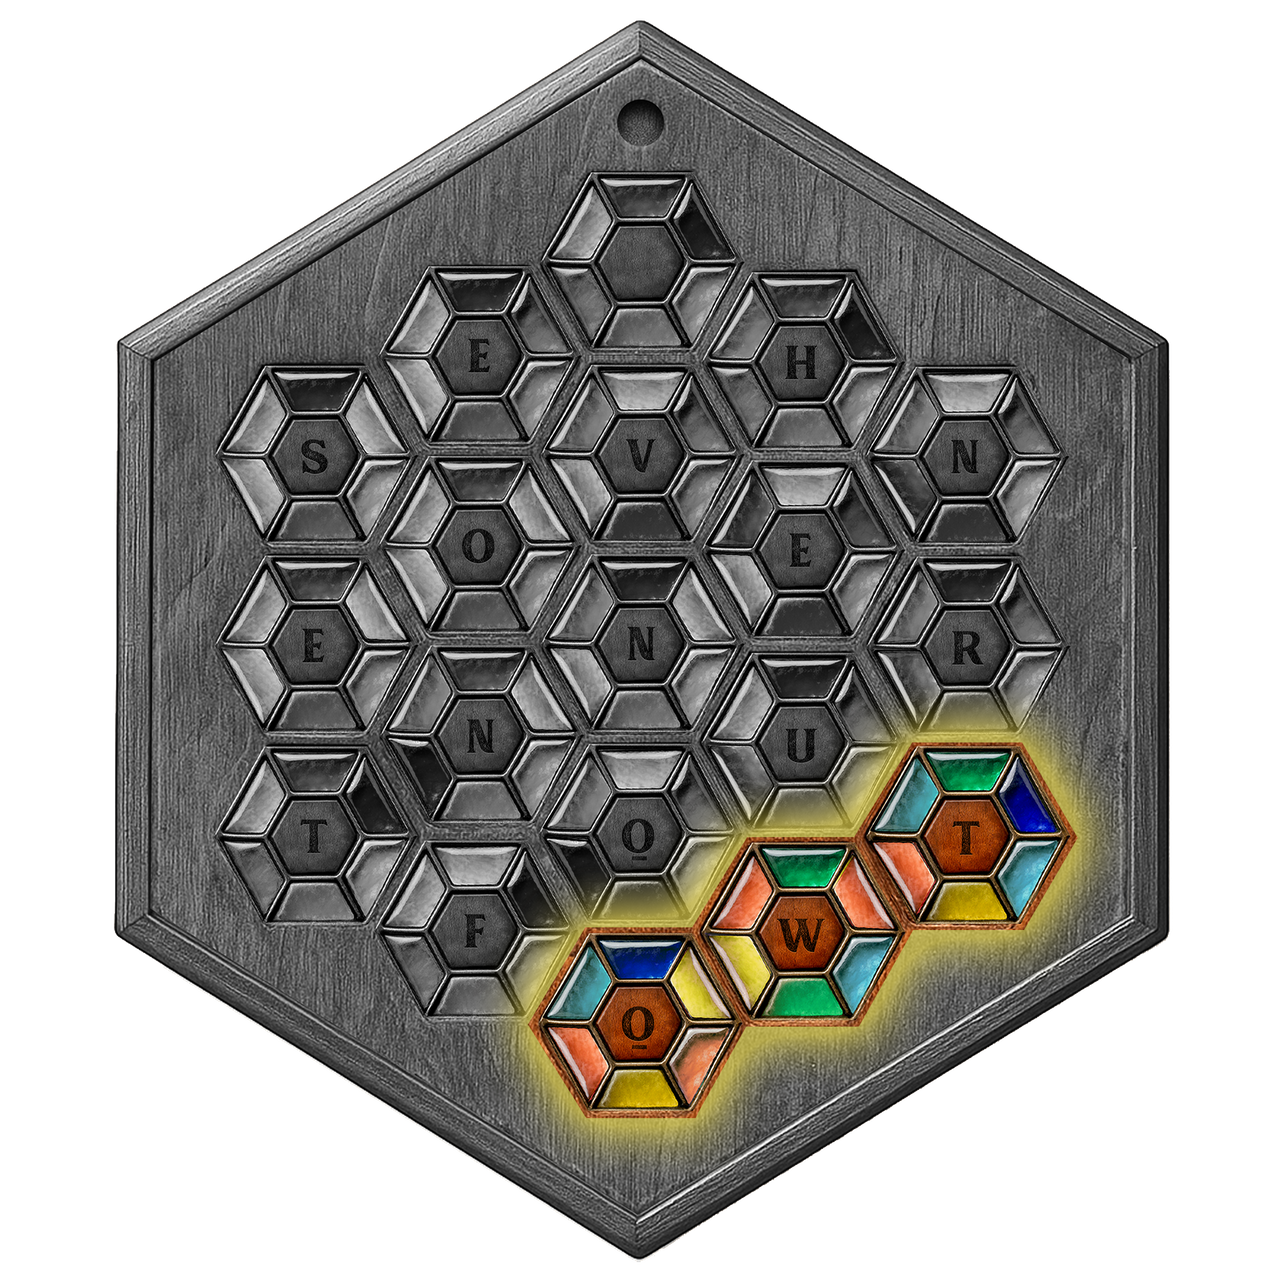
Envelope 7514 contains: Puzzle 2 Story Card, a wooden board, 8 stained glass tiles, a placement instruction sheet.

Hint 1: Look closely at objects that seem purely decorative. Something on the desk is doing double duty.

Hint 2: The framed portrait's date isn't just decoration — those four numbers matter more than the painting.

Hint 3: Enter the year 1897 into the drawer's brass combination lock, reading it left to right.

Hint 1: The wheel has two rings. You only need to align them once you know the shift.

Hint 2: The note signed "–3" is telling you exactly how far to turn the outer ring.

Hint 3: Shift every letter back by 3 (a Caesar cipher). The scrambled word decodes to RAVEN.

Hint 1: The map looks blank, but it wasn't drawn with ordinary ink. What reveals invisible things?

Hint 2: Hold the parchment up to a warm light source (or the candle) and the routes will appear.

Hint 3: The revealed trail leads to the marked X — the third floorboard beneath the window.

Hint 1: Everything you've unlocked so far has given you a piece. This lock needs all of them combined.

Hint 2: Order matters. Arrange the four symbols the way they appeared across the stages, not alphabetically.

Hint 3: Set the dials to Raven, Key, Moon, Crown — then turn the brass handle clockwise.

Hint 1: The final clue isn't hidden in the room — it's been in your hand since the beginning.

Hint 2: Flip over the very first card you drew. The back holds a phrase you skipped past.

Hint 3: Speak the phrase "The key was trust" aloud to your host — that's your final answer.

Puzzle 3

Envelope 7142 contains: Puzzle 3 Story Card, a large disk, a small disk, 3 photographs.

Hint 1: Look closely at objects that seem purely decorative. Something on the desk is doing double duty.

Hint 2: The framed portrait's date isn't just decoration — those four numbers matter more than the painting.

Hint 3: Enter the year 1897 into the drawer's brass combination lock, reading it left to right.

Hint 1: The wheel has two rings. You only need to align them once you know the shift.

Hint 2: The note signed "–3" is telling you exactly how far to turn the outer ring.

Hint 3: Shift every letter back by 3 (a Caesar cipher). The scrambled word decodes to RAVEN.

Hint 1: The map looks blank, but it wasn't drawn with ordinary ink. What reveals invisible things?

Hint 2: Hold the parchment up to a warm light source (or the candle) and the routes will appear.

Hint 3: The revealed trail leads to the marked X — the third floorboard beneath the window.

Hint 1: Everything you've unlocked so far has given you a piece. This lock needs all of them combined.

Hint 2: Order matters. Arrange the four symbols the way they appeared across the stages, not alphabetically.

Hint 3: Set the dials to Raven, Key, Moon, Crown — then turn the brass handle clockwise.

Hint 1: The final clue isn't hidden in the room — it's been in your hand since the beginning.

Hint 2: Flip over the very first card you drew. The back holds a phrase you skipped past.

Hint 3: Speak the phrase "The key was trust" aloud to your host — that's your final answer.

Puzzle 4

Envelope 6143 contains: Puzzle 4 Story Card, a fan, 6 music sheet fragments, a color and pattern grid, a fan reading instruction sheet.

Hint 1: Look closely at objects that seem purely decorative. Something on the desk is doing double duty.

Hint 2: The framed portrait's date isn't just decoration — those four numbers matter more than the painting.

Hint 3: Enter the year 1897 into the drawer's brass combination lock, reading it left to right.

Hint 1: The wheel has two rings. You only need to align them once you know the shift.

Hint 2: The note signed "–3" is telling you exactly how far to turn the outer ring.

Hint 3: Shift every letter back by 3 (a Caesar cipher). The scrambled word decodes to RAVEN.

Hint 1: The map looks blank, but it wasn't drawn with ordinary ink. What reveals invisible things?

Hint 2: Hold the parchment up to a warm light source (or the candle) and the routes will appear.

Hint 3: The revealed trail leads to the marked X — the third floorboard beneath the window.

Hint 1: Everything you've unlocked so far has given you a piece. This lock needs all of them combined.

Hint 2: Order matters. Arrange the four symbols the way they appeared across the stages, not alphabetically.

Hint 3: Set the dials to Raven, Key, Moon, Crown — then turn the brass handle clockwise.

Hint 1: The final clue isn't hidden in the room — it's been in your hand since the beginning.

Hint 2: Flip over the very first card you drew. The back holds a phrase you skipped past.

Hint 3: Speak the phrase "The key was trust" aloud to your host — that's your final answer.

Puzzle 5

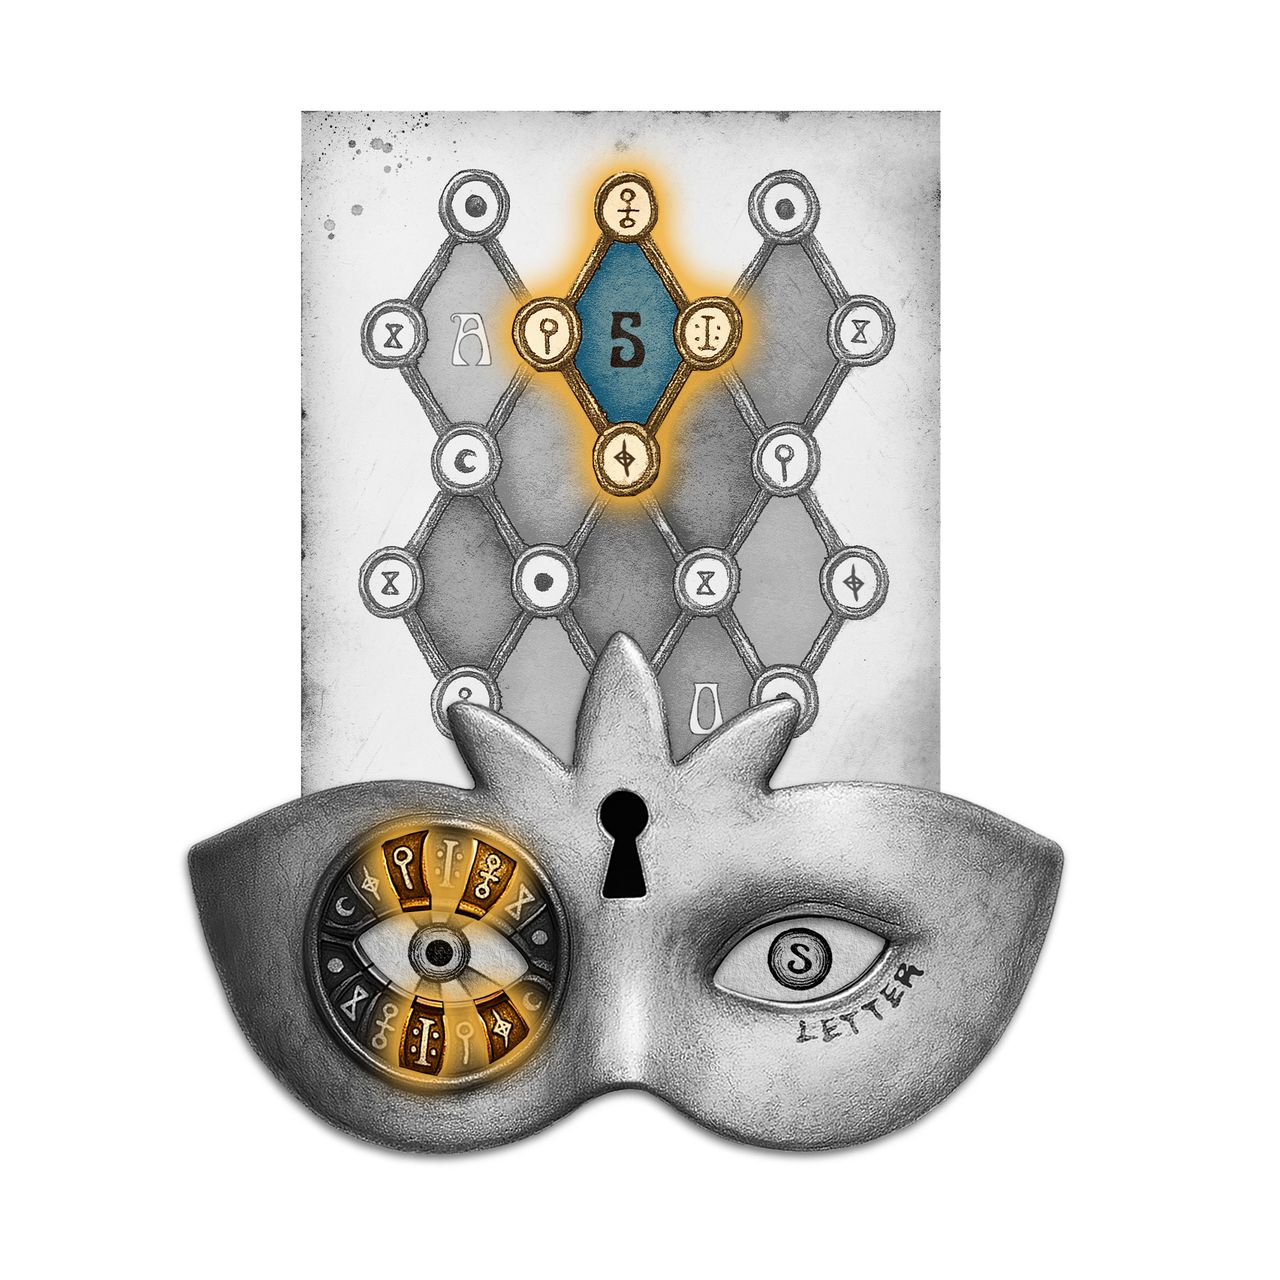
Envelope 6382 contains: Puzzle 5 Story Card, a gold mask, a mask placement board, a colored diamond sheet, a diamond reading guide.

Hint 1: Look closely at objects that seem purely decorative. Something on the desk is doing double duty.

Hint 2: The framed portrait's date isn't just decoration — those four numbers matter more than the painting.

Hint 3: Enter the year 1897 into the drawer's brass combination lock, reading it left to right.

Hint 1: The wheel has two rings. You only need to align them once you know the shift.

Hint 2: The note signed "–3" is telling you exactly how far to turn the outer ring.

Hint 3: Shift every letter back by 3 (a Caesar cipher). The scrambled word decodes to RAVEN.

Hint 1: The map looks blank, but it wasn't drawn with ordinary ink. What reveals invisible things?

Hint 2: Hold the parchment up to a warm light source (or the candle) and the routes will appear.

Hint 3: The revealed trail leads to the marked X — the third floorboard beneath the window.

Hint 1: Everything you've unlocked so far has given you a piece. This lock needs all of them combined.

Hint 2: Order matters. Arrange the four symbols the way they appeared across the stages, not alphabetically.

Hint 3: Set the dials to Raven, Key, Moon, Crown — then turn the brass handle clockwise.

Hint 1: The final clue isn't hidden in the room — it's been in your hand since the beginning.

Hint 2: Flip over the very first card you drew. The back holds a phrase you skipped past.

Hint 3: Speak the phrase "The key was trust" aloud to your host — that's your final answer.

Puzzle 6

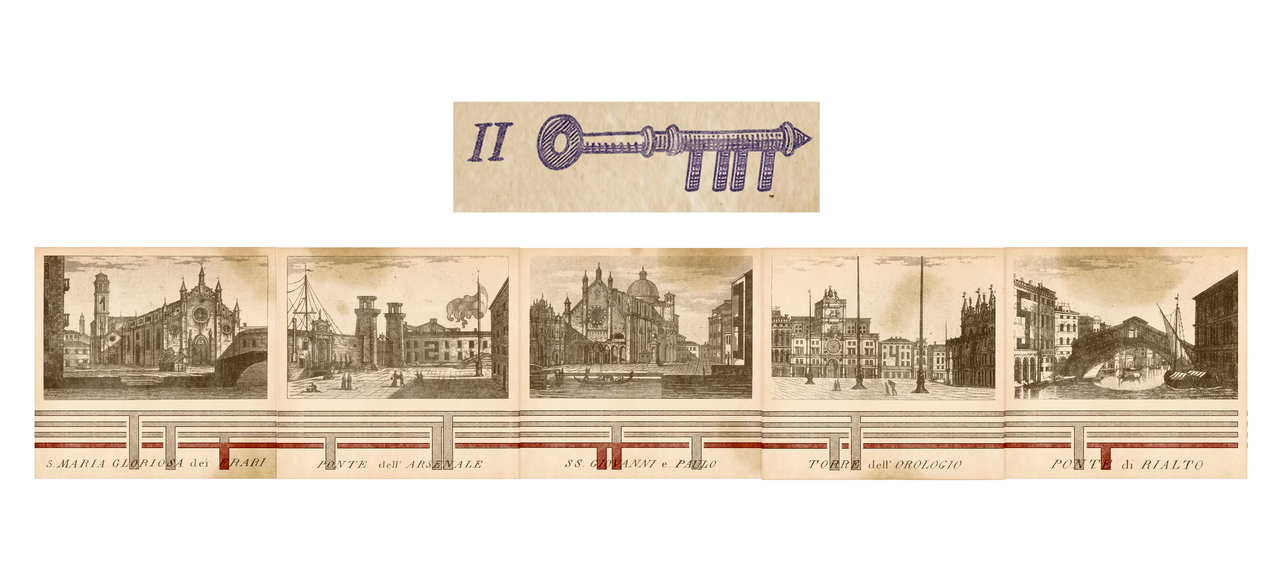
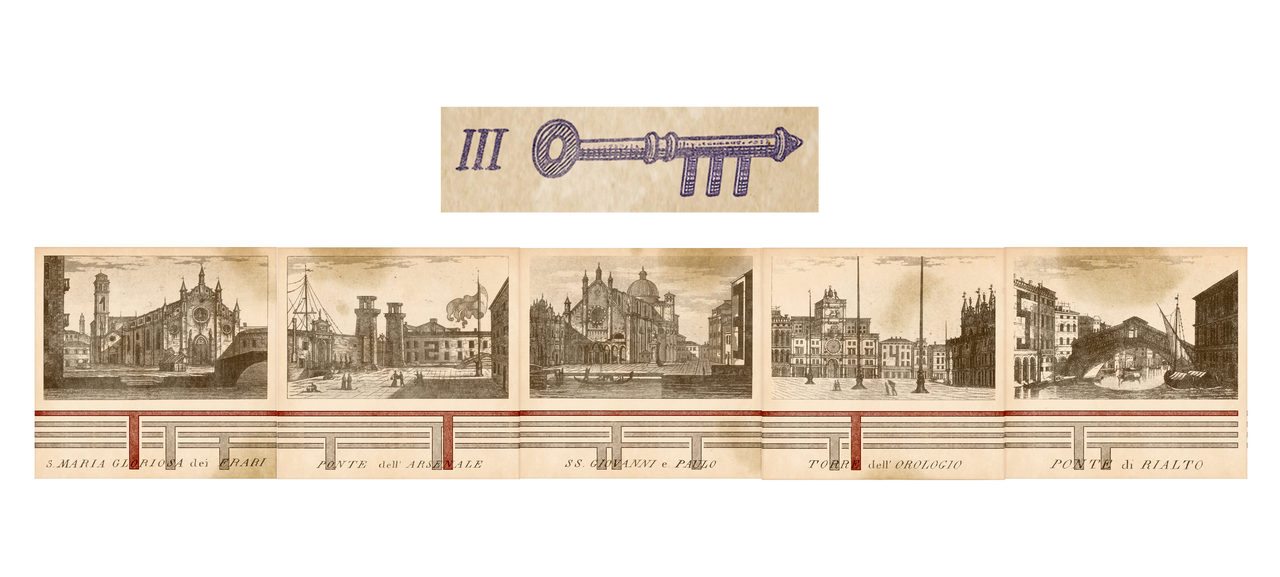
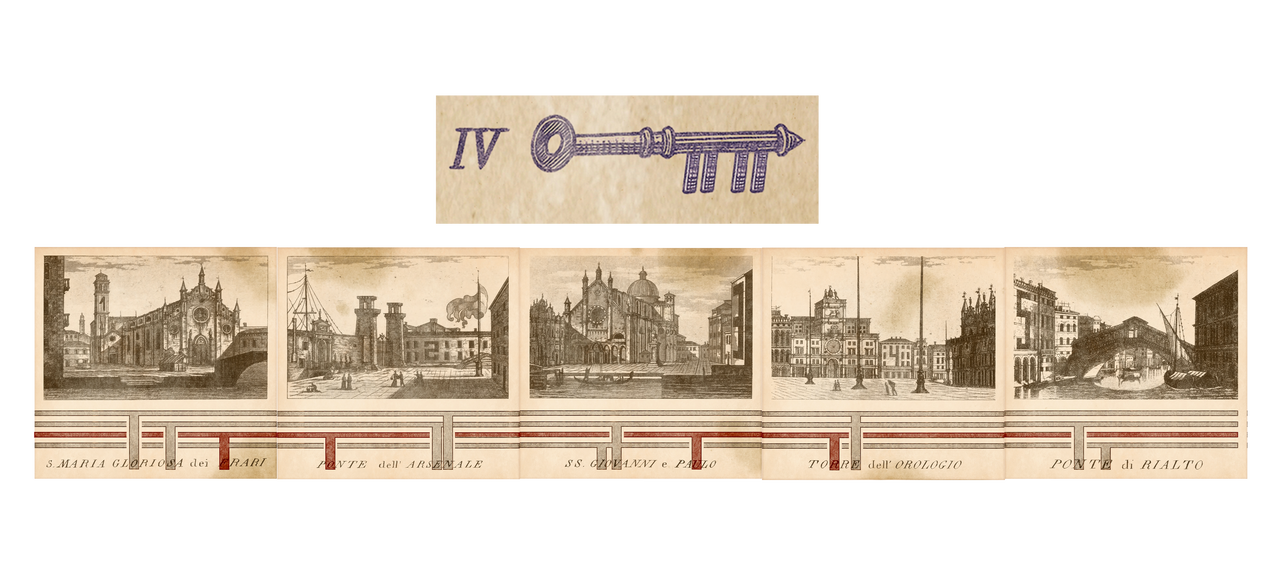
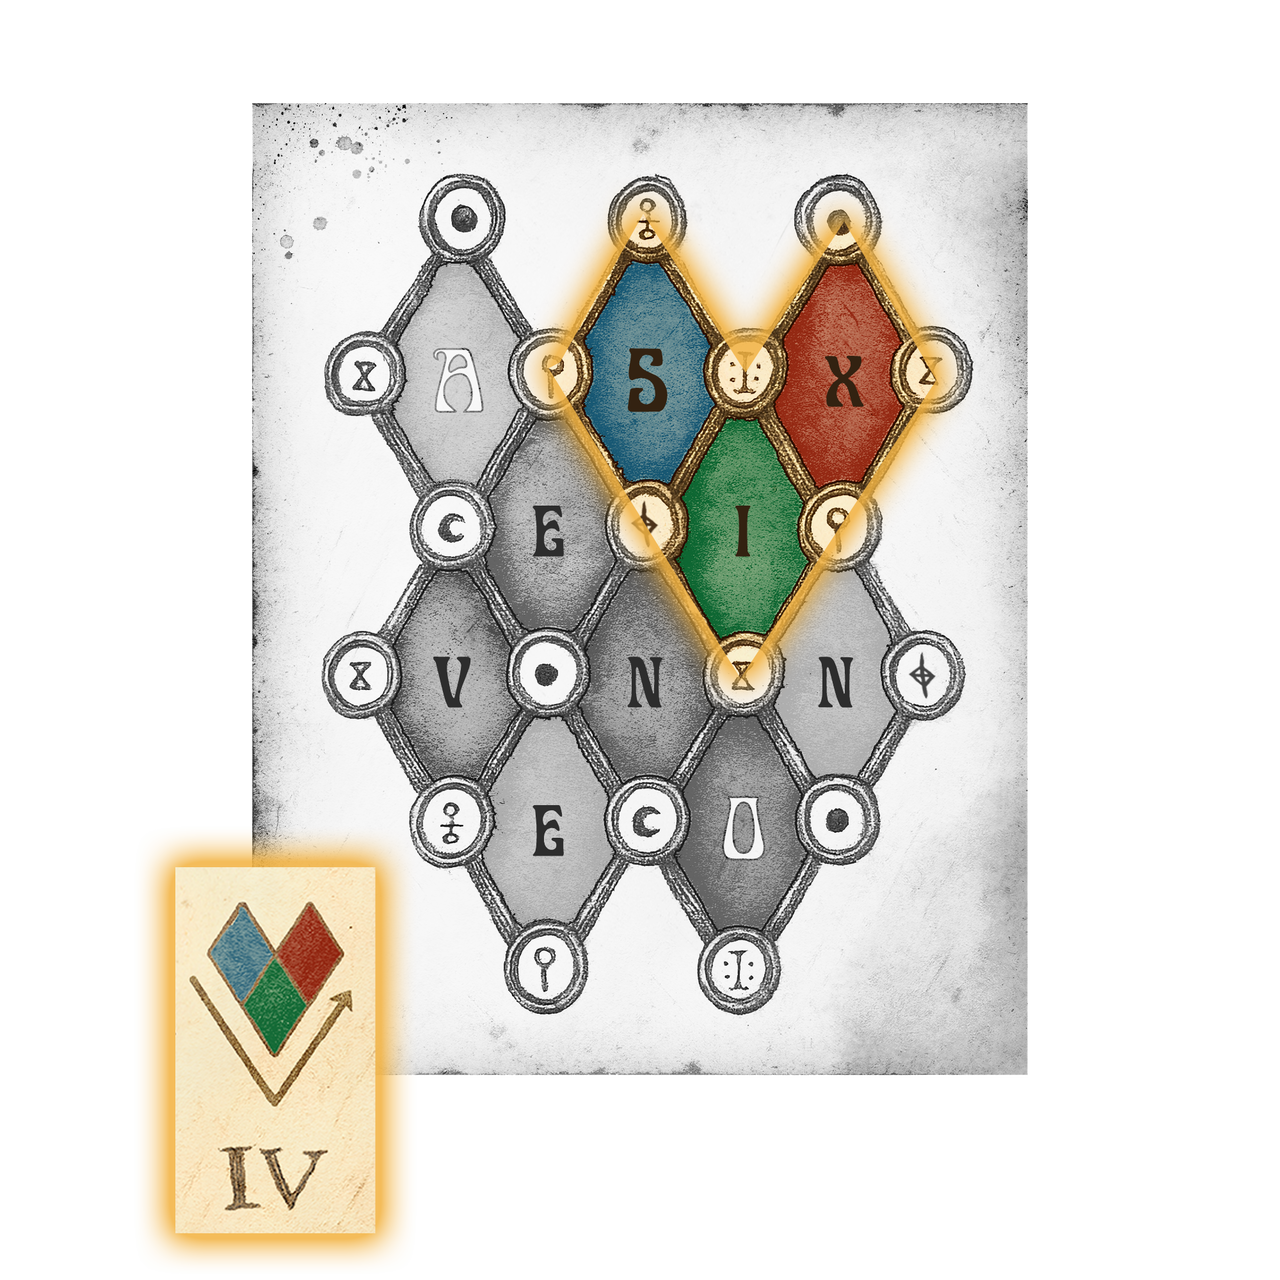
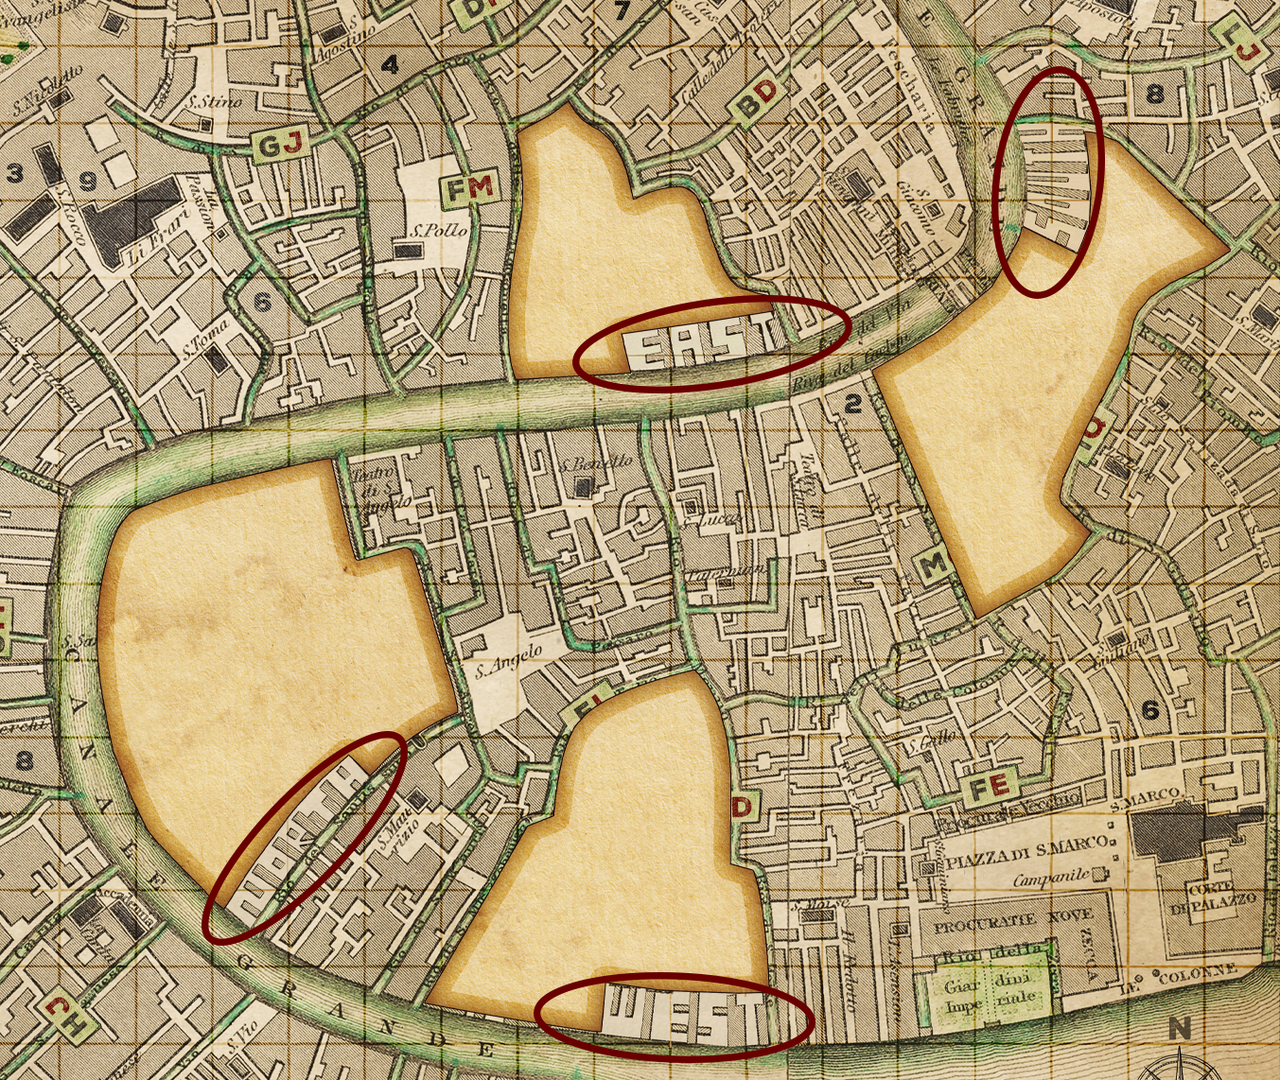
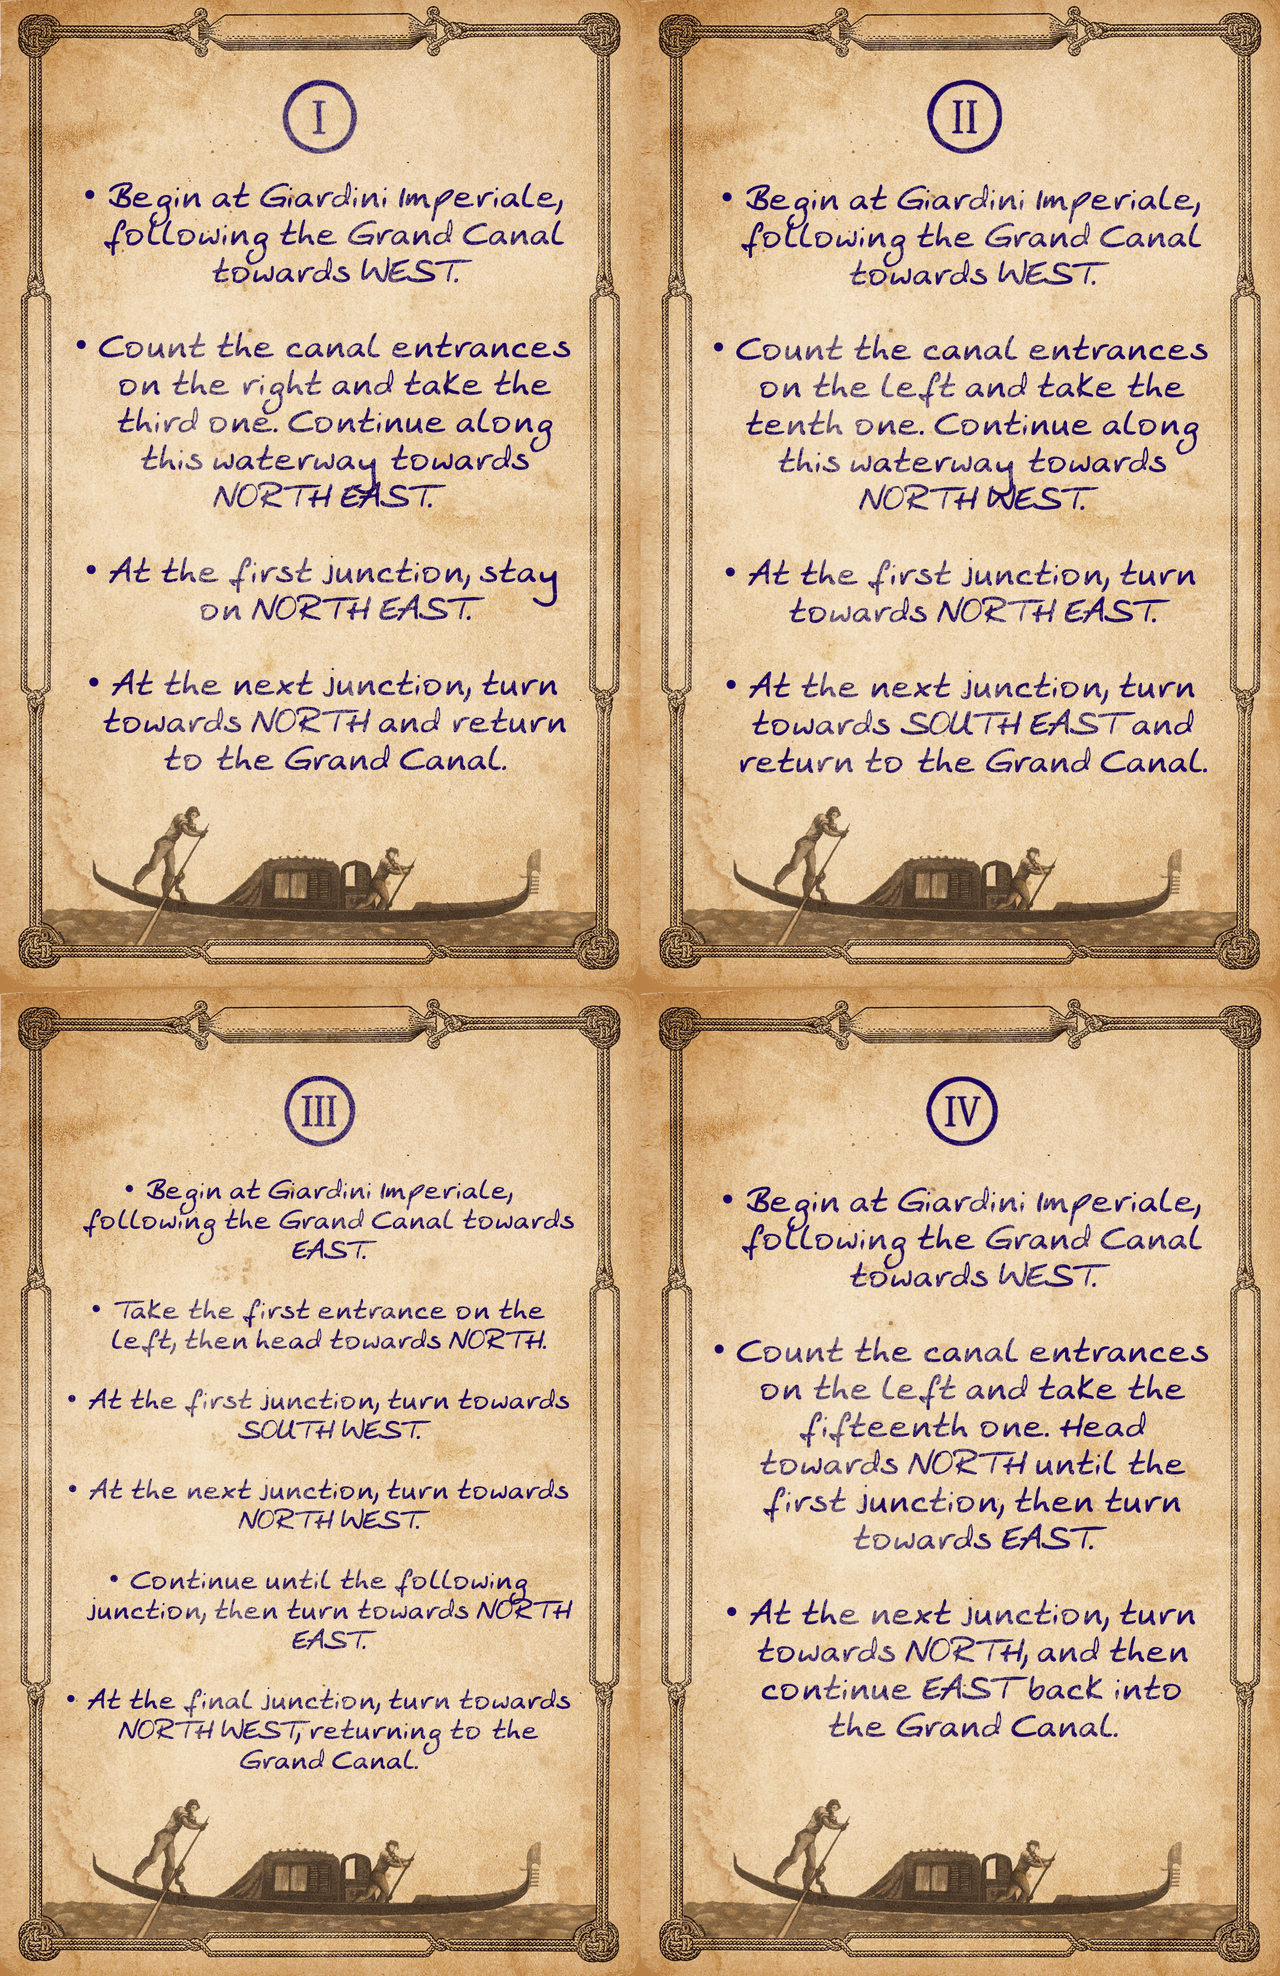
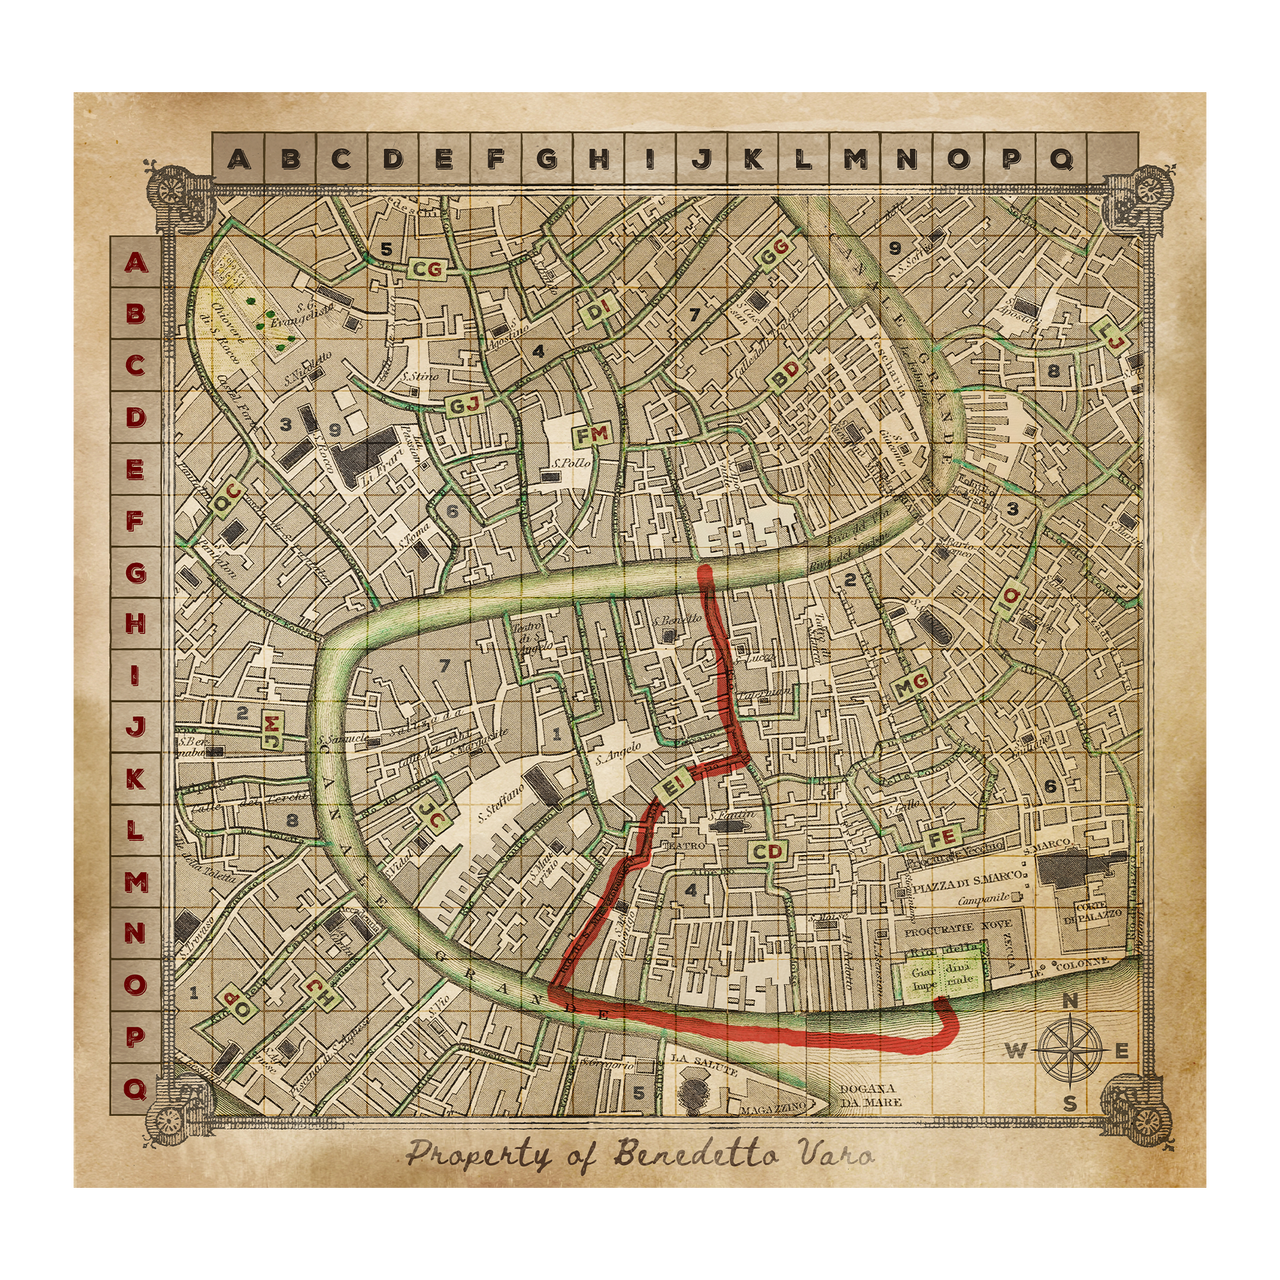
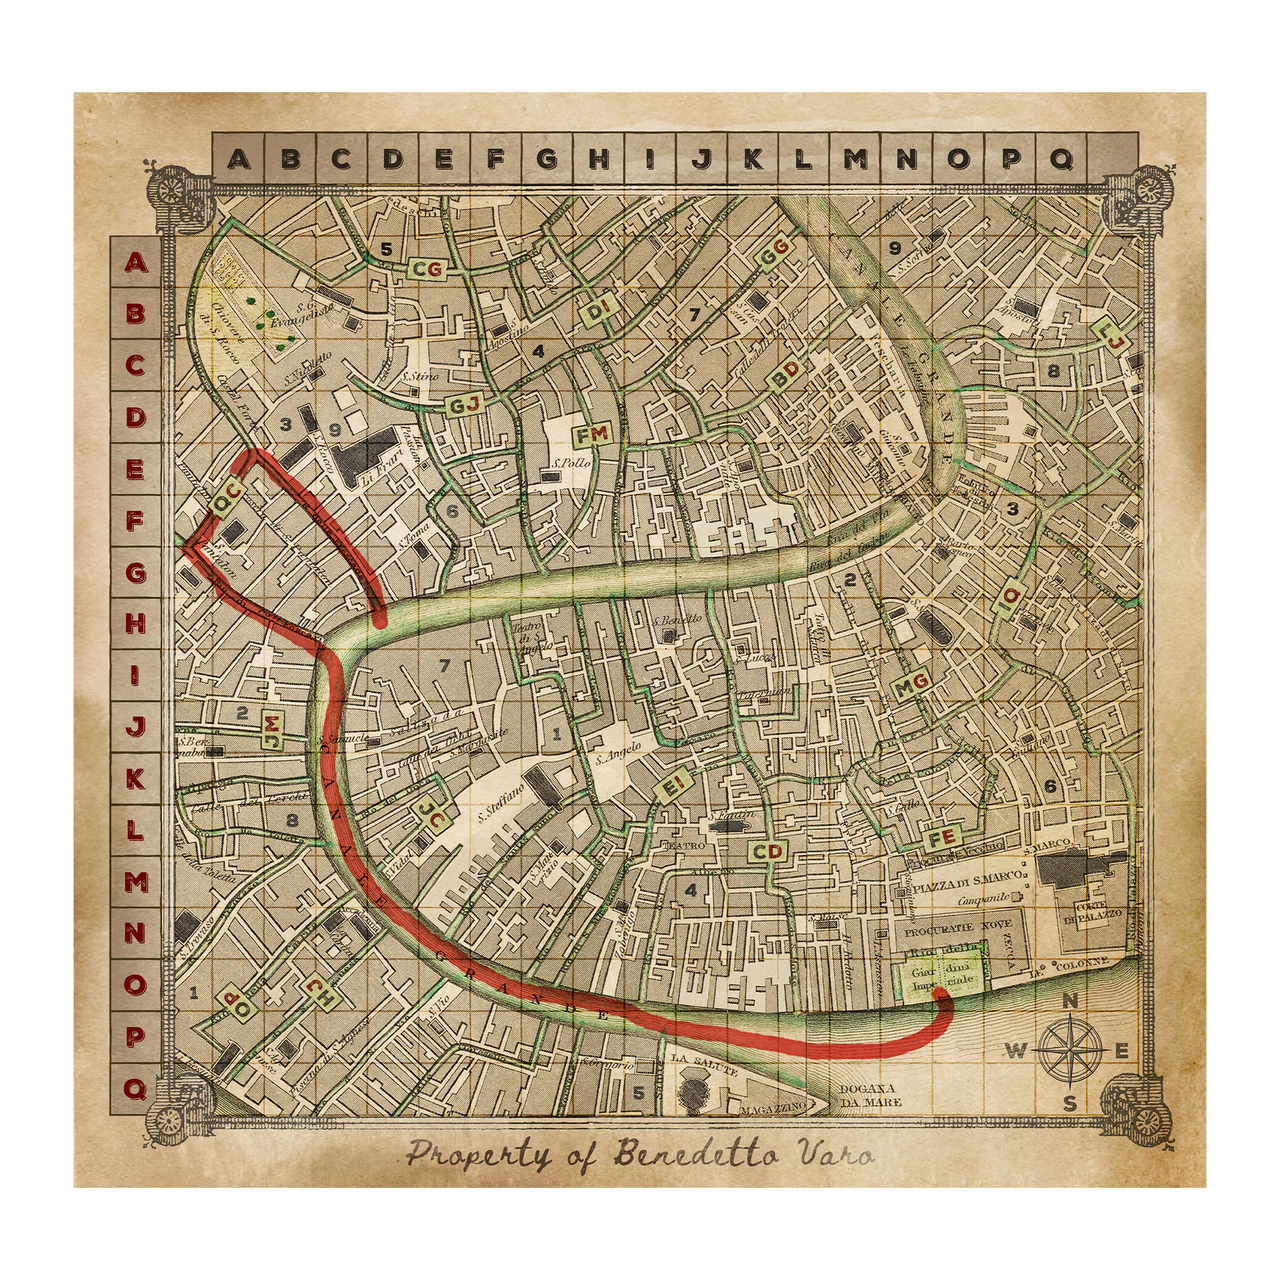
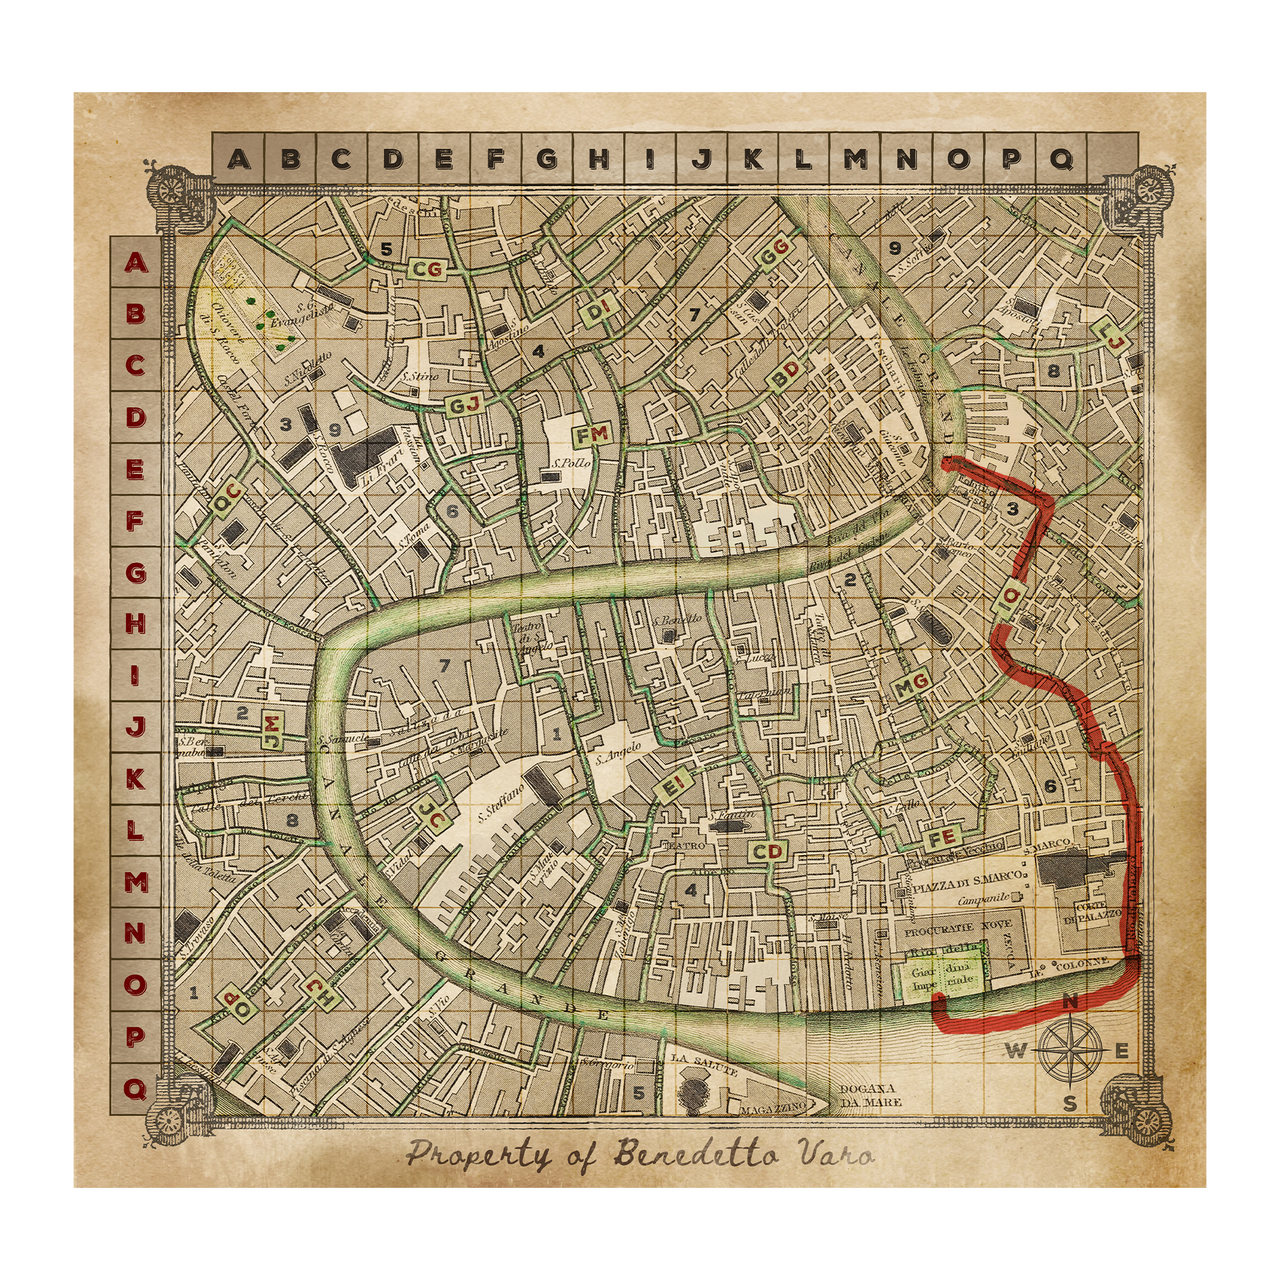
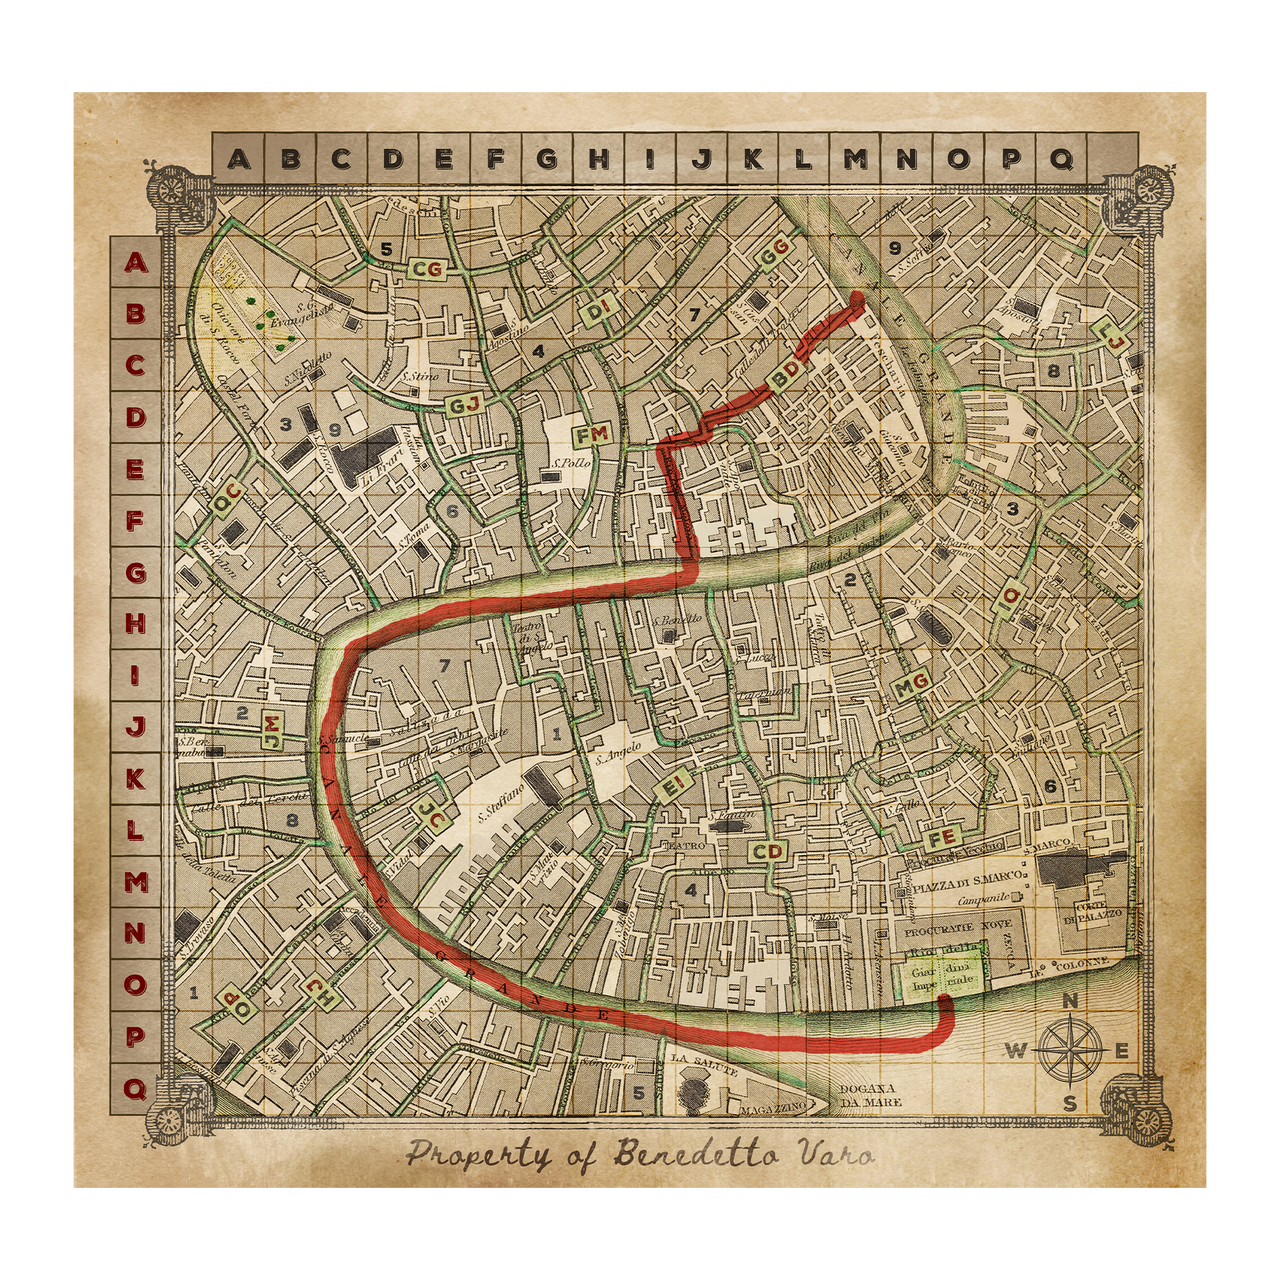
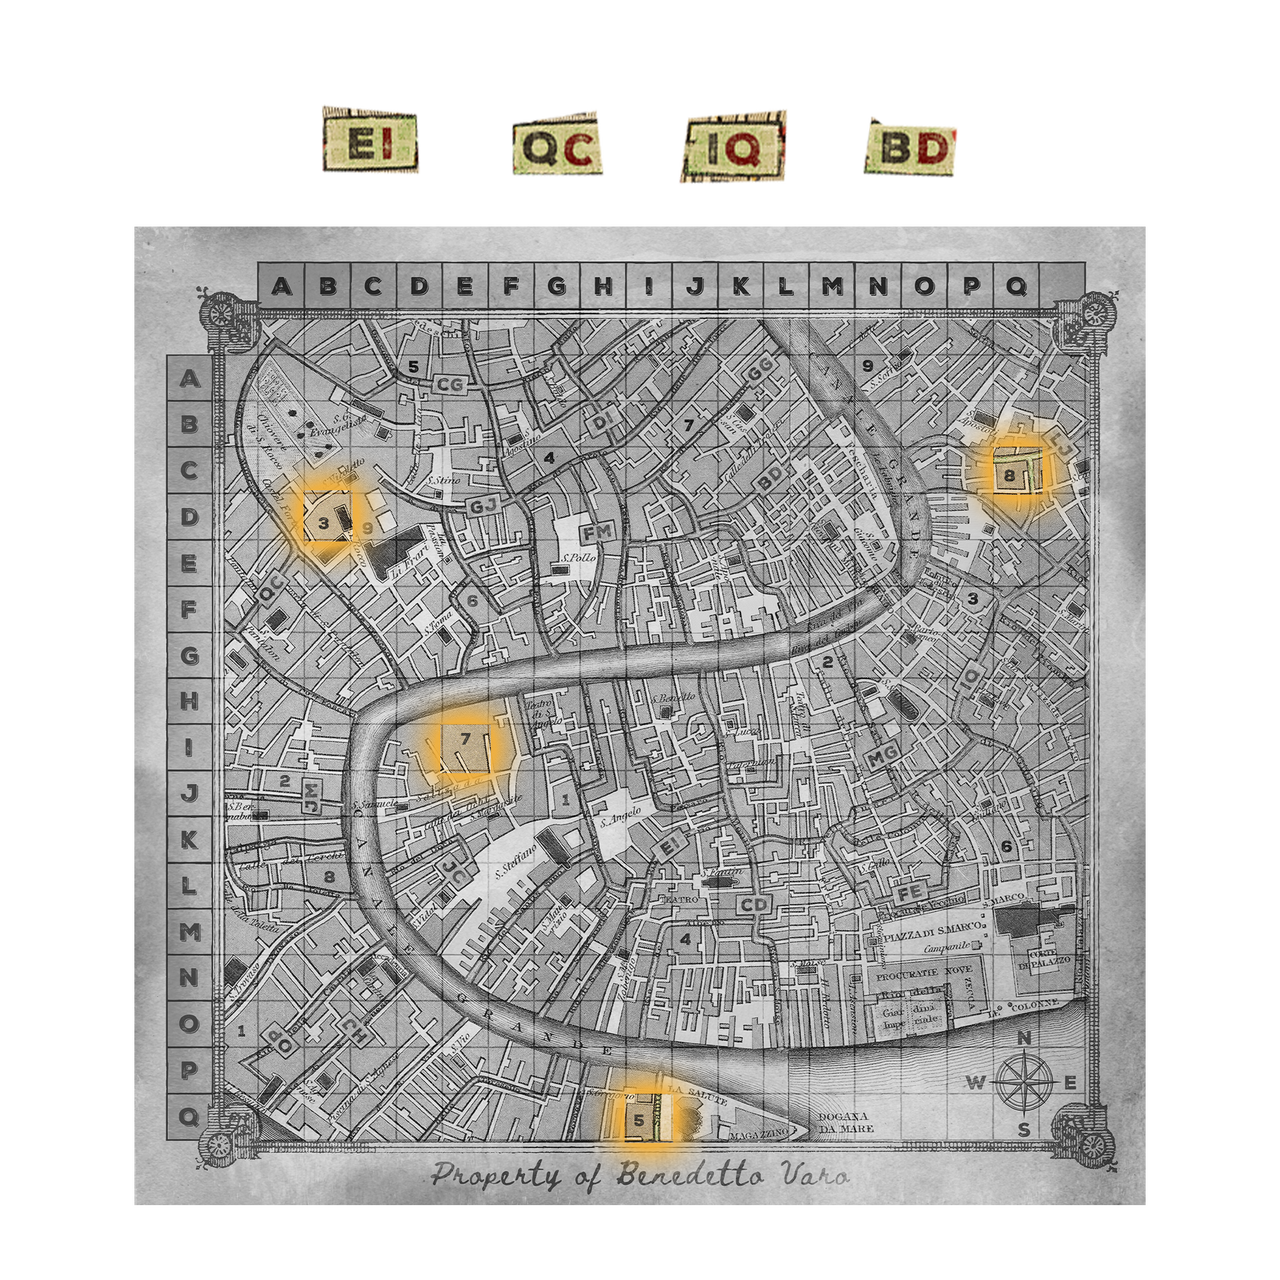
Envelope 7196 contains: Puzzle 6 Story Card, a map of Venice, 4 navigation cards, 4 mysterious pieces.

Hint 1: Look closely at objects that seem purely decorative. Something on the desk is doing double duty.

Hint 2: The framed portrait's date isn't just decoration — those four numbers matter more than the painting.

Hint 3: Enter the year 1897 into the drawer's brass combination lock, reading it left to right.

Hint 1: The wheel has two rings. You only need to align them once you know the shift.

Hint 2: The note signed "–3" is telling you exactly how far to turn the outer ring.

Hint 3: Shift every letter back by 3 (a Caesar cipher). The scrambled word decodes to RAVEN.

Hint 1: The map looks blank, but it wasn't drawn with ordinary ink. What reveals invisible things?

Hint 2: Hold the parchment up to a warm light source (or the candle) and the routes will appear.

Hint 3: The revealed trail leads to the marked X — the third floorboard beneath the window.

Hint 1: Everything you've unlocked so far has given you a piece. This lock needs all of them combined.

Hint 2: Order matters. Arrange the four symbols the way they appeared across the stages, not alphabetically.

Hint 3: Set the dials to Raven, Key, Moon, Crown — then turn the brass handle clockwise.

Hint 1: The final clue isn't hidden in the room — it's been in your hand since the beginning.

Hint 2: Flip over the very first card you drew. The back holds a phrase you skipped past.

Hint 3: Speak the phrase "The key was trust" aloud to your host — that's your final answer.

Puzzle 7

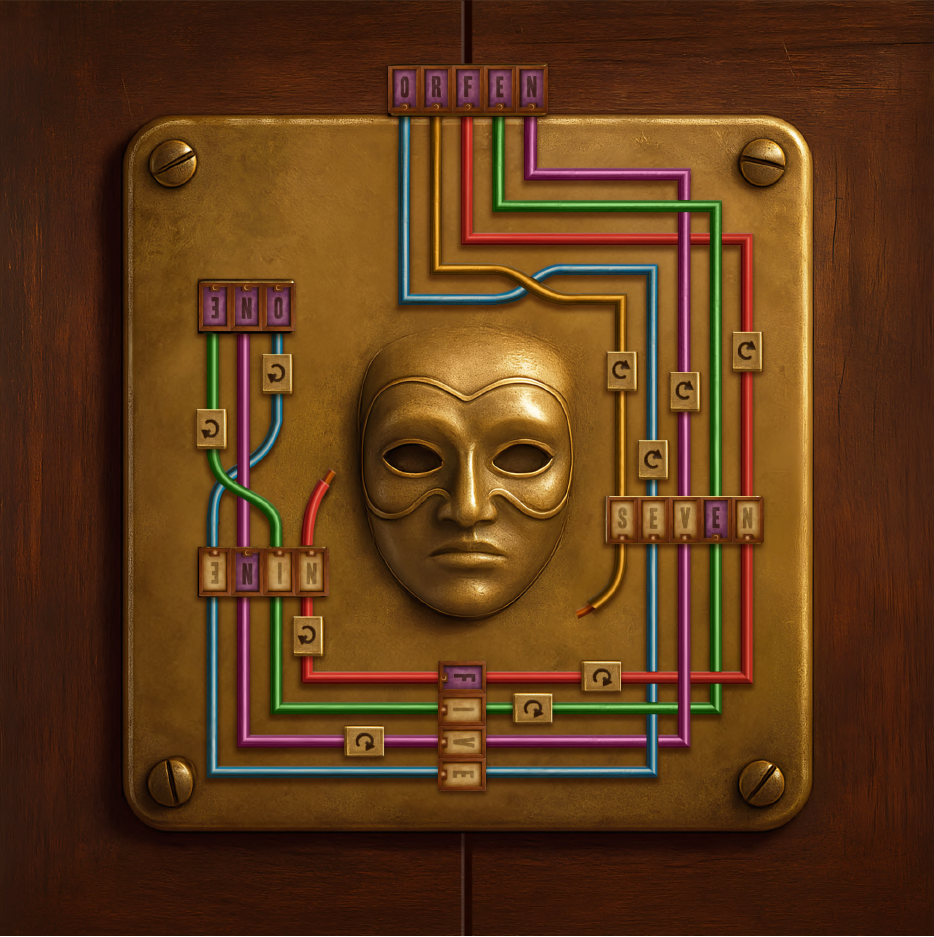
Envelope 7853 contains: Puzzle 7 Story Card, a circuit board, a placement letter placement guide, and 5 double-sided letter cards.

Hint 1: Look closely at objects that seem purely decorative. Something on the desk is doing double duty.

Hint 2: The framed portrait's date isn't just decoration — those four numbers matter more than the painting.

Hint 3: Enter the year 1897 into the drawer's brass combination lock, reading it left to right.

Hint 1: The wheel has two rings. You only need to align them once you know the shift.

Hint 2: The note signed "–3" is telling you exactly how far to turn the outer ring.

Hint 3: Shift every letter back by 3 (a Caesar cipher). The scrambled word decodes to RAVEN.

Hint 1: The map looks blank, but it wasn't drawn with ordinary ink. What reveals invisible things?

Hint 2: Hold the parchment up to a warm light source (or the candle) and the routes will appear.

Hint 3: The revealed trail leads to the marked X — the third floorboard beneath the window.

Hint 1: Everything you've unlocked so far has given you a piece. This lock needs all of them combined.

Hint 2: Order matters. Arrange the four symbols the way they appeared across the stages, not alphabetically.

Hint 3: Set the dials to Raven, Key, Moon, Crown — then turn the brass handle clockwise.

Hint 1: The final clue isn't hidden in the room — it's been in your hand since the beginning.

Hint 2: Flip over the very first card you drew. The back holds a phrase you skipped past.

Hint 3: Speak the phrase "The key was trust" aloud to your host — that's your final answer.

The End

Envelope 7591 contains: The End Story Card, completion certificate

music-notes

SOUNDTRACK

Set the Mood

We built a Spotify playlist of tense, cinematic tracks to play while you crack the case — ticking clocks, distant whispers, and dramatic swells for every reveal.

spotify-logo

Listen on Spotify

Runtime: ~52 minutes — matches your session.

puzzle-piece

Missing a Piece?

Our games are assembled by hand with great care, but on rare occasions a component may be missing or damaged in transit. If that happens, we're here to help.

1

Check the Envelope Contents section to make sure the item is actually missing.

2

Identify the missing or damaged item.

3

Email us with your order number and point of purchase

envelope-simple

Email Support

Missing components are sent as printable replacements.

We reply within minutes during business hours, or within a few hours when we're away.

RESET GUIDE

Reset for the Next Group

Ready for another team? Follow these steps to prepare your game for its next adventure.

1

Return the Components

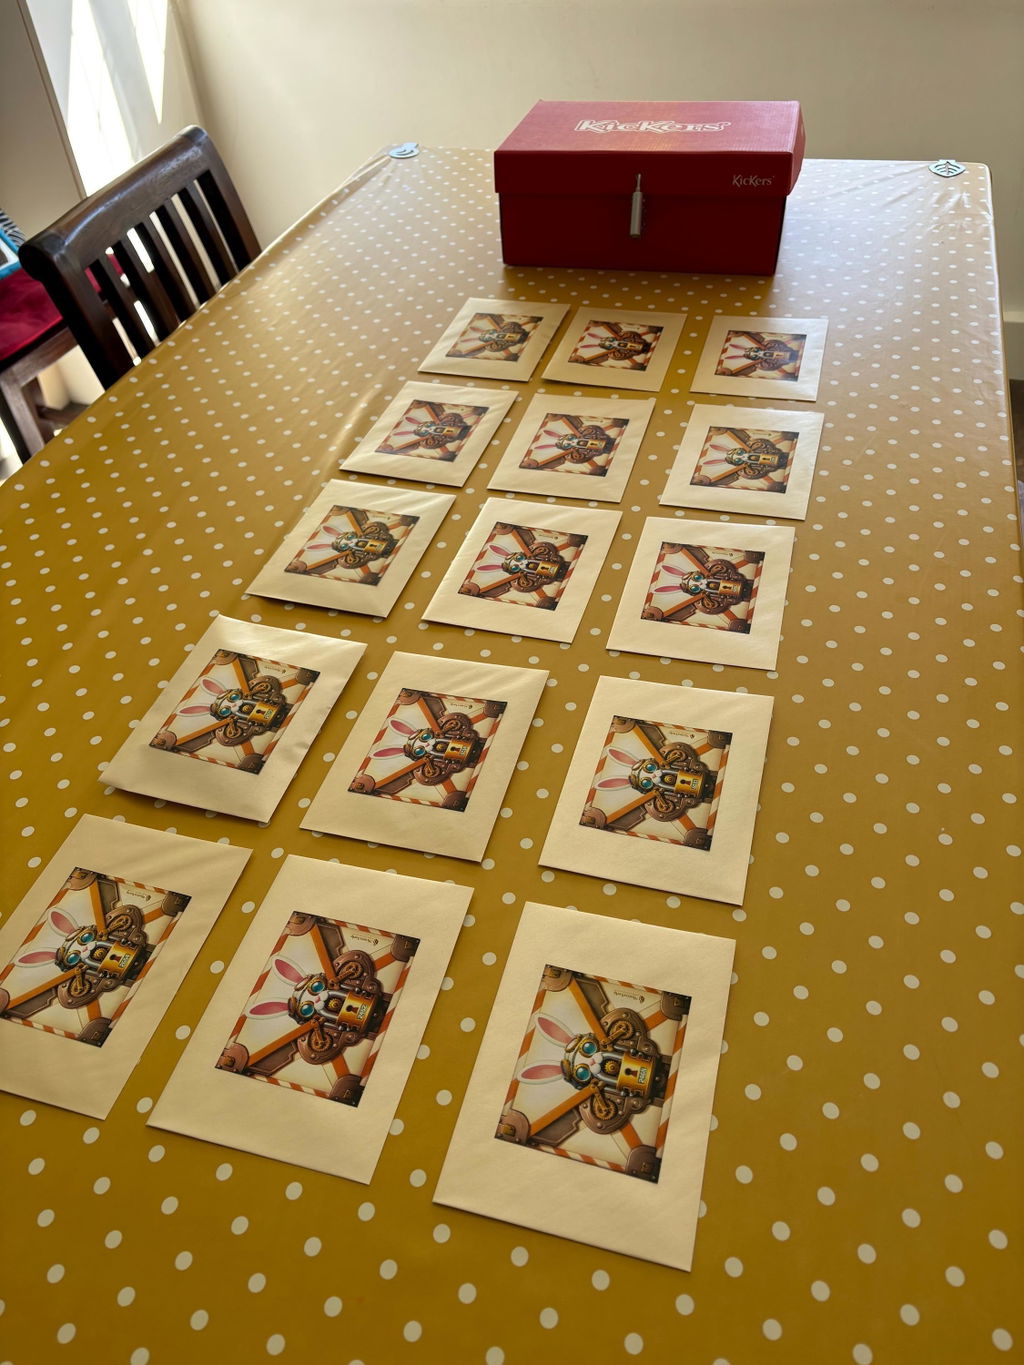
Place every item back into its correct envelope using the Envelope Contents section found in the Hints section for each puzzle.

2

Reseal the Envelopes

Carefully reseal each envelope and place them back inside the box in random order.

3

Restore the Starting Materials

Place Alessandro's Letter, the Intro Story Card, and the Instruction Sheet on top of the envelopes so the next group begins exactly where the adventure starts.

trophy

You Escaped!

Congratulations, detective — you cracked the case and made it out.

YOUR TIME

42:17

Share your time and challenge your friends to beat it.

ONE LAST THING...

Enjoyed Your Adventure?

If you loved The Venice Heist, we'd be incredibly grateful if you shared your experience. Every review helps us create more handcrafted puzzle adventures.

Leave a review on Amazon

Purchased your game on Amazon? Share your experience to help other players find their next adventure.

Review on Amazon

Bought elsewhere?

Purchased from MysteryLocks, a retailer, or another store? We'd love to hear what you thought on our website.

Review on Our Website

Every review means the world to our small team of two. Thank you for supporting our puzzle adventures!