
Introduction
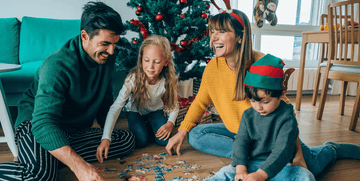
Want to turn your living room into a brain-teasing adventure? A DIY escape room setup is the perfect way to make your next game night or special event more creative and exciting—no fancy equipment needed. In this guide, you'll learn exactly how to create your own escape room at home from start to finish.
Here's the thing – after spending way too much money at commercial escape rooms (we're talking $30+ per person), we decided to create our own at home. Best decision ever. While surveys show that escape room enthusiasts are overwhelmingly excited to return to in-person experiences after the pandemic, nearly 49% are also interested in at-home tabletop games, and that interest has been growing since 2020.

How we've started
Look, I'm not gonna lie to you. Our first attempt was a disaster. We spent three hours setting up what we thought was a brilliant murder mystery, only to have my family solve it in twelve minutes flat. Twelve. Minutes. But that failure taught us everything we know today about creating actually challenging, fun escape rooms at home.

In this guide, I'll walk you through everything I wish someone had told us before our first attempt. We're talking space planning, supplies, themes, puzzles, testing – the whole shebang. By the end of this post, you'll have all the tools to create an escape room that'll have your friends and family talking about it for months. Ready to become the coolest host on the block? Let's dive in!
Planning Your DIY Escape Room Space

Choosing the right room is absolutely crucial, and we learned this the hard way. Our first escape room was in our cramped bathroom because I thought the mirrors would add "mystery." Spoiler alert: having six people crowded around a toilet isn't mysterious – it's just weird.
After that embarrassing incident, we developed what I call the "space test." You need enough room for your players to move around comfortably without bumping into each other every five seconds. For a group of 4-6 people, we recommend at least 120 square feet. That might sound like a lot, but trust me, you'll use every inch.
Your living room is usually your best bet. It's familiar to players, which ironically makes hiding things in plain sight more effective. Gabriel once hid a crucial key inside a decorative bowl that sat on our coffee table for years – nobody thought to look there because it was so obvious.
Lighting is another game-changer. You want enough light for people to read clues, but not so bright that it kills the atmosphere. We use a combination of regular lamps and some colored bulbs we got from the dollar store. The red ones are perfect for creating that "danger" vibe without making everything impossible to see.

Don't forget about ventilation! Nothing ruins an escape room faster than six sweaty people in a stuffy room. We learned this during a summer game that lasted two hours. By the end, we looked like we'd escaped from a sauna, not a haunted mansion.
Want to skip the planning?
Use a professionally designed printable escape room! Tested by thousands of players from all around the world, simply print the PDFs, follow the instructions and you're ready to go in no time!
Essential DIY Escape Room Supplies and Materials
Here's where we made my biggest rookie mistake – we thought we needed to buy everything new. Wrong! Some of our most successful props came from stuff we already had lying around the house.
For a basic $25 setup, you can create an amazing experience with just household items. I'm talking empty boxes, old magazines for collages, markers, tape, and maybe a cheap lock from the hardware store. Gabriel's favorite budget hack? Use your smartphone as a "safe" – have players solve a math puzzle to get the passcode to unlock a photo with their next clue.

If you've got $50 to spend, that's when things get fun. Invest in a few different types of locks – combination, key, alphabet locks. Get some UV markers and a blacklight flashlight. These are absolute game-changers. I'll never forget the look on my nephew's face when he discovered invisible writing that only appeared under the blacklight.

The $100+ setup is where you can go crazy with props. Think breakout boxes, multiple rooms, elaborate decorations. But honestly? Some of our most memorable escape rooms cost under $30 to set up. It's not about how much you spend – it's about how creative you get.
Pro tip: Start a "prop box" and add to it over time. I keep mine in our basement, and it's amazing how often I find the perfect item for a new room just lying in there.

Looking for a budget option?
Printable escape rooms are not just easy to use, but they don't require any extra materials to purchase. Simply print the included PDFs and you're good to go! We include everything you need to play.
Want to go that extra mile? You can easily integrate numerical locks and crates into the games, as all adventures are code-based.
Choosing Your Escape Room Theme and Storyline

Theme selection used to stress me out until I realized something important: players care more about good puzzles than perfect theming. That said, a solid theme makes everything feel more cohesive and gives you a framework to build on.
Our go-to beginner themes are spy missions and treasure hunts. They're flexible, everyone understands them, and you can adapt them to any space. Plus, household items easily become "spy gadgets" or "ancient artifacts" with a little imagination and some creative labeling.
Gabriel once created a "Kitchen Nightmare" theme using only items from our kitchen. Players had to follow a recipe, but the ingredients were actually clues leading to the final treasure – a homemade cake. It was simple, everyone loved it, and cleanup was just putting the kitchen back to normal.
The key is matching your theme to your space and available props. Don't try to create a pirate ship adventure in your studio apartment. Instead, go with something like "Detective's Office" or "Mad Scientist's Lab" – themes that work well in smaller spaces.

Age appropriateness matters too. We learned this when we created a zombie theme for Gabriel's sister's 8th birthday party. Let's just say explaining nightmares to parents wasn't our finest moment. Now we stick to adventure themes for kids and save the scary stuff for adult groups.
Need a ready-made escape room for kids?
Printable escape rooms are not just easy to use, but they don't require any extra materials to purchase. Simply print the included PDFs and you're good to go! We include everything you need to play.
Want to go that extra mile? You can easily integrate numerical locks and crates into the games, as all adventures are code-based.
Designing Puzzles and Challenges
Puzzle design is where we really had to learn patience. My first instinct was to make everything super complicated because I thought that meant "challenging." But complicated doesn't equal challenging – it just equals frustrating.
Start with the end and work backward. Decide what the final objective is (escaping the room, finding the treasure, saving the world), then create a logical sequence of puzzles that lead there. We usually aim for 5-7 main puzzles, depending on the intended duration.

Linear vs. non-linear is a big decision. Linear means players must solve puzzles in order – easier to design and test, but can create bottlenecks if some players get stuck. Non-linear lets different people work on different puzzles simultaneously, but it's trickier to balance.
✅ 5 Advantages of a Linear Escape Room
-
Easier to Design and Control: Puzzles follow a single path, so it’s simpler to plan and ensure everything flows smoothly.
-
Better for New Players: Ideal for beginners or kids, since players can focus on one challenge at a time without feeling overwhelmed.
-
Simplified Storytelling: Easier to build suspense and deliver a clear narrative with a defined beginning, middle, and end.
-
Reduces Clue Overload: Players aren’t bombarded with too many clues at once, minimizing confusion or distractions.
- Predictable Testing and Debugging: Since the order is fixed, it’s much easier to test and identify where players might get stuck.
✅ 5 Advantages of a Non-Linear Escape Room
-
Great for Groups: Multiple puzzles can be tackled simultaneously, keeping more players actively engaged.
-
Encourages Collaboration: Players often share discoveries and must communicate well to piece everything together.
-
More Freedom and Flexibility: Players feel empowered to explore and solve in their own order, enhancing immersion.
-
Reduces Bottlenecks: If someone gets stuck on one puzzle, others can continue progressing elsewhere.
- Replayability for Hosts: Easier to adjust puzzle order or difficulty for different groups without rewriting the entire room flow.
Our favorite puzzle types for home games? Word puzzles using books or magazines, simple math problems, pattern recognition with everyday objects, and "assembly required" challenges where players must put something together to reveal the next clue. I once had players arrange kitchen magnets in alphabetical order to reveal coordinates for a hidden key.

Testing puzzle difficulty is crucial. What seems obvious to you (the creator) might be impossible for players. We always do a test run with someone who hasn't seen the room before. Their confused looks tell me everything we need to know about which clues need tweaking.
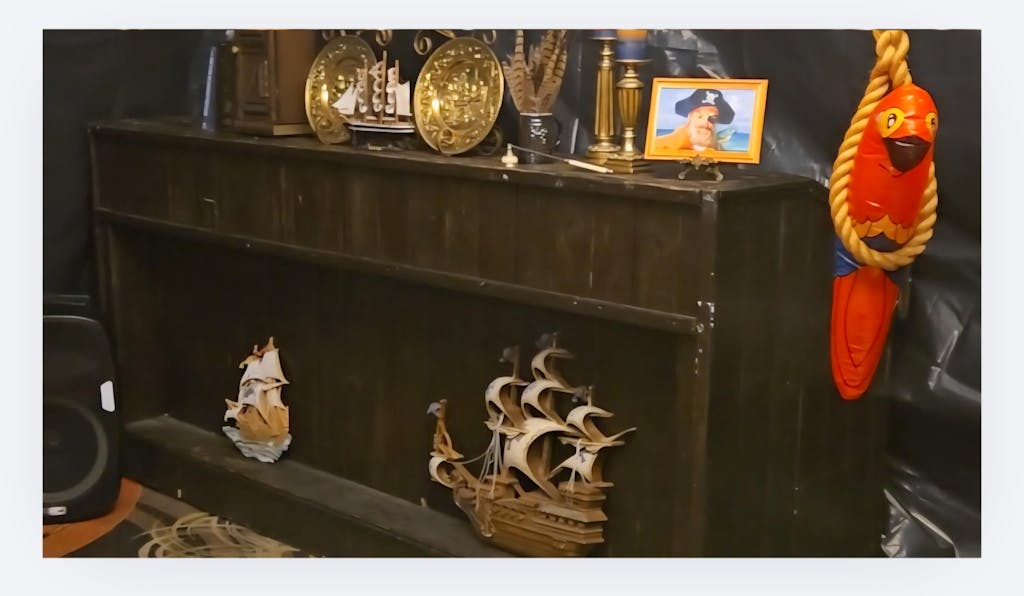
Setting Up Physical Elements and Props

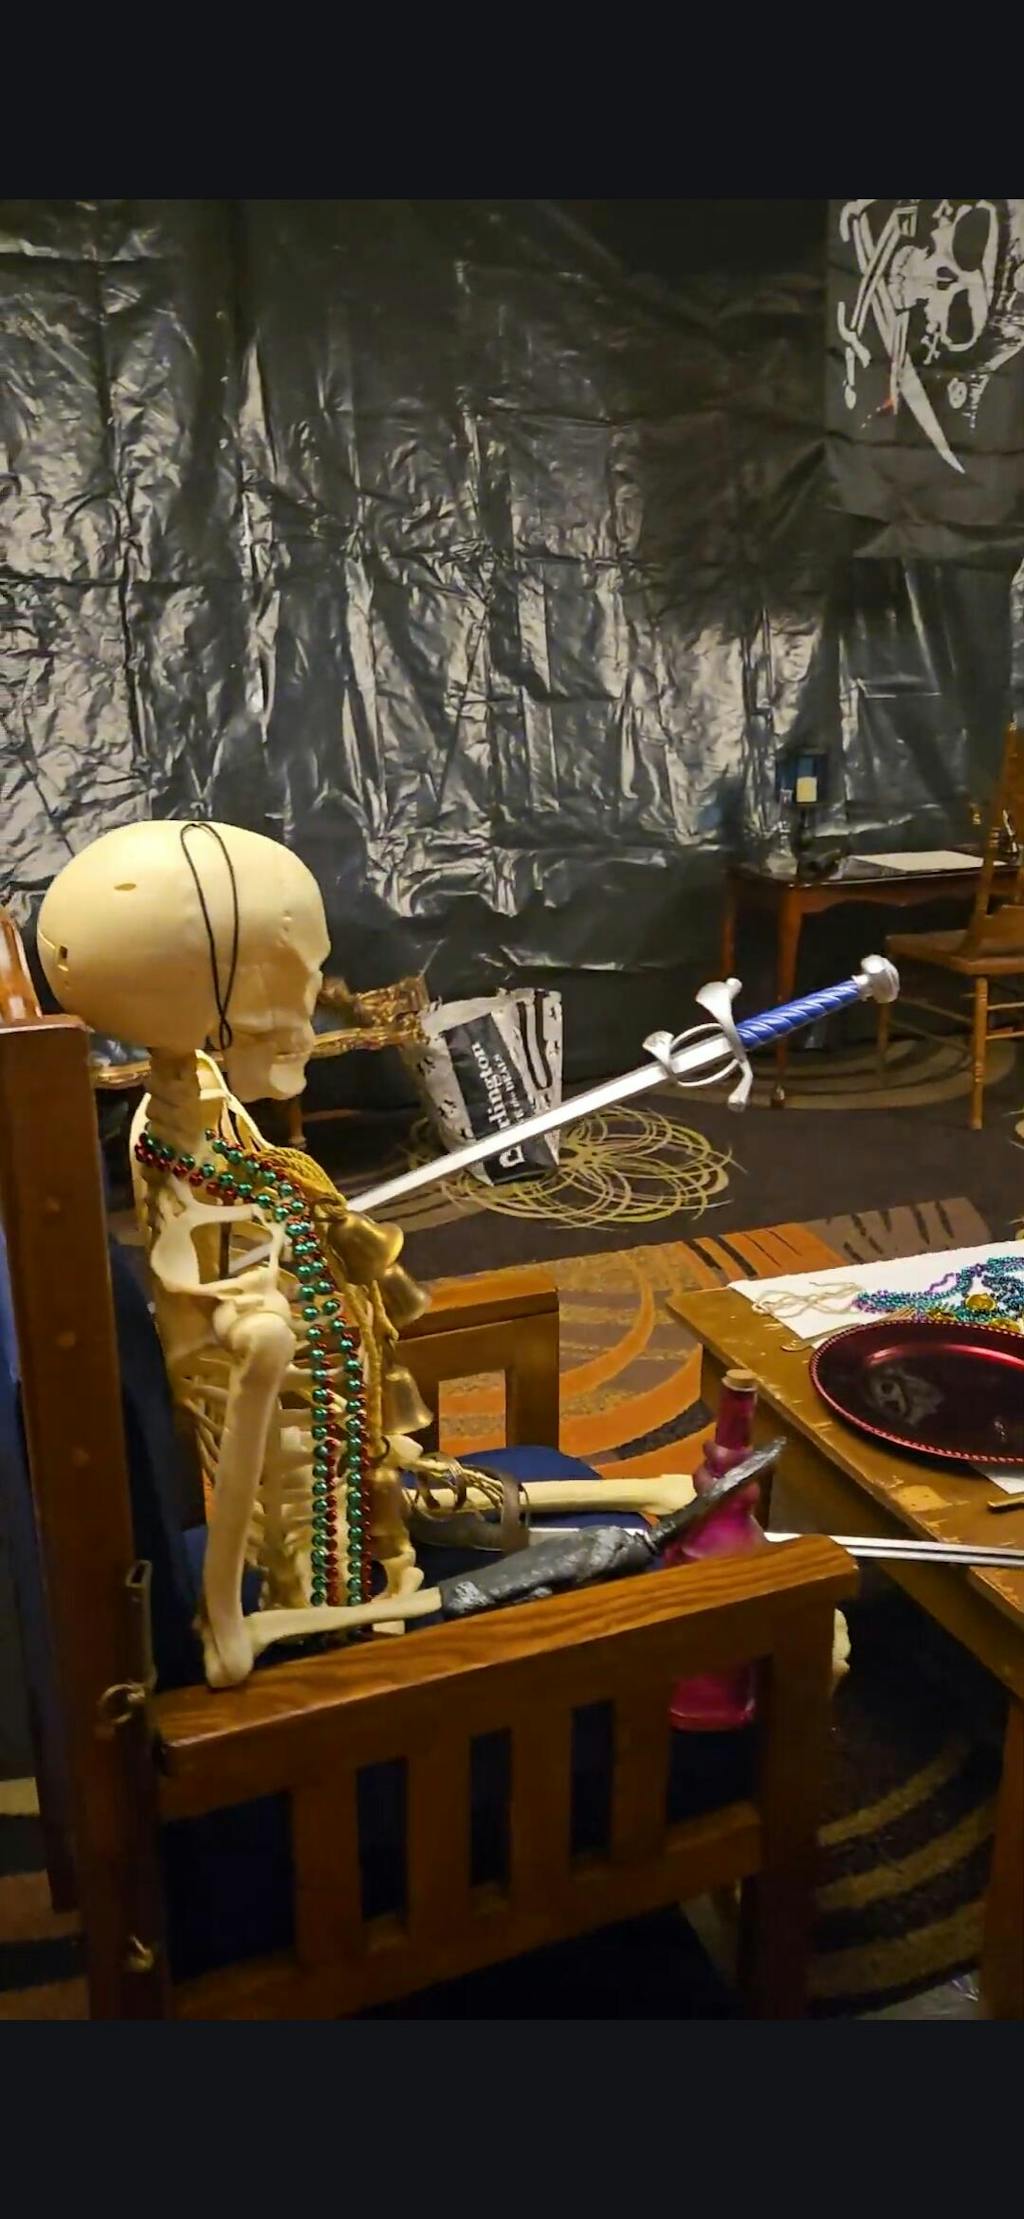
This is where your escape room really comes to life. Strategic placement is everything – you want to create a sense of discovery without making things impossibly hard to find.
We follow the "rule of three" – hide things in places that require low, medium, and high effort to find. Some clues should be obvious (on the desk), some require looking (inside a book), and others need real searching (taped under a lamp). This creates natural progression and keeps everyone engaged.
Secret compartments are pure magic. You don't need fancy custom boxes – a taped-shut cereal box works great. I've used filing folders, inside pillowcases, even taped to the back of picture frames. The key is making discoveries feel rewarding, not accidental.
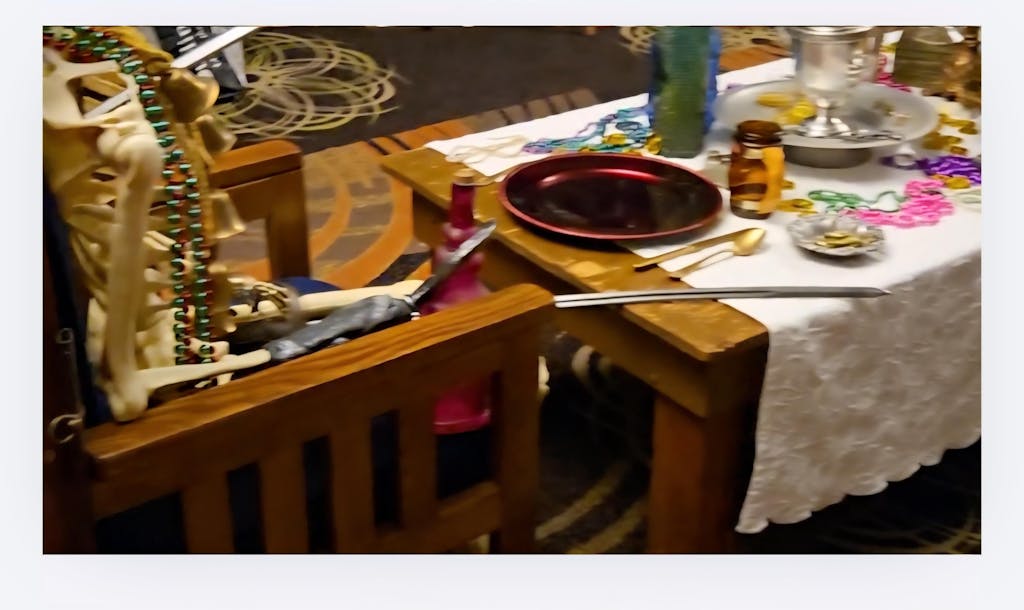
Furniture becomes your friend. Chairs can hide things underneath, couch cushions can hold props, and bookshelves are perfect for hiding things in plain sight. I once turned our dining table into a "control panel" by taping fake buttons and gauges to it. Suddenly, players were "operating a spaceship console."

Locks and containers create natural puzzle endpoints. The satisfaction of opening a lock after solving a puzzle is incredible. But here's a tip I wish we'd known sooner: buy cheap combination locks, not expensive ones. Players get excited and sometimes force things. we've had to cut off more locks than I care to admit.
Don't forget about reset-ability. If you plan to run the room multiple times, make sure everything can be easily put back in place. I create a "reset checklist" for each room because trust me, three weeks later you won't remember where everything goes.
Technology Integration (Optional but Awesome)
Technology can elevate your escape room, but it's not mandatory. Some of our best rooms had zero technology beyond a timer on my phone. But when used well, tech additions create moments players never forget.
QR codes are the easiest tech addition. Create codes that link to videos, images, or even just text clues. Players feel like they're using high-tech spy equipment when they scan a code and get their next mission briefing. Just make sure you test them first – dead QR codes kill the momentum fast.

Sound effects change everything. We use a bluetooth speaker hidden in the room with pre-loaded sounds. Door creaks, mysterious voices, countdown alarms – they all add atmosphere. Our favorite trick? Recording ourselves reading clues in a spooky voice, then playing them back when players solve certain puzzles.
The smartphone "safe" is still one of our go-to tech tricks. Set up a passcode (maybe the answer to a math puzzle), then hide the next clue as a photo or note in the phone. Players love the moment of unlocking it.

Timer displays create urgency. You can use anything from a kitchen timer to a countdown app on a tablet. Gabriel props an old tablet in view of the room and run a 60-minute countdown with dramatic music. Simple, but effective.
Remember: technology should enhance the experience, not become the focus. If players spend more time troubleshooting your Bluetooth connection than solving puzzles, you've gone too far.
Testing and Refining Your Escape Room

Testing is non-negotiable. Period. I don't care how perfect you think your room is – it needs testing. Gabriel's youynger sister is our designated first tester because she'll tell us honestly when something sucks.
We usually do three test rounds. First, we walk through it ourselves, timing each puzzle and checking for logical flow. Second, we bring in one trusted person who hasn't seen it before. Their fresh eyes catch things we're blind to. Third, we test with a small group similar to our intended audience.
Timing is tricky because it varies so much between groups. Our target is usually 45-60 minutes, giving ourselves a 15-minute buffer. Some groups fly through puzzles, others get stuck on the simplest things. That's why hint systems are crucial.
Document everything during testing. I keep a notebook and write down every time someone gets confused, every awkward moment, every "oh, that doesn't make sense" comment. These notes are gold for improving the experience.

Don't be afraid to make major changes after testing. We once had to completely redesign the ending of a room because testers felt the final puzzle was anticlimactic. It sucked to redo all that work, but the final product was so much better.
The best feedback often comes from watching, not asking. See where people naturally look first, notice when they get frustrated, observe how they work together. These observations tell you more than any survey ever could.
Game Master Tips for Success
Being a game master is an art form, and we had to learn this through many awkward moments. Your job isn't just to watch – you're there to ensure everyone has an amazing experience.
The pre-game briefing sets the tone for everything. We explain the story, demonstrate how any special equipment works, and establish the hint system. Most importantly, we tell them to have fun and not stress about the time. The goal is enjoyment, not speed.

Hint delivery is where good game masters shine. We follow a three-level system: gentle nudges ("You might want to check that bookshelf more carefully"), medium hints ("The answer has something to do with the calendar"), and direct help ("Look behind the third book from the left").
Reading the room is crucial. Some groups want to struggle through everything independently; others need more guidance. Watch body language – if people look frustrated or are just standing around, it's hint time. If they're engaged and talking through problems, let them work.

Different groups have different dynamics. Kids need more encouragement and simpler hints. Adults often overthink things and need to be told when they're making something too complicated. Mixed groups require the most attention because you're managing different skill levels and patience levels.
Have backup plans for everything. What if a lock breaks? What if someone accidentally breaks a prop? What if they solve something the "wrong" way but arrive at the right answer? Flexibility is key to good game mastering.
Safety Considerations and Best Practices

Safety isn't glamorous, but it's absolutely essential. We learned this when my brother-in-law cut his hand on a poorly thought-out "broken mirror" prop. Now safety always comes first.
Fire safety is paramount. Make sure exits are clearly marked and not blocked by props. We keep a flashlight handy and know where all the light switches are. If you're using candles for atmosphere (which I don't recommend), make sure they're LED candles, not real flames.
Physical hazards are easy to overlook when you're focused on puzzle design. Sharp edges, trip hazards, unstable props – check for everything. We do a "safety walk" before every game, looking at everything from a player's perspective.
Electrical safety matters if you're using any powered props. Keep all electronics away from water, use battery-powered devices when possible, and never create anything that could shock someone. When in doubt, skip the electrical element.

Kids require extra precautions. No small parts they could swallow, no chemicals (even harmless ones), and constant adult supervision. I created a "kid-safe prop bin" with only items that couldn't possibly hurt anyone.
Have a first aid kit accessible. It's probably overkill, but better safe than sorry. I also know basic first aid because you never know when someone might get a paper cut or bump their head.
Emergency protocols should be simple and clear. What if someone has a medical emergency? What if there's a fire alarm? How do you quickly get everyone out? These plans should be automatic, not something you figure out in the moment.
Conclusion
Creating your own DIY escape room setup is one of the most rewarding projects you can tackle. Sure, our first attempt was a disaster, but even that taught us valuable lessons that made every subsequent room better. The key is to start simple and build from there.
Remember, perfection isn't the goal – fun is. Some of our most memorable escape rooms had puzzles that didn't work quite right or props held together with duct tape. Players remember the experience, the laughter, the teamwork, and that moment of triumph when they finally escape.

Don't let analysis paralysis stop you from getting started. Pick a simple theme, gather some basic supplies, and just do it. You'll learn more from creating one imperfect escape room than from reading a hundred guides (including this one).
The best part? Each room you create gets easier and better. You'll develop your own style, discover what works with your space and your group, and maybe even become that friend everyone calls when they want to try something new.
So what are you waiting for? Your first escape room adventure is just a planning session away. Start with what you have, think creatively, and most importantly, have fun with the process.
Need a quicker solution or want to see professional puzzle design in action? At MysteryLocks.com, we've created over 100 instantly downloadable escape rooms with everything included – printable props, detailed setup guides, multiple difficulty levels, and even digital hint systems. From 30-minute family games to 90-minute expert challenges, we've got options for every group and occasion.

PRODUCT TITLE

PRODUCT TITLE

PRODUCT TITLE
And hey, when you create your first successful room, we'd love to hear about it! Drop a comment below and share your experience – what worked, what didn't, and what you'd do differently next time. Happy escaping!